Today I’m so excited to share the first project I have ever made with the Cricut Maker! scary, but fun!
I decided to not make it too complicated for myself and start with a pattern that I know…and then add some fun embellishment to it.
Since the theme is Valentines…. I of course thought of hearts. which for this project, they could have totally been fine to add, but I decided to cut a few of them for a collection– and they make a flower.
I didn’t have quite enough time to get it quilted, but it will be on the list in February for sure!
Whether you make the quilt or not….it won’t matter.
Today, I’ll show you how you can use your cricut maker for the applique shapes.
No drawing is needed.
No printing is needed.
No weird shaped heart cut outs or tracing.
The program and machine will take care of everything for you!
Let’s get started……
For the Zippy Baby Quilt – I used this tutorial.

Materials Needed:
Squares: 30 5 X 5 squares
Sashing: 2 2 1/2 X 23
Borders: 2 2 1/2 X 23 and 5 X 35
*Before we get started lets check your seam allowance. I sew my quilts with a 1/4 seam. Whatever you use, you will just need to keep it consistent.
Things just don’t line up if you are all over the place on your seams. I don’t currently have a 1/4 seam guided sewing machine foot, so for now I have a piece of tape that lines up with the 1.4 inch to keep things equal.

Piecing the Zippy Baby quilt~
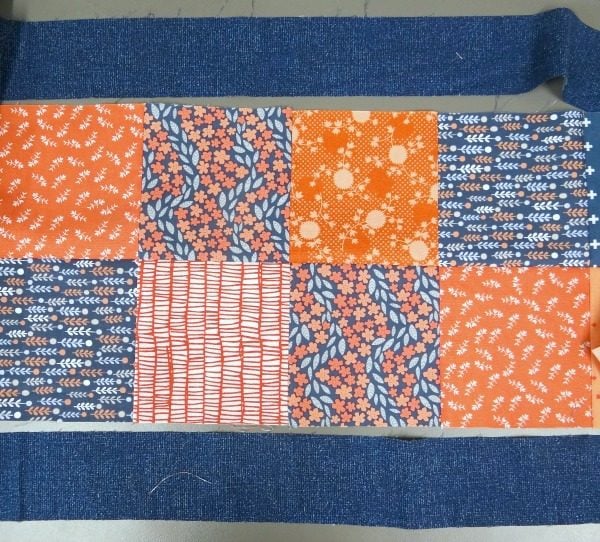
1) Sew your squares into pairs.the easiest way to do this is pair them up, sew them together, pair them up, sew them together- don’t snip threads in between. Just chain piece them.
2) Cut the pairs apart and lay them out arrange how you’d like

3) Sew the blocks into 3 sections each has 10 squares in the set

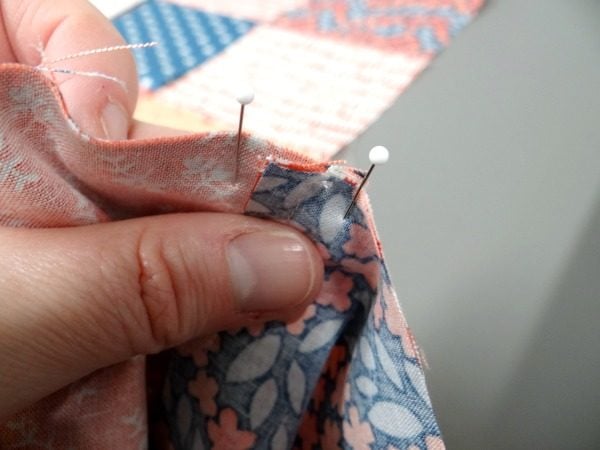
Nest your seams-

4) Sew the strips in between each column of squares

5) Sew your borders on the outside. For this quilt the top and bottom borders are smaller or thinner than the sides. This was to let the quilt get a little bit wider since it was looking a bit narrow.
Now the fun part— the Applique with the Cricut Maker!
Again- you’ll not need a template, cutout or paper at all. Everything from now on is done with the machine.
The video will walk you through the process of picking your shape, playing with the size, connecting it to your Cricut Maker, cutting the fabric, and then of course the stitching around it.
Ready to see this all happen?!
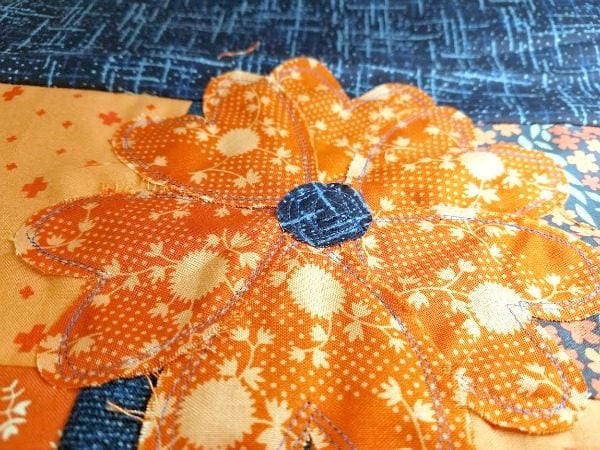
I chose a simple shape– the HEART!! As you can see, when they are in a collection, they make a wonderful flower shape. A cute little circle center, and it’s as good as done.
If you want though, you could do them in groups of 3 and then add some stems with simple stitching.
Applique with the Cricut Maker
1- open Cricut Design Space
2- pick the heart shape
3- play with the sizing of the heart until you are happy- you can click on the lock to release the sides allowing you to make a taller, skinnier heart if you’d like.
4- right click on your finished shape and duplicate the shape as many times as you need
5- click on Make it – top right corner
6- pick the size of fabric you have placed on your mat (remember to place the fabric right sides down)
7- follow the instructions for setting the Cricut Maker up to cut (make sure you have your rotary blade in the machine, as well as the fabric marker if you need anything printed that way)
8- watch the machine cut the fabric
9- remove the extra fabric from around the shapes
10- remove the shapes

11- place shapes on your quilt and use a small glue tip to apply the glue to secure in place

12- raw edge applique around the edges of the shapes to secure. I used a contrasting thread color so it would stand out. Stitch the lower shapes first, then layer the next shape on top and stitch that one next.

*here’s a quick video showing you raw edge applique in action

TIPS FOR CUTTING FABRIC ON THE CRICUT MAKER
Here are a few tips that I’ve learned from others and have picked up with by using the machine~
- Place your fabric right-side down on the Cricut mat. This is how the Cricut Maker expects the fabric to be and patterns are designed to be cut right-side down. It also makes it easier to see washable pen marks on darker fabrics or more complex patterns.
- If your mat ends up covered in threads, don’t worry about it. Place your next piece of fabric right on top and the rotary blade with cut through it all. It’s a little like the cutting mats- the fabric threads get stuck inside the mat, so that’s where the little pieces come from.
- Never use the scraper on your fabric grip mats. The adhesive is different than the original three Cricut mats – using the scraper can do some damage. Where the fabric isn’t as hard to pick at with your fingers, or tweezers- use those instead.
- When your mat is new, just use your fingers to lightly press the fabric onto your mat. Try not to touch the mat with your fingers. The oils from your hands can make the mat not as sticky.
- When your mat is worn in, use more pressure, or use a brayer to help your fabric stick to your mat.
- Be delicate when pulling your pieces off the mat they’ll be less like to stretch. There will be some fray when you remove the shapes. This is a great option for raw edge applique or use an interfacing to keep the edges crisp.
- Remember to cap your fabric pen or you’ll have to buy a new one!
- Reverse or mirror any letters or numbers that you are cutting out.
This is part of a Valentine’s Day Blog hop– for more fun using your Cricut Maker machine and other projects for Valentines- check them out!
Cricut <3 Be Mine <3 Valentine’s Day Blog Hop
Monday 1/29 Sweet Red Poppy * Amber Simmons * Sew Sophielynn
Tuesday 1/30 Coral + Co. * Patchwork Posse
Wednesday 1/31 The Intrepid Thread
Thursday 2/1 Heather Handmade * Paisley Roots * Pattern Revolution
Friday 2/2 That’s Sew Kari * Maytime Moms * Swoodson Says
More Valentine’s Projects just for fun~
Becky Jorgensen is the creative quilter behind Patchwork Posse, the Patchwork Planner and her online quilt group Patchworkers Plus. You can find her patterns in books, magazines, and her quilt membership. Gather your quilting supplies, organize your sewing space, explore the process of disappearing quilt blocks, or finish a free quilt pattern. I'll help you use what you have, finish what you start and make your quilting journey fun!
Follow me here: Facebook, Pinterest, YouTube


