Learn how to sew your pieces together with a custom grid with this postage stamp mini quilt tutorial. Great for fabric scraps.
The Postage Stamp quilt is a classic. It’s a great one for using your little pieces of fabric….either matching from a line of fabric, or a pile of scraps. Either way the result is the same. Cute. Simple. Mindless sewing.
To help with the mindless sewing you will be making a custom grid on muslin for the fabric squares to go on…then sewing them all together row by row. It’s a pretty slick method.

I had found in my goodies from quilt market a two small packs of fabrics from Westminster. They were precuts and they were seriously random pieces of fabric from random lines of fabric they were showcasing during quilt market. There is really no rhyme or reason to them. They are a crazy blend….. something that I would seriously find in my stash. So, I went for it. There is 2 of each square because I used both packs, but this quilt mini quilt really would work great for using your scraps up.
If you have more squares to use, then your quilt won’t be so mini. Go ahead and use them! When working out how large you need to go, divide the number of squares into rows and columns. Example– eight rows across by five columns— you would need 40 squares of fabric. Get it? This is perfect for customizing depending on the stash and squares that you want to use.
Materials needed:
48 squares 2 1/2″ X 2 1/2″
muslin backing fabric 30″ X 20″ for the grid
pencil
ruler
second muslin piece or batting 15″ X 20″
backing fabric 15″ X 20″
Super Stick from Thermoweb (used to tack glue the squares in place)

finished size: 14″ X 18″
Want the ad free pdf file?! Scroll to the bottom of the post for more details!
Postage Stamp Mini Quilt Tutorial
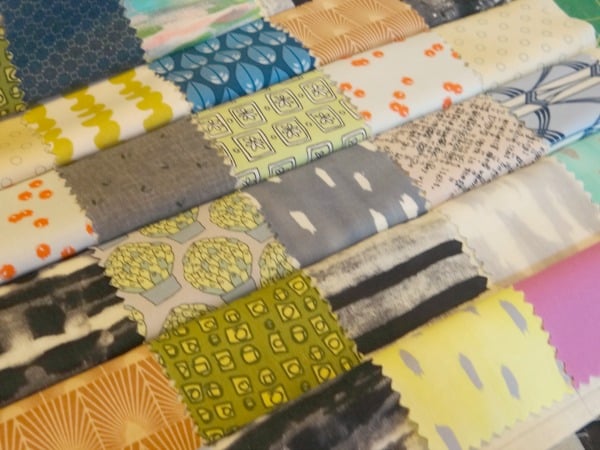
1) Measure your fabric squares –just in case they are off just a bit –these are from a little pack and they have the pinking shears area and are a bit larger than the 2 1/2″ square. I used the measurement I got from them to use in the next step. Please measure your squares and then go with the measurement you find.

2) Start along one side of the fabric and using a ruler, mark off a line with a pencil and ruler the measurement that you come up with (I drew mine at 2 3/4″) — if you are using the 2 1/2″ squares, your measurement marked will be 2 1/2″

3) Repeat measuring and drawing the lines on the muslin background until you have enough squares drawn for the squares you are using. My grid was 8 squares across by 6 squares down.

4) Lay the squares out on the muslin until you are happy with the placement

5) Using a glue super stick (thermoweb is my favorite!) tack the corners down of each square


6) Fold over one full line — the fold will naturally follow the edges of the squares, iron if needed

7) Sew 1/4″ seam along the fold line

8) Repeat- fold and sew, fold and sew until you finish one direction of the mini quilt
9) Iron the seams to one size

10) Repeat – fold and sew until you finish the other seams of the mini quilt. Below is how the back looks like when it’s done.

11) Layer the top, another piece of muslin (or batting if you choose) and backing fabric. I decided just to line it with muslin because the foundation fabric that is sewn along with the squares give it a bit of weight. The size of the mini quilt is kind of small and so I didn’t want to use batting and make it poofy. You can decide for yourself what you’d like to do when you get to this stage.

12) Quilt as desired– I decided to do a diagonal cross hatch quilt pattern. Super simple and quick to do

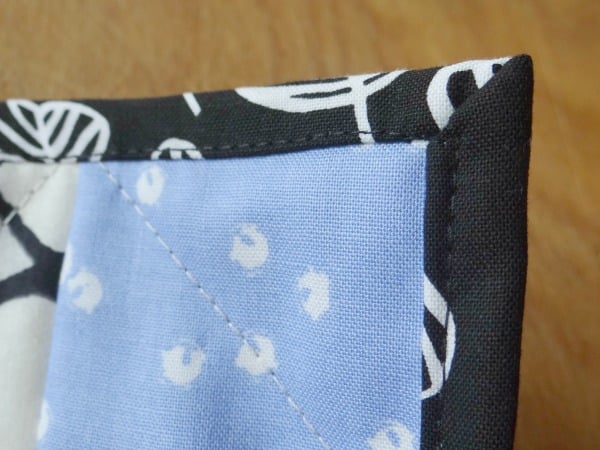
13) Bind the mini quilt — I used the roll over binding where you fold it from the back to the front


More Mini Quilts

Make a camera quilt block mini – I have it in my sewing room next to pictures of me with friends.
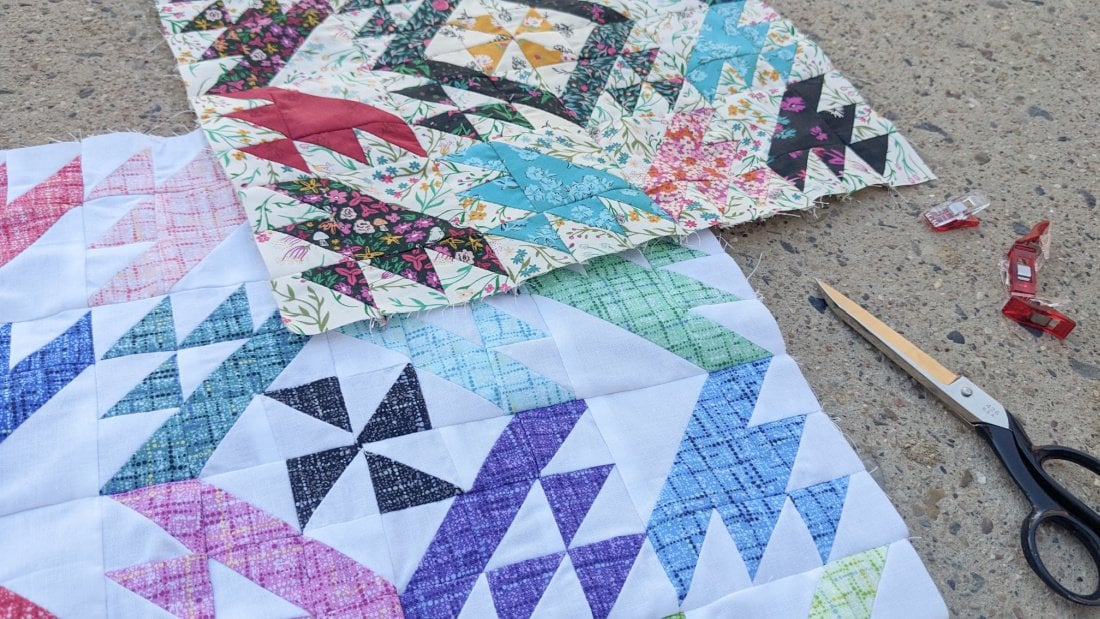
Ripples Mini Quilt – use those leftover half square triangles and make a super cute mini quilt.
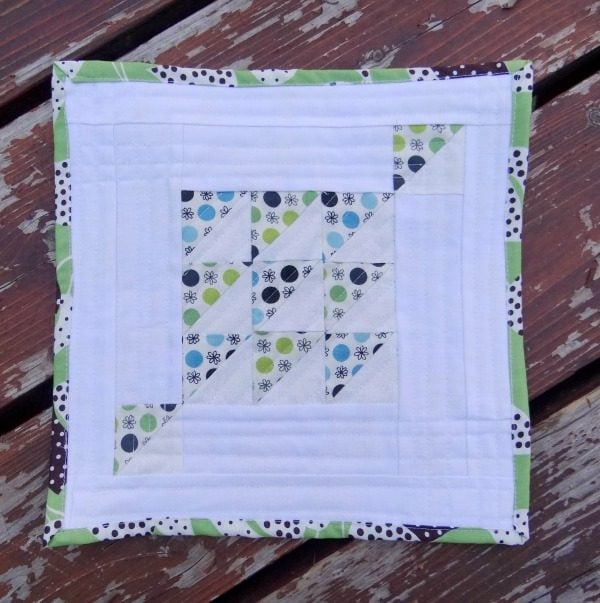
Modern Mini Quilt – great for practicing your straight line quilting.
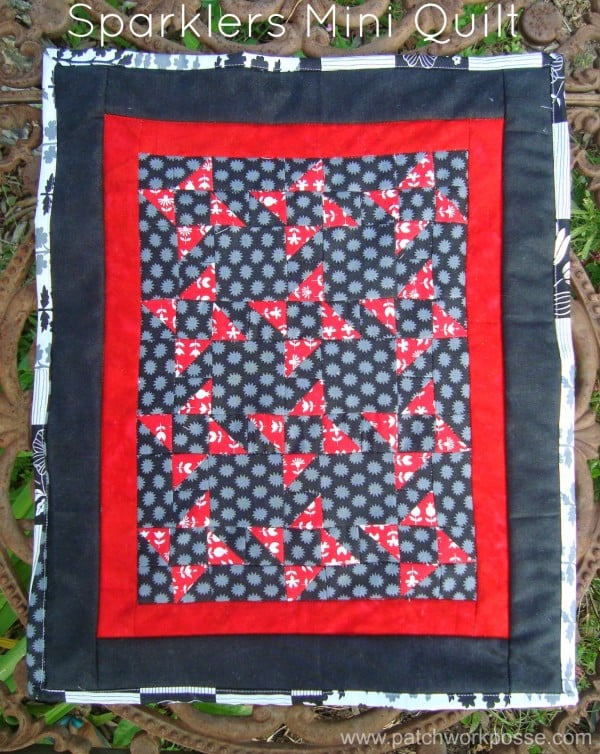
Sparklers – cute mini using dark background fabric.
- How to hang a mini quilt – it’s a great trick!
Becky Jorgensen is the creative quilter behind Patchwork Posse, the Patchwork Planner and her online quilt group Patchworkers Plus. You can find her patterns in books, magazines, and her quilt membership. Gather your quilting supplies, organize your sewing space, explore the process of disappearing quilt blocks, or finish a free quilt pattern. I'll help you use what you have, finish what you start and make your quilting journey fun!
Follow me here: Facebook, Pinterest, YouTube




Hi Becky! This is a fab tutorial. Using a gluestick is a better idea than using fusible web, which I’ve done. Even the lightest fusible makes the quilt a little stiff. On a regular ironing board, you cannot iron all the squares at once. I would think, if you wanted a larger grid, the fabric would be easier to sew than to try ot fuse two pieces of the webbing together. I struggled with that one, lol. I am going to try your method!!!
Becky thanks for such a clever idea. I am going to have to try this method. I prefer sewing mini quilts so this method would be ideal as gifts.
Thanks for sharing this great tute! I have thousands of bits and pieces and this will make a fun and exciting project!
I’m excited to try this and can’t wait to start digging through my scraps to create something pretty! Your tutorial is an eye-opener for me! Thank you!
I am confused with your measurements. The materials list says 2 1/2 ” squares. In the instructions it is talking about 2 3/4″ and the fabric shown is 2 3/4″.
Sandy- thanks for pointing that out. I have updated the post about the measurement. But basically measure the squares you are using….this could even work for larger squares as well. Mine turned out to be 2 3/4 because of the pinking sheared edge- but all the blocks were the same size, so I went with the measurement. Let me know if you have any other questions!
Just made a lovely little winter coloured mini quilt by following your tutorial. It was so easy and I had a little 21/2 inch charm pack which was just sitting in my stash waiting to be used. Thank you so much for sharing this technique.
I think I like the sound of this technique better than the interfacing idea (for pillows). I am going to try both though just to see which is easier. On to the test!
Will make an adorable little quilt for our Great Granddaughter’s doll crib! Thanks for sharing!
Great idea Pat! Plus, you can use up your fun fabric too!
I am brand spanking new at quilt making. this project has me excited.
Connie
Holy Moly, all these years I’ve wondered how to work with tiny squares and wondered how postage stamp quilts could possibly be exact. It was beyond my capability to think of getting all those squares lined up perfectly. Thanks for this tutorial and clearing up the fog. I’m going to try this.
yay! can’t wait to see it. This is a really simple way to keep things all lined up.
What a neat way to handle small pieces! I’m apt to save small scraps of the fabrics I like best. This method would make a great Zip pouch or small clutch, or even a tote bag, as you really wouldn’t have to line it unless you wanted to.
Thanks, Becky!
Thank you for the refresh, many years ago, just did not recall again a million thank yous.
Call me crazy, but I’ve been wanting to do 1″ squares to recreate a cross stitch pattern I have. I think I’m still going to use a visible because I’m too lazy to draw out that grid for that big of a piece, lol. The beauty of it is that with the right fabrics, I won’t need very many of them. If I ever get there, it should be interesting.
sounds like this method would be perfect for a project like that. good luck!