Make a sewing machine pincushion to keep those pins from rolling around on the throat area of your sewing machine.
I’ve been finding myself sewing with pins rolling around next to the machine. I have used a few pincushions in front of the machine, but I move it all the time and then it’s lost to another spot in the sewing room.
So it was time to make a pincushion for the sewing machine. This one features ribbon ties so you can really place it anywhere you’d like.
Initially I did try a few spots on the machine to place the pincushion, but found that the top of the machine was the best.

Want the ad free pdf file?! Scroll to the bottom of the post for more details!
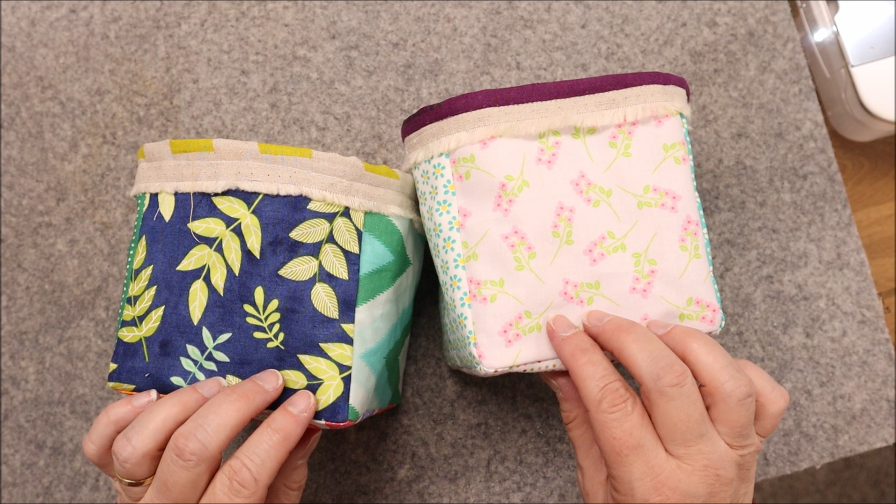
This pincushion is so simple to make! It takes just a few scraps and two pieces of ribbon.
I have a pretty good collection of ribbons – I keep some ribbon from packages, fabric bundles and I even looked at using the selvedge of the fabric bolts.


Materials Needed:
- Ribbon for the tie – 2 measuring 13″ each
- Scraps (pieces measure 2 1/2″ x 6″ total)
- Ticker Tape (if you’d like to try this technique – video for using ticker tape here)

1- Use the ticker tape sew multiple pieces of scraps together

2- Cut your pieces to 2 1/2″ x 6″ You’ll need two pieces – one for the top, one for the bottom

3- Cut your ribbon into two pieces. My ribbons measured 13″

4- Pin one ribbon to the middle of one side

5- Pin the second ribbon to the other side in the middle

6- Pin the ribbon tails together in the spot where you’ll not sew (it’s the hole for turning)

7- Sew all the way around the pincushion, leaving an opening for turning. I double stitched where the ribbon was on the sides.

8- Trim the corners to remove bulk

9- Turn the pincushion right sides out

10- Push the corner out using a purple thang or something similar

11- It’s ready to stuff and finish!


12- Stuff the pincushion until it’s stuffed to your liking

13- Using a quilters knot, tie your thread and prep it for closing the opening


14- Using the ladder stitch, close the opening

15- Finish closing the opening

16- Using the ribbon, tie to your sewing machine. You may want to try a few different spots to see which one you like the best.

I placed the pincushion on the sewing machine on the top.
I tried a few different places, but because of the reverse button on the front, it wouldn’t work there. I also didn’t want the pincushion to be on the throat area of the machine. So, I moved it to the top.

Sew a Pincushion for your Sewing Machine Video

Get the ad-free PDF
Click the button below and download the Printable Tutorial.

More Pincushion Resources
Felted Wool Pincushion

Take those leftover wool strips and fabric and make some super cute wool pincushions by rolling them.
Hexagon Pincushion

Turn your hand sewn hexagons into a super cute hexagon pincushion.
What’s Inside Your Pincushion

Did you know that you can use different things for stuffing you pincushion. It doesn’t always need to be stuffing! Find out what other things you can use inside your pincushion here.
Doily Pincushions

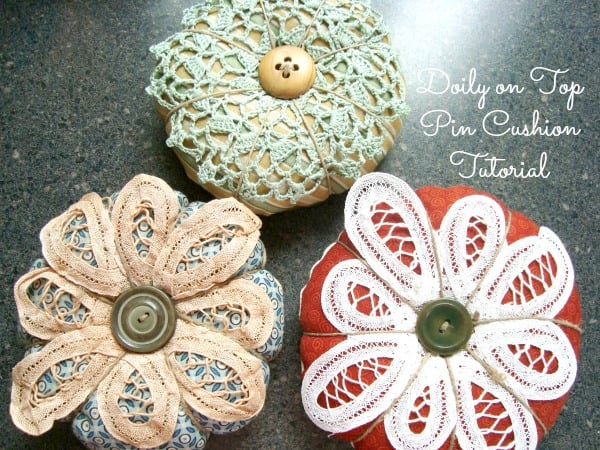
Add some vintage flair to your pincushion by sewing a doily to the top. Either one that you have made yourself or crocheted, or a doily that you have bought.
Embroidery Pincushion

Using thrifted embroidery squares, sew them into a embroidery pincushion.
Becky Jorgensen is the creative quilter behind Patchwork Posse, the Patchwork Planner and her online quilt group Patchworkers Plus. You can find her patterns in books, magazines, and her quilt membership. Gather your quilting supplies, organize your sewing space, explore the process of disappearing quilt blocks, or finish a free quilt pattern. I'll help you use what you have, finish what you start and make your quilting journey fun!
Follow me here: Facebook, Pinterest, YouTube


This is so clever and I think I need to make a couple of these today. This will be a great little add-on gift for my sister (and me)!
It is a cute idea but I was wondering about the pins poking through and scratching the machine.
I haven’t had an issue, but did think about that! You could put a piece of cardstock or cardboard on the bottom before stuffing it to prevent that if you needed.