The Dresden plate is a beautiful and classic quilt block, known for its fan-like segments. Creating your own template gives you control over the size and shape of the petals, making your quilt truly unique.
Let’s take a look at the easy steps to make your own Dresden plate template.
You don’t need any special skills or fancy tools—just some basic materials you likely already have in your quilting stash. We’ll explain everything in clear, simple terms, so you won’t feel overwhelmed.
First, we’ll go over the materials you’ll need: a ruler, cardboard or plastic for the template, a pencil, and scissors.
Then, we’ll guide you through drawing and cutting out the template. We’ll also share tips to ensure your template is accurate and easy to use.

Creating your own template is not only cost-effective but also allows you to customize your quilt blocks to fit your project perfectly.
Plus, it’s a fun way to add a personal touch to your quilting. Whether you’re making a full quilt or just a few blocks for a smaller project, this guide will help you get started with confidence.
The Dresden Plate template is something you can give yourself a try at making!
They are fun to sew ….but what if you don’t own that special ruler? Are you out of luck and can’t give this fun block a try?
No way!
Quick way to make your own dresden plate template.

Materials Needed:
card stock paper or something else that will work for a template
pencil
ruler
How to Make a Dresden Plate Template Instructions:
1) Measure a line along the bottom 3 1/2″ in length. No matter how tall you want your dresden to be, this is a pretty standard size along the bottom. This actually turns out to be the ‘top point’ of the dresden, just to let you know.

2) Measure and mark the center of the 3 1/2″. It is 1 3/4″
3) Measure and mark the height of your dresden that you’d like. I made mine 5″ tall.

4) Measure and mark 1/2″ from each side
5) Draw a line lining up the 1/2″ marks at the top to the bottom corners

6) Cut out template


Quick notes about the dresden template.
- The skinny part is actually the bottom of the dresden.
- The wider end will be sewn together and make the point at the tip of the dresden.
If you’d like a chunkier shape, make the 1″ at the top wider! You can practice a few different sizes with fabric scraps until you get the shape that you are going for.

All About the Dresden Plate Quilt Block
The Dresden quilt block, with its distinct fan-like segments, has a rich history that reflects its journey through various quilting traditions and styles. Its origin dates back to the early 20th century, a time when quilting experienced a resurgence in popularity in the United States.
The block is named after the city of Dresden in Germany, known for its fine porcelain and intricate designs, which the block’s elaborate patterns often resemble. However, the actual design and popularization of the Dresden Plate quilt block took place in America, particularly during the 1920s and 1930s.
The 1920s and 1930s were a golden era for quilt-making, largely influenced by the Colonial Revival movement, which encouraged a return to traditional crafts and home arts. Quilt patterns were widely published in newspapers, magazines, and by companies like the Kansas City Star, making quilting accessible to a broader audience. The Dresden Plate was one of many traditional quilt blocks that became popular during this period.
The Dresden Plate pattern is characterized by its circular design made up of petal-like segments, or “blades,” which can be uniform or varied in shape and size. These blades radiate from a central circle and are typically appliquéd onto a background fabric. The block allowed quilters to showcase their skills and creativity, using various fabrics and colors to create intricate and visually appealing designs.
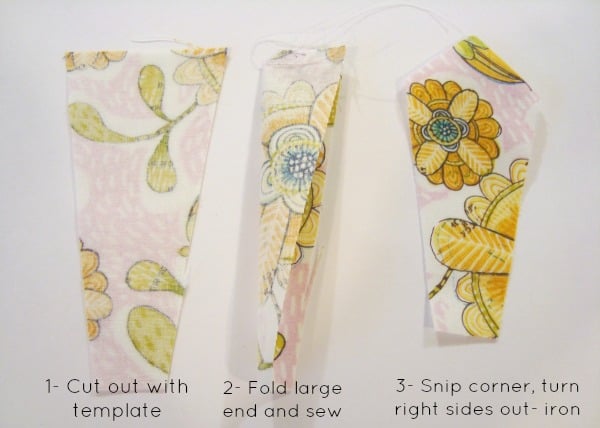
10 Features of the Dresden Plate Fan and Block
The Dresden Plate fan is a distinctive and elegant quilt block known for its unique features. It really is a lot of fun to make and to show off in a quilt. There are soooo many things you can do with it – it’s really quite a unique quilt block!
Here are the key characteristics:
- Fan-like Segments (Blades): The most notable feature of a Dresden Plate is its fan-like segments, often called blades or petals. These segments radiate from a central point, resembling the spokes of a wheel or the petals of a flower.
- Variety of Shapes: The blades can be uniform or varied in shape and size. Common shapes include pointed, rounded, or even scalloped edges, adding to the versatility and design possibilities of the block.
- Central Circle: At the center of the Dresden Plate, there is typically a circular piece that covers the inner edges of the blades. This central circle can be plain or decorative, often serving as a focal point for the block.
- Appliqué Technique: The blades and the central circle are usually appliquéd onto a background fabric. This means they are sewn onto the fabric using a variety of stitches, either by hand or machine.
- Scrap-Friendly: The Dresden Plate is an excellent way to use up fabric scraps. Each blade can be made from a different fabric, allowing quilters to create vibrant and colorful designs.
- Customizable Size: The overall size of the Dresden Plate block can vary. Quilters can adjust the number and length of the blades to fit their desired block size.
- Versatile Use: While traditionally used in quilts, the Dresden Plate design can also be applied to other projects like pillows, table runners, and wall hangings.
- Historical Charm: The design reflects a vintage charm that harkens back to the early 20th century, particularly popular during the 1920s and 1930s.
- Visual Appeal: The symmetrical and intricate pattern of the Dresden Plate creates a visually striking effect, making it a centerpiece in many quilt designs.
- Easy Assembly: Despite its complex appearance, the Dresden Plate is relatively easy to assemble. It consists of repetitive pieces that, once cut and prepared, are straightforward to sew together.
FREQUENTLY ASKED QUESTIONS
How many blades for a Dresden plate?
It depends! Which is not a great answer, but it does. How big are the blades? How wide is each blade? How big is the quilt block base fabric? These are the things that would determine how many blades you will need for each quilt block.
How old is the Dresden plate quilt pattern?
Making its debut in the 1920s, the Dresden plate quilt block was first published as a pattern in the 1930s. These quilts are typically easy to date because of the traditional floral prints of the time and are often made of feed sacks.
How to attach a Dresden plate to fabric?
The easiest way is to place your dresden plates (which have been sewn together) on the background fabric and hand stitched or machine stitched along the outside of the petals.
Now that you have your template….. head on over and find out how you can sew the dresden!
And- here are some fun quilts to make with them!
Dresden Plate Quilt Patterns

20 + Dresden Plate quilt tutorials – these are beautiful quilts that you can sew using your own dresden plate templates! There are so many option when it comes to quilts using this pattern.
Dresden Plate Apron Pattern

Not all dresdens have to be in a quilt! Check out the Apron Tutorial – where your strips become part of the apron. Perfect for gift giving or using in your own kitchen.
More Dresden Plate Hints and Tips
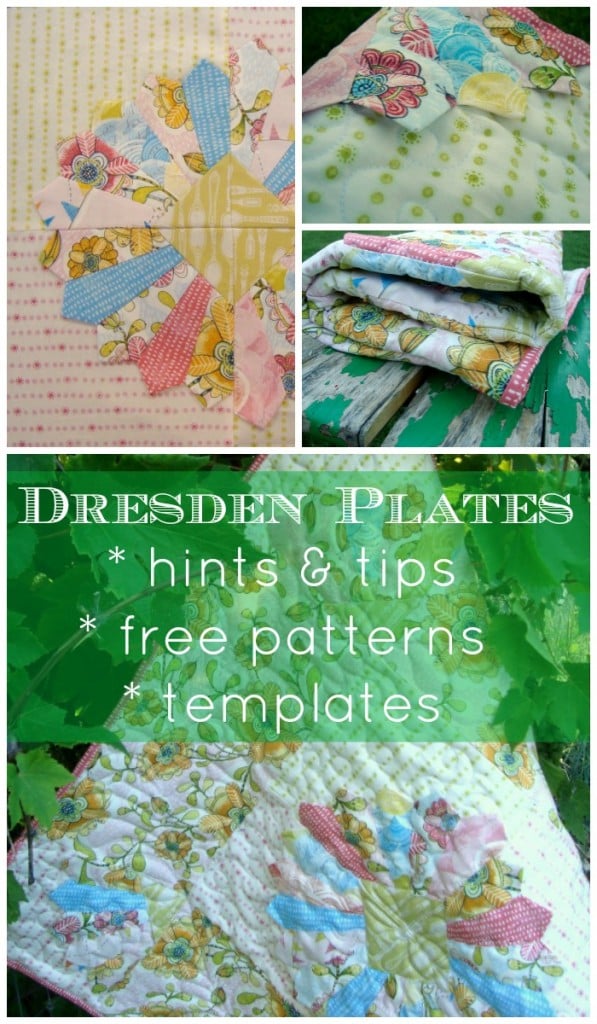
If you are ready to dig a little deeper, check out the All about dresden plates– hints, tips, templates and projects page. It’s loaded with helpful tips to keep you from making mistakes – and finishing a beautiful quilt.

More Scrappy Fabric Quilts
- How to make a string quilt
- How to make a scrappy quilt
- Sewing scraps using ticker tape
- Jelly roll quilt – rail fence pattern
Do you have any dresden plate tips or hints? What works best for you?
Becky Jorgensen is the creative quilter behind Patchwork Posse, the Patchwork Planner and her online quilt group Patchworkers Plus. You can find her patterns in books, magazines, and her quilt membership. Gather your quilting supplies, organize your sewing space, explore the process of disappearing quilt blocks, or finish a free quilt pattern. I'll help you use what you have, finish what you start and make your quilting journey fun!
Follow me here: Facebook, Pinterest, YouTube




Hi there Becky just found your Dresden template thank you so much love love your website
Januk
Thanks so much, Becky. Any tips on how to make smaller ones? I was never any good at Math. ;D)
Any suggestions on making it bigger? I want a finished template of 24″ & 36″. Tia
Hi, Great tutorial, Thank you sooo much!!
I have a tip for getting the points of the “blades” centered. After they are sewn and turned right side out, I finger-press the middle of the blade, while it’s still folded in half (long ways), then when I go to fold the material to the back, to make the point of the blade, I separate the seam so it’s open, and center that sewn line on the “fold” I made in the center of the dresden blade, then I press it. This way I know that the point will be centered.. I hope you understand what I mean..
Thank you very much for your guide to making our own templates for a dresden plate whatever we want. For me it is a large cushion. In my home town a small template 8″ costs $15 and a wedge plate ruler in two pieces cost $45.00 standard but that does not include postage as well. So basically Becky, you just saved heaps of money. How can I thank you for your helpful teaching tools. I know this is not the answer you requested but I felt compelled to write a thank you note anyway.
A dresden plate is a circle. The math must therefore be based on 360 degrees in a circle. If you want a plate with 20 blades, which is pretty standard, you divide 360 by 20. That equals 18 degrees. To ensure that the blade is correct draw a straight line for the center of the blade. Your angle of the line from the base of the blade to the top of the blade FROM THE CENTER LINE must be 9 degrees. The greater the measurement from the center line, the greater your circumference of your finished plate will be, but the angle must be 9 degrees from the center line of the blade on both sides (9+9=18, 18 x 20 = 360)
So lets change this up. What if you want fewer blades? 360 divided by 10 = 36 degrees, or 18 degrees from the center line. And so on.
I have a tip…..I cut a piece of cardboard, shapes like a triangle. When I turn my blade inside out I press the seams open. Then I insert the triangle into the tip of the blade and press. I always have perfect points every time I use the cardboard triangle. Hope this trick helps others!
Thank You so much for sharing this! Already have in use!
you are welcome!
If I want a 30″dresden plate ruler what would the measurement be ? thank you Rahel
i want to make a large blade, about 16″. how would i do it. it is for a table topper.
My Husband cut a dresden plate and tumbler patterns from cheap stiff cutting board plastic…the kind you can find at Ikea…it’s flexible, but very stable.
I’m glad others are figuring out that they don’t always have to buy, buy, buy..! 🙂
Wow ! So many helpful tips! I can’t wait to try my hand at some mug rugs using these tips.
Thank-you for sharing !
>Measure a line along the bottom 3 1/2″ in length. No matter how tall you want your dresden to be, this is a pretty standard size along the bottom.
I’m a little confused… shouldn’t this vary depending on how small or big you want the dresden to be? Sorry if it’s a dumb question, I’m a bit new to all this…
what size should the center circle measure?
The circle should be large enough to cover the center gap- It can be smaller or larger, depending on the size of gap and what you are going for. I use different sized circle lids or plates to audition the size.
Thanks for the great tutorials on Dresden Plates! Using the templates you showed how to make, how many petals do you need for one Dresden Plate and what size block would you applique it onto?
So much useful information, should have found this years ago. I am no good with math and was forced to buy the tools but thanks to you that’s over. I am finishing a table topper using neck ties for the Dresden Plate blades. Thank you for your help, it was a blessing.
Hi dear, I can’t seem to figure out how to make my templates for snowflakes Dresden plates? Please help, and thank you for your very well explained tutorial, blessings from BC Canada