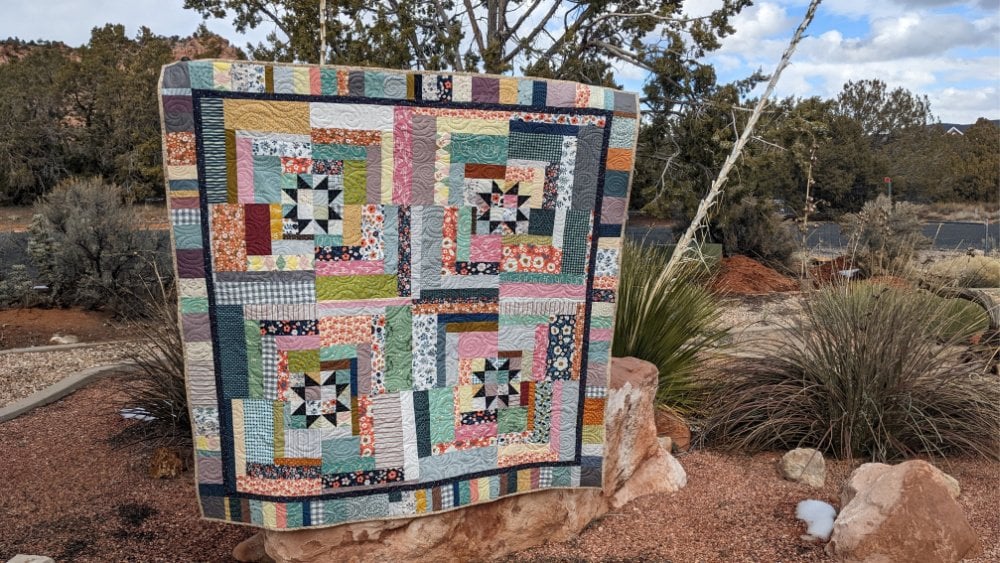
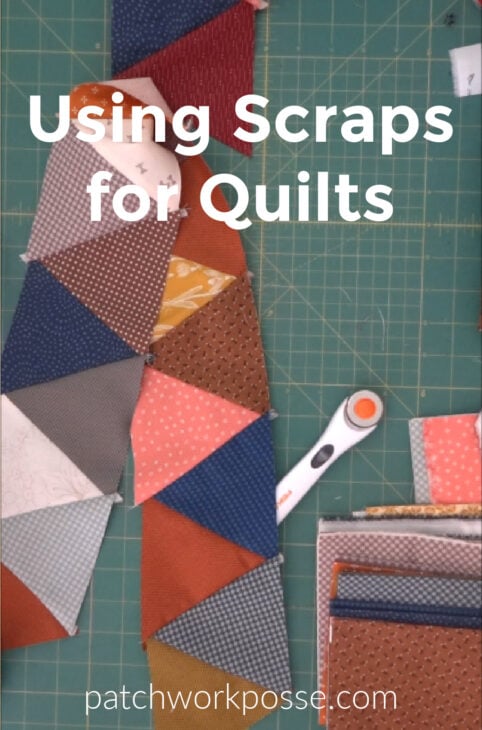
Let’s take that stash that you have sitting in your sewing room and make something beautiful with it. At the end of our quilts and other sewing projects – I always have a pile of leftover scraps and fabrics, so let’s make a scrap quilt.
I typically keep them in a baggie, but recently have been trying to use them! I’ve been digging them out of their piles in the room and using them in new projects and quilts.
For those of us who’ve already dipped our toes into the world of quilting, there’s something special about rummaging through our sewing rooms and finding treasures we’ve forgotten about. Today, we’re diving into the art of scrap quilting—an endeavor that allows us to dust off those fabric scraps and turn them into something truly remarkable.

As seasoned quilters, we know the joy of selecting fabrics, piecing them together, and watching a quilt come to life. But there’s a certain magic in rediscovering those forgotten remnants—the remnants that have been patiently waiting in our stash, eager to be transformed into something beautiful.
This guide isn’t about starting from scratch; it’s about using what we already have at our fingertips. It’s about breathing new life into those neglected fabrics and creating a quilt that’s uniquely ours.
So, let’s venture into our sewing rooms, gather our scraps, and embark on a journey of creativity and resourcefulness. Together, we’ll explore the endless possibilities of scrap quilting and unleash our imagination one stitch at a time.

Using Your Fabric Scraps to Make a Scrap Quilt– Why do we want to use them
Using scraps in quilting is a great way to give those forgotten fabrics a second chance to shine. Here’s why incorporating scraps into our quilts is not only practical but also rewarding:
- Resourcefulness: Quilting is a craft deeply rooted in resourcefulness. By using up scraps, we minimize waste and make the most of every piece and variety of fabrics in our stash. It’s a sustainable approach that honors the materials we already have on hand.
- Uniqueness: Every scrap tells a story, whether it’s from a cherished garment, a past project, or a special fabric gifted by a friend. Incorporating these scraps into our quilts adds layers of meaning and nostalgia, creating a quilt that’s truly one-of-a-kind.
- Variety: Scraps come in all shapes, sizes, and colors, allowing us to experiment with different combinations and patterns. Mixing and matching leftover fabric scraps adds visual interest to our quilts, resulting in vibrant and dynamic designs.
- Challenge and Creativity: Working with scraps challenges us to think outside the box and find creative solutions. It encourages improvisation and problem-solving as we piece together scraps of varying sizes and shapes to create cohesive quilt blocks.
- Cost-Effectiveness: Using scraps is a budget-friendly way to quilt. Instead of purchasing new fabric for every project, we can utilize scraps from previous projects or repurpose old clothing, linens, or fabric remnants, saving money in the process.
In essence, using small pieces or large pieces scraps from our scrap pile in our quilts or even your scrappy blocks not only reduces waste and saves money but also adds character and charm to our creations.
It’s a practice that celebrates the beauty of imperfection and the joy of making something extraordinary out of the ordinary.

This is one of my all time favorite things about using your scraps. Every quilt is different. It’s a mixture and collection of previously sewn projects and quilts. It reflects your style and taste. It’s a lot of fun to sew with others as well – or even share your scraps!
Each quilt will show off a range of contrasting color, fabric choices, bright colors, even your favorite scraps and leftover pieces of fabric make the perfect starting point.

Steps for Using Your Fabric Scraps in Quilts
1. Gathering Materials
- Start by collecting your materials: fabric scraps – both dark fabrics and light fabrics from your scrap stash, scissors, a sewing machine, thread, and a cutting mat. You can use any fabric scraps you have lying around, from old clothes to leftover projects. Don’t be afraid to mix and match different colors and patterns for a vibrant look. You can even look at the right sides of the fabric, or even wrong side! (sometimes, it’s the perfect color for your project). Don’t forget about that fat quarter in your fabric stash as well. Even though it may be considered a large size of fabric, it can still be used if it doesn’t fit into any other combination with fabrics. Overall you’ll get a random assortment of fabric for your scrappy quilt blocks.
2. Sorting and Preparing Fabric
- Sort your fabric scraps by color or pattern to make it easier to choose pieces for your quilt. Then, iron out any wrinkles and trim the edges to create clean, straight lines. This step will ensure that your quilt pieces fit together neatly.
3. Choosing a Design
- Next, decide on a design for your quilt. You can opt for a simple pattern like squares or rectangles, or get creative with more intricate designs like stars or hexagons. Sketch out your design on paper to visualize how it will look before you start sewing.
4. Piecing the Quilt Top
- Now it’s time to start piecing your quilt top together. Lay out your fabric pieces according to your chosen design, and then sew them together using a quarter-inch seam allowance. Press each seam open with an iron to create a smooth, flat surface.
5. Adding Borders (Optional)
- If you want to add borders to your quilt, now is the time to do so. Measure the sides of your quilt top and cut strips of fabric to the desired width. Sew the border strips to the edges of the quilt, matching the corners carefully.
6. Quilting the Layers
- Once your quilt top is complete, it’s time to quilt the layers together. Lay your quilt top right side up, then place batting and backing fabric on top, making sure they’re larger than the quilt top. Pin all three layers together, spray baste or hand baste, then quilt them together using your preferred method, hand quilting, such as straight-line quilting or free-motion quilting. Don’t forget that you can make your own scrappy quilt backing as well! It’s a great place for those larger piece of fabric, patch blocks, square blocks, small squares, quilt block exchange, smaller squares – you never know what will work on the backside as well as the front!
7. Binding the Edges
- Finally, bind the edges of your quilt to give it a finished look. Cut strips of fabric for the binding, fold them in half lengthwise, and press them flat. Sew the binding strips to the edges of the quilt, mitering the corners for a neat finish. If you have strips hanging around – you can make your own scrappy binding with them as well.

How to make a string quilt using your fabric scraps

More About Scraps and Scrap Quilt Patterns
- Storing your fabric scraps
- String Quilt
- Baby Quilt
- Log Cabin Quilt
- Small projects
- Make a scrap quilt Beginner friendly
- 50+ strip quilt patterns

Becky Jorgensen is the creative quilter behind Patchwork Posse, the Patchwork Planner and her online quilt group Patchworkers Plus. You can find her patterns in books, magazines, and her quilt membership. Gather your quilting supplies, organize your sewing space, explore the process of disappearing quilt blocks, or finish a free quilt pattern. I'll help you use what you have, finish what you start and make your quilting journey fun!
Follow me here: Facebook, Pinterest, YouTube


