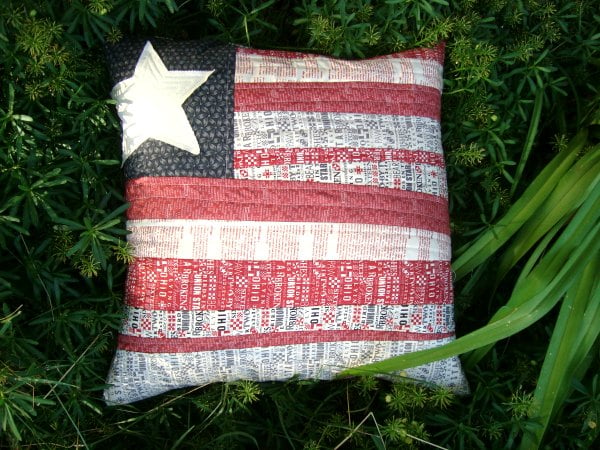
Learn the quilt as you go technique with this flag pillow tutorial. Great for the 4th of July or summer decoration.
This design has been stewing for a bit. I finally snuck in a few sewing minutes and put it together. Lately I have been having a lot of fun with the quilt as you go method.
After sketching a few things, I figured out how to make the flag layout work…… so happy with how it turned out!
I am not one to dec my whole house with holiday stuff, but it’s been awhile since I’ve had anything new for the 4th of July month. This project is perfect. It sews up pretty quick, and since it is a pillow cover, can be stored away when not in use.

Materials Needed:
strips of fabric {can be various measurements} of red fabric X 14″ for the part next to the star and 23″ long for below the star area
strips of fabric {can be various measurements} of white fabric X 14″ for the part next to the star and 23″ long for below the star area
9″ X 9″ blue square
6″ X 6″ white- star
Batting- 22″ X 22″
Backing- muslin 22″ X 22″
Spray adhesive. I use the thermoweb product and love it. Keeps everything in place. No pins needed!

Flag Pillow Tutorial~
1) Using the spray adhesive to keep the layers secure- layer the batting and muslin backing
2) Place a red or white strip of fabric across the top of the piece. The strip will start 8″ from the left side. This area will be covered by the blue square of fabric. No need to have additional fabric behind it.

3) Place the next color strip -right sides facing- on top of the first strip. Pin in place.
4) Sew along the edge of the strips.

5) Fold the strip back, finger or iron press.
6) Sew 1/4″ from the seam.
7) Sew down the middle of the strip.
8) Place the next color strip -right sides facing- on top of the first strip. Pin in place.

9) Sew along the edge of the strips.
10) Sew 1/4″ from the seam.
11) Sew down the middle of the strip.
12) Continue this quilt as you go technique until you are just past 9″ down from the top of the pillow
13) Using a ruler to mark 8 1/2″ from the top and left side, lay your blue fabric -right sides facing the strips of red and white. Pin the blue square in place

14) Sew along the left side of the blue square.
15) Fold the blue square back and sew 1/4″ from the seam.
16) Cut out a star from the white fabric. You can use heat-n-bond lite if you’d like.
17) Fuse or pin onto the blue square. Sew in an echo design inside the star.

18) Take your next red or white fabric strip and lay it right sides facing on top of the blue square and the other strip. Pin in place and sew along the edge.

19) Continue sewing, flipping and quilting each strip till you reach the bottom of the pillow.
20) Trim the pillow to your correct size.

21) Finish your pillow with the back and closure you like.

Get the Printable Post
Want an ad-free, printable version of this post? Click the button below and download the Printable PDF tutorial.
pst- sometimes this shows up as $0.00 for the day because it’s our daily tutorial. Only those who subscribe know what the feature tutorial is – they get to grab the PDF for free. Check it out.
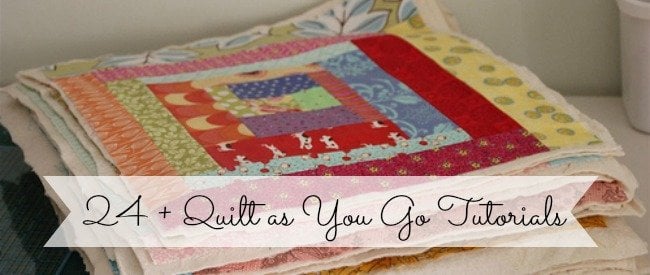
For additional Quilt as you go Projects–
Helpful Tips for Sewing the Flag Pillow
Use What You’ve Got
This project is perfect for using up leftover strips or scraps. Try mixing different prints or shades of red and white for a scrappy, textured background that still reads “flag.”
Strip Size Suggestions
Strips can vary in width, but sticking between 1.5″ to 2.5″ wide keeps the quilt-as-you-go process simple and balanced. A little variety adds character!
Oversize the Batting and Backing
Cut your batting and backing about 1″ larger on each side than your pillow top. This gives you room to trim things up nice and square after sewing all the strips down.
Start in the Middle
Begin placing your strips in the center of the pillow front and work outward. This keeps everything centered and helps avoid bunching or warping.
Walking Foot = Your Best Friend
If you’ve got a walking foot, now’s the time to use it. It feeds all the layers evenly and prevents shifting while sewing through the batting and backing.
Star Fabric Options
For the applique star, try using felt, wool, or a white-on-white print. If you want a clean, no-fray look, use fusible web like Heat n Bond before stitching around the edges.
Tidy Finish
After you’ve sewn down all the strips, give the whole front a good press, then trim all sides so everything lines up before sewing it into a pillow.
Check Your Pillow Insert Size
Before adding the backing, double-check the size of your insert. If it’s a little puffy, you might want to sew your pillow just a hair smaller for a snug, full finish.

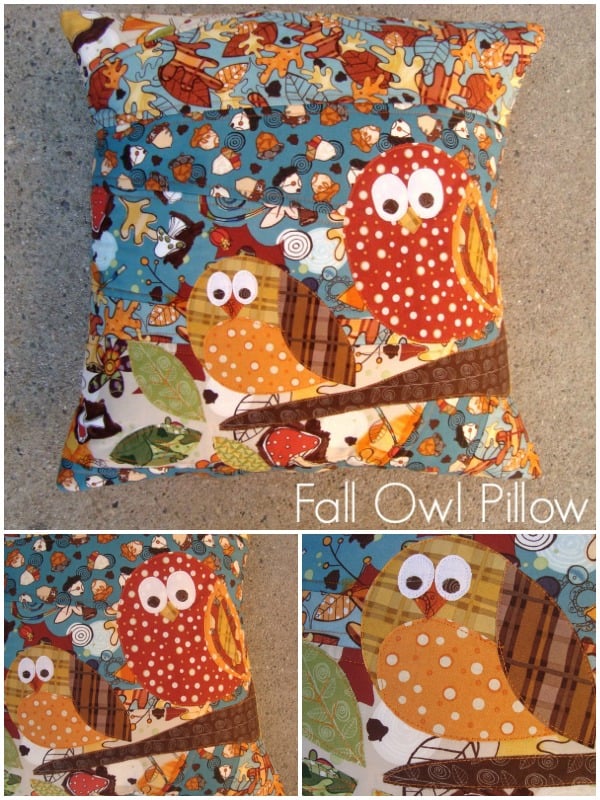
Fall Owl Pillow – Fun and cute and a great project to practice applique.

Heart pillow – great for cooling off anytime of year

Pillowcase Roll Tutorial – I love this simple project, it’s perfect for gift giving.
Becky Jorgensen is the creative quilter behind Patchwork Posse, the Patchwork Planner and her online quilt group Patchworkers Plus. You can find her patterns in books, magazines, and her quilt membership. Gather your quilting supplies, organize your sewing space, explore the process of disappearing quilt blocks, or finish a free quilt pattern. I'll help you use what you have, finish what you start and make your quilting journey fun!
Follow me here: Facebook, Pinterest, YouTube


Thanks for the tuto and tips.I love bags and small projects though make blocks for a sampler quilt would be fabulous but I`ve never tried it!
i keep wanting to try this technique. perfect for a smaller project to give it a go.
nice effect on the stripes. little wonky , primitive, folksy feel.
I have made some projects using this technic and it is awesome!
Thank you so much for the tutorial – I love this project and have been wanting to do quilt as you go!
What size pillow did this make? Was just wondering since I have several pillow forms I could use instead of making a new one to stuff
LOVE this pillow!!
Thanks for sharing. It looks very patriotic:)) I Think you can add stars to my pillowcases from the brand Magiclinen to the day of grace. Although I may not get as cool as you and would not want to spoil such a cool linen pillowcases