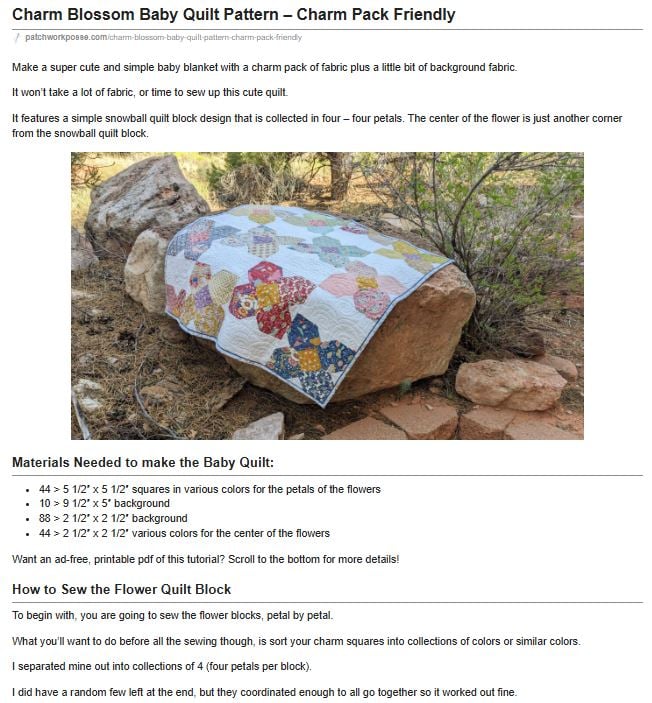
Make a super cute and simple baby blanket with a charm pack of fabric plus a little bit of background fabric.
It won’t take a lot of fabric, or time to sew up this cute quilt.
It features a simple snowball quilt block design that is collected in four – four petals. The center of the flower is just another corner from the snowball quilt block.

Materials Needed to make the Baby Quilt:
- 44 > 5″ x 5″ squares in various colors for the petals of the flowers
- 10 > 9 1/2″ x 5″ background
- 88 > 2″ x 2″ background
- 44 > 2″ x 2″ various colors for the center of the flowers
Want the ad free pdf file?! Scroll to the bottom of the post for more details!
How to Sew the Flower Quilt Block
To begin with, you are going to sew the flower blocks, petal by petal.
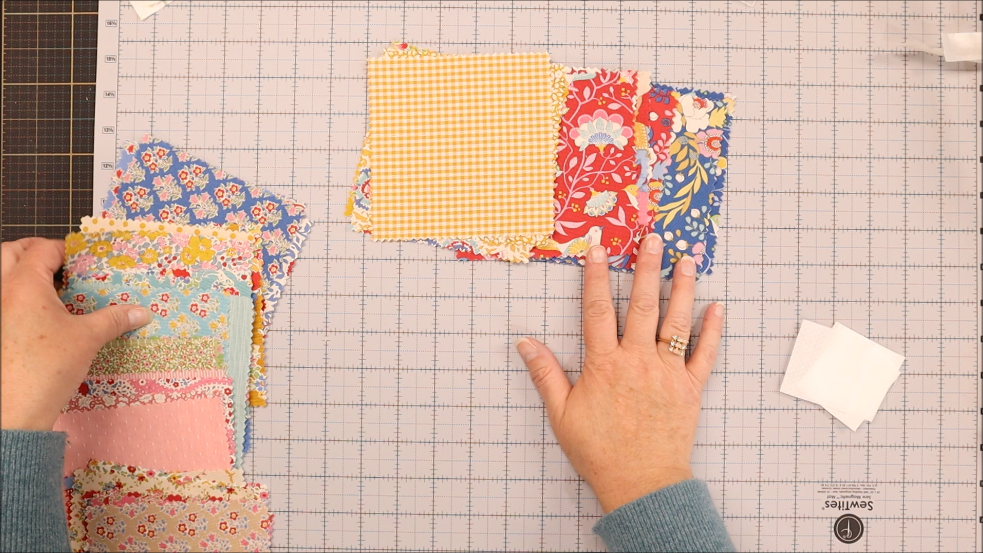
What you’ll want to do before all the sewing though, is sort your charm squares into collections of colors or similar colors.
I separated mine out into collections of 4 (four petals per block).
I did have a random few left at the end, but they coordinated enough to all go together so it worked out fine.
Also keep in mind that one of the flowers will NOT be sewn together completely, so if you have a pair of two and another pair of two, that would work as well.

1- Separate the charm square into sets of 4. Keep the sets in the same color family if you can.

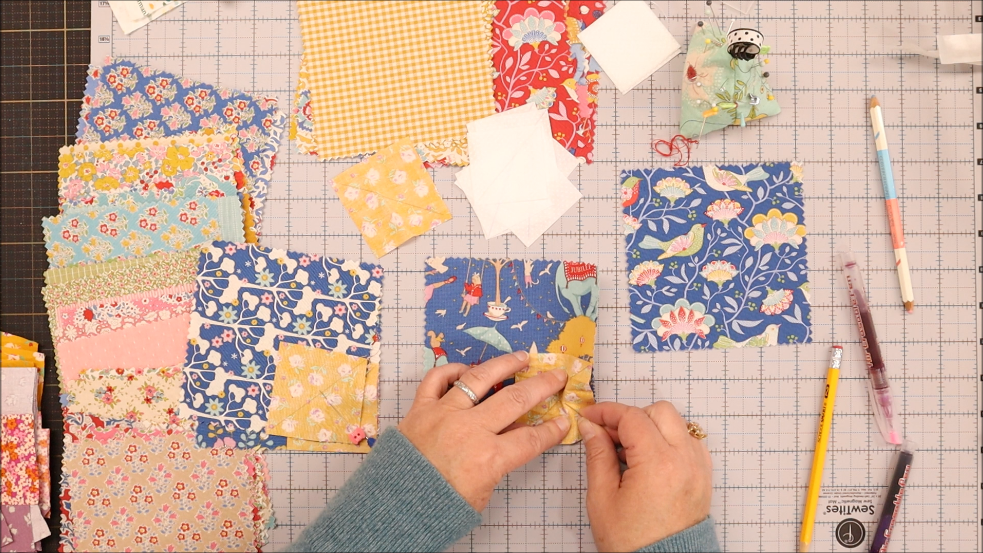
2- Pair up the flower sets with the center squares and the background squares

3- Draw a line on the wrong side of the background square from corner to corner

4- Draw a line on the wrong side of the flower center squares from corner to corner

5- Pin one flower center square to one corner of each of the flower squares, repeat with the other flower squares for a total of 4 per block

6- Sew on the drawn line

7- Cut 1/4″ past the sewn line

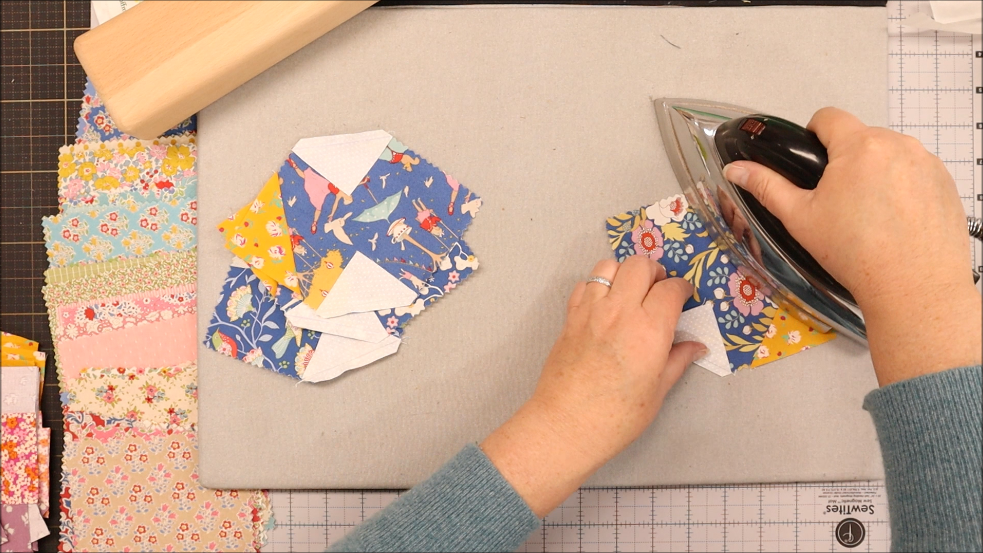
8- Press the squares

9- Pin one background square on one side of the flower center

10- Pin a second background square on the other side of the flower center

11- Sew on the drawn line

12- Cut 1/4″ past the sew line

13- Press the background triangles

14- Check the blocks and square up if needed. They should measure the same size that the large flower block was before adding the corner squares

15- Lay the block out

16- Place the top squares together, right sides facing

17- Pin to secure and lined up properly

18- Place the rows out to make sure they are in the right order

19- Place right sides together

20- Pin to secure, lining up the center seams – nesting the seams. Sew the rows together.

21- the block is finished!

22- Press the block and square up if needed
Repeat the process until you have a total of 10 Charm Blossom Quilt Blocks.
You’ll need the 12th flower block to be left in two pieces or halves for the quilt layout


Get the PDF PATTERN
Click the button below and download the Printable Pattern.
Video for Sewing the Flower Quilt Block
How to make a Flange Binding
Adding a flange to the binding is a great way to add a little bit more interest in the quilt. It’s perfect for adding a bit of color, a pop of fun and a little surprise. Follow the video and read more about how to add a flange binding,
Charm Blossom Quilt Top Layout
Now that you have your charm blossom flower blocks finished, it’s time to put them together to make the baby quilt. This is a simple quilt, and with the large rectangles as part of the sashing, the quilt top will be sewn together quickly.


- Lay two rows out so you have three flower blocks with two large rectangle sashing pieces.
- Lay two rows out using two flower blocks with three large rectangle sashing and half of a flower block
- Lay the rows out and sew them together
- Sandwich your quilt with the backing and batting and quilt as desired
- Add a flange (see video below) and bind
Quilting the Charm Blossom Baby Quilt

Here’s a look at the quilting that I decided to do for the Charm Blossom Baby Quilt. Super simple and nothing fancy over here! I went for an allover quilting design.
A swirl that moves around like a meander design. I did think about a swirl flower, but went with the little swirl instead.
I used white thread to keep it simple as well – nothing colored. It blended in great and was really quick to machine quilt on the longarm.

Finishing the Quilt
1. Cut or piece together your batting and a piece of quilt backing fabric.
2. Make a quilt sandwich with the backing, batting, and top.
3. Baste together with fusible batting, pins or basting spray.
3. Quilt as desired. A few of my favorite ways to quilt are Straight line quilting or cross hatch quilting. Use a walking foot on your sewing machine. Trim away the extra batting and backing.
4. Cut strips of fabric for the binding. Cut 2 1/2” tall (sometimes I use 2 1/4″) binding strips. Sew the binding strips together and bind using your favorite technique.
More Quilting Resources
- Tucking your binding to sew the binding ends together
- If you want a fun trick – this is a machine binding trick that looks handmade.
Becky Jorgensen is the creative quilter behind Patchwork Posse, the Patchwork Planner and her online quilt group Patchworkers Plus. You can find her patterns in books, magazines, and her quilt membership. Gather your quilting supplies, organize your sewing space, explore the process of disappearing quilt blocks, or finish a free quilt pattern. I'll help you use what you have, finish what you start and make your quilting journey fun!
Follow me here: Facebook, Pinterest, YouTube


I’m loving the flower blocks, however the small squares for center and small squares for corners appear to be different sizes. The instructions say to cut both elements 2″ x 2″. Is this correct?
Thank you!
Mary A