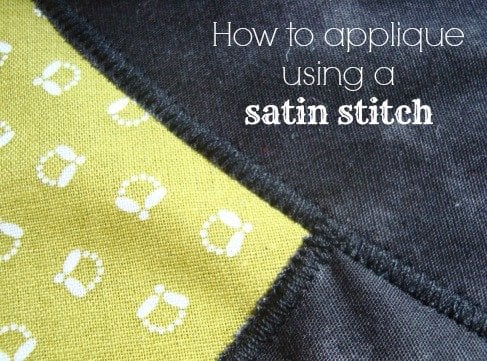
This week I have been working on a little project that required me to sew a ton of zig zags or Satin Stitch. Even though I am sure that most of you know how to sew a satin stitch, going over it can’t hurt.
I use the satin stitch for applique when I am not doing the raw edge applique technique. This stitch is crazy handy when it comes to appliqueing pieces onto a background, when you are trying to control the ravel edge of fabric, or just need something decorate stitching on a project.

There are a few tricks that help me get a nice zig zag.
1) When sewing the stitch I keep my needle just to the right of the fabric edge. This helps contain all the little ravels that will happen with use. Depending on how you like to sew– sometimes your needle will be on the left side of the edge….I go for the right. Do what is comfortable for you.

2) Take notes on what your machine is set when starting, so if you have to switch to a different stitch or walk away from the project and return you will know what you are doing.
3) Leave the needle in the down position when you stop to adjust anything.
4) Leave the needle in the down position and on the outside when pivoting at the corner. This will make sure you don’t have a blank space at the corners.

5) The width will determine how deep the needle goes inside from the edge. Adjust this to widen or shorten that width.
6) The length will determine how far apart the stitches are from each other. I usually keep mine under a 2 if I am going for a more filled or satin look. A 1 or lower is typical when using this for button holes.

7) Use your fingers to keep the applique from puckering or stretching. Sometimes even when you use fusible, it shifts just a bit and causes problems.
8) Stop and start when you begin and end a line of stitching. This will keep the zig zag from unraleling or getting pulled and puckered.
Do you have more ideas or suggestions when sewing this stitch?
Learn how to sew more embroidery stitches here

Becky Jorgensen is the creative quilter behind Patchwork Posse, the Patchwork Planner and her online quilt group Patchworkers Plus. You can find her patterns in books, magazines, and her quilt membership. Gather your quilting supplies, organize your sewing space, explore the process of disappearing quilt blocks, or finish a free quilt pattern. I'll help you use what you have, finish what you start and make your quilting journey fun!
Follow me here: Facebook, Pinterest, YouTube


Hi Becky…….what you are showing is not really a satin stitch in my opinion…a satin stitch should be very close together and when coming to points or corners try lowering the width and keep sewing as you do. Satin stitches are beautiful and I am getting ready to do a project using it….
I guess you are correct. It would be somewhat closer and more of all stitches, with no fabric showing. With adjusting the length of the stitch you could make it more ‘satin’ like.
I sometimes do exactly what you’ve done, only a little wider apart. Then I go back over it a second time with a closer stitch to give the satin look. It keeps it from puckering. I *always* have something underneath. Before fusible web, I would use newspaper under everything so the fabrics wouldn’t pull and pucker. Now fusible web seems to work just fine.
WOW!!! Thank you so much for this. It’s totally awesome.
Beautiful job! Don’t forget to link up to The DIY’ers. http://homecomingmn.blogspot.com/2013/09/the-diyers-27.html
I like to use a stabilizer when doing applique.
Thanks for guide. Really helpful especially with the close up images of the actual foot.
I’m a complete beginner to appliqué and finding when I sew using zig zag on my satin foot, my stitches are coming either too far into applique or too far into background. I’m just wondering if there is a trick I can use to guide/steer the edge of my appliqué through the needle in order to stay on track creating zig zag stitches around the raw edges.
With straight stitching, I just align the edge of my fabric with end of foot or seam line on needle plate, but with aperture I’m not sure what I should be aligning the fabric with.
Thanks.
Thank you for a very useful refresher tutorial!
I really like your technique. I used to applique for a company years ago. I would lay the boys down for a nap and use that time to machine applique. This is what I did:
Stabilizer: I used paper: Typing paper, computer paper, junk mail, the neighbors’ junk mail, the kids homework (no crayon), any kind of paper. It’s all good. It stabilizes fabric when doing machine applique, and the paper easily peels away.
Thread tension: I tightened the bobbin thread so the top thread was pulled to the back of the applique. This allowed me to use any odd color of thread I had without it being seen on the top of the applique.
Thread color: I chose the color of the top thread to be slightly darker than the applique fabric. It makes the applique pop. If I used a lighter thread, it added a faded look.