In the evening, there are some times when I just need a little project to work on. Maybe something that I don’t really need to think about. It comes together fairly quick and there aren’t a lot of extra pieces laying around like a hoop and a bunch of thread.
Hexagons are just that for me. To me it is kind of mindless work that doesn’t require a whole lot of concentration or effort.
The honey doesn’t love these projects though because there are bits of fabric laying about the coffee table with hexagon papers along side.

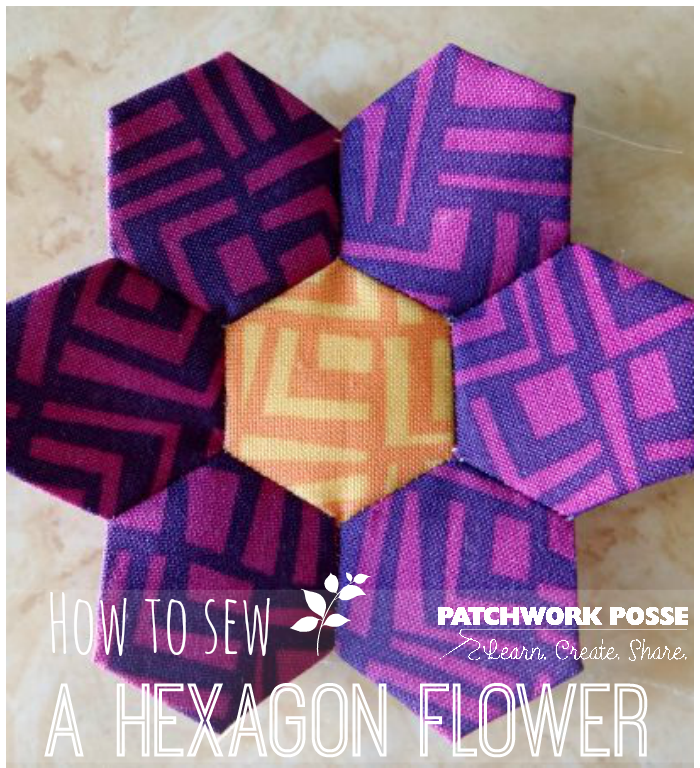
The hexagon flower is right now what I am obsessed about. There are a few other flowers hanging about – besides this little cutie. I am sure the pile will become large enough to do something with.
Until then, how about a quick reminder and tutorial on how the hexagon flower comes about.
How to Sew a Hexagon Flower~
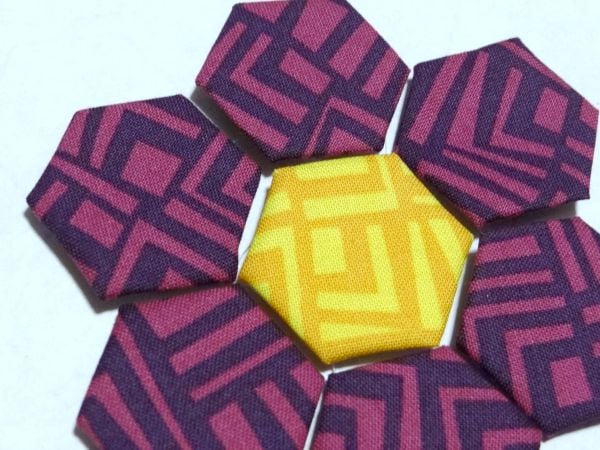
1) Make your hexagons! Each flower will require 6 outside petals and 1 center. You can choose the size of your templates. Here are a bunch of printable templates you can pick up for 2 bucks.
2) Sew up each hexagon- 7 total for each flower. Here is a quick tutorial on how to sew a hexagon (just in case you are looking for help)
3) Lay your hexagons out in the order that you like

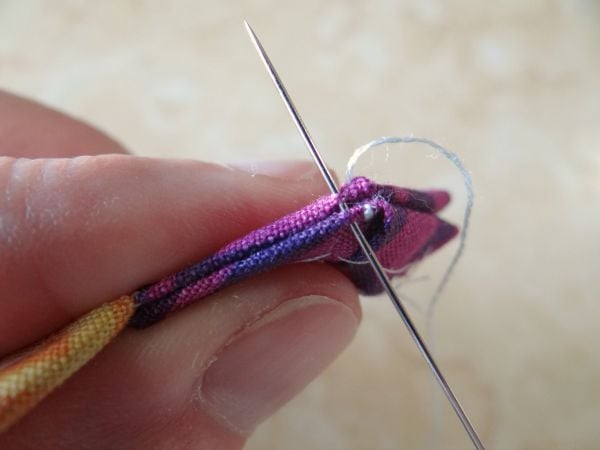
4) Take the set of hexagons and lay them right sides together
5) Stitch the aligned edge- your stitches will just tick the edge of the hexagon side. You will NOT be stitching any of the paper- your stitch should NOT go that far into the hexagon!

6) Continue stitching to the end of the sides or to the center of the flower

7) Open your hexagon flower

8) Pinch the next edges together and continue stitching along the edge again

9) When you get to the end you can take a few extra stitches to secure the stitching. You will be playing a bit with the pieces and don’t want the stitches to loosen

10) Continue sewing the hexagons in place. When you open the full flower up, you might notice that there are little holes around the center hexagon where it meets the other pieces. Take your needle and thread and take a couple of stitches to pull the edges together, closing the holes. The fabric is moveable along those seams so it’s not that hard to cover up.


This little set of hexagons have become something fun…. can you guess what it is?

Now that you’re done with your flower- you can take that shape, pin it in place on your background fabric, and stitch around. Try to hide those stitches a little on the underneath of the edges if you can.
Here’s a video tutorial showing you how to stitch it down to the backing fabric.
While you are stitching along, pull the paper out individually out. You’ll want to leave a few till the end to hold the shape. Sometimes the fabric scoots around without the paper to hold it in place, so watch out for that!
Here is a tutorial for getting that paper out if you forgot them!

Becky Jorgensen is the creative quilter behind Patchwork Posse, the Patchwork Planner and her online quilt group Patchworkers Plus. You can find her patterns in books, magazines, and her quilt membership. Gather your quilting supplies, organize your sewing space, explore the process of disappearing quilt blocks, or finish a free quilt pattern. I'll help you use what you have, finish what you start and make your quilting journey fun!
Follow me here: Facebook, Pinterest, YouTube


Hello..thanks for showing this pattern. When you finish the flower do you take out the pattern pieces? and how do you close up the back of the flower? Sorry, Just a newbie.
https://www.patchworkposse.com/help-paper-stuck-inside-hexagon-quilt/ is a tutorial for getting the paper out- if you forget. Otherwise, I just added information on what to do when your flower is done.