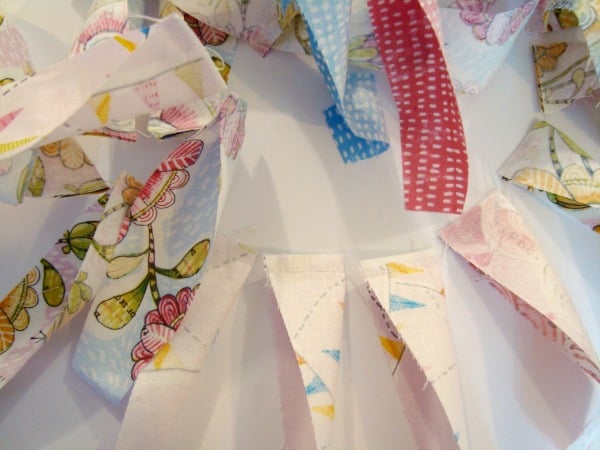
After giving my hand at sewing up a dresden plate quilt block…I was a little bit smitten. I found that working with an angle was fun! It was different and outside of the square box.
There was a nice little pile of dresden plates hanging about, and I just couldn’t let them get lost in the sewing cottage. {that happens when I just to the next project without finishing the one I am working on!}
So- the end result was a baby quilt —Dresden Garden

While sewing my dresdens I thought that the pieces looked like petals of a flower and with the four sewn together to make the center, it was a flower. Thus it got it’s name of Garden included with it.
The fabric from Blend helped with the floral motif….love it!

Materials Needed:
8– 8″ X 8″ background –these go behind the dresden plates
8– 3″ X 3″ center of the dresden- or flower
4– 15 1/2″ X 8″ -border
40– 5″ dresden plates
34″ X 34″ backing and batting
Dresden Garden Baby Quilt Tutorial~
1) Make 40– 5″ dresden plates. If you need help, here is a quick tutorial on sewing dresden pates and a quick tutorial on making your own template if you don’t have the specialty ruler

2) Sew 5 dresden plates in a row — repeat for 8 sets of 5– if you need help sewing these blocks, here’s a quick reminder tutorial.
3) Pin in place on the 8″ square background piece. Sew the sides to secure- just under 1/4″ so the seam doesn’t show when the block is finished. Repeat until you have all 8 dresden plate quilt blocks

4) Lay right sides together the 3″ square in the corner of the block- covering the raw edges of the dresdens

5) If you need a guide line- draw a line from corner to corner on the wrong side of the square.
6) Sew on the drawn line or just past it
7) Trim off extra {check to make sure you have covered all raw edges before doing this} and iron
8) Repeat with the other blocks
9) Sew 4 blocks together with the corner blocks together- they might not line up and that’s ok!

10) Sew 2 of the other dresden plate blocks to either end of one border. Repeat with a second border

11) Sew the two borders with no corner blocks to the top and bottom of the center block
12) Sew the other two with the corner blocks to the sides
13) Layer quilt top, batting and backing and quilt
14) Bind your quilt.
The points of the dresdens are kind of hanging there…if they really bother you {mine were quilted on the seams of each of them} then you can take a few tacking stitches at the top of each.

Finished size– 30″ X 30″
This could be made into a wall hanging –add a hanging sleeve.


Becky Jorgensen is the creative quilter behind Patchwork Posse, the Patchwork Planner and her online quilt group Patchworkers Plus. You can find her patterns in books, magazines, and her quilt membership. Gather your quilting supplies, organize your sewing space, explore the process of disappearing quilt blocks, or finish a free quilt pattern. I'll help you use what you have, finish what you start and make your quilting journey fun!
Follow me here: Facebook, Pinterest, YouTube


This is so pretty, thanks! I have lots of vintage sheets that would work great for this 🙂