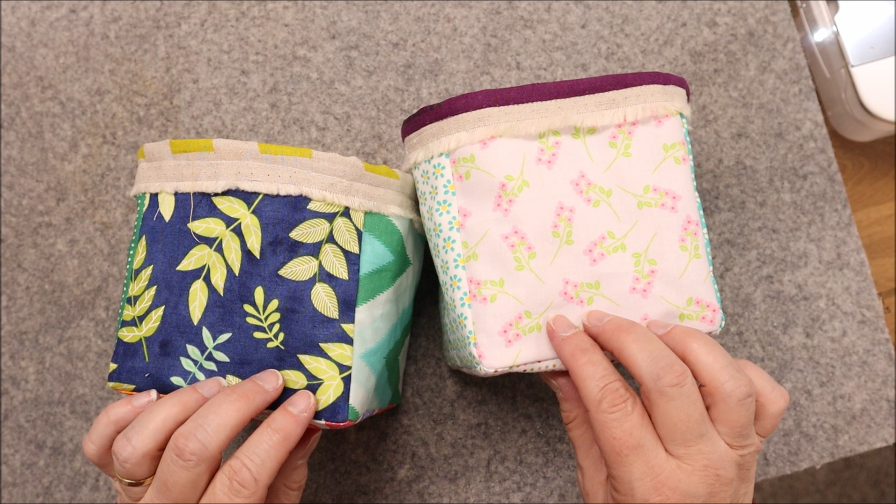
A zipper pouch is one of the quickest ways {I think} to get those quilt blocks used up! The block needs to be big enough so that when you fold it over, the pouch is large enough to actually hold something. Go ahead and fold a few blocks to make sure they will work. The quilt block I use for the outside is 8 1/2″ X 8 1/2″. As you can see, the shape takes it narrow and long. Perfect for stuffing with change, pencils, or library cards.

Materials needed for the Zipper Pouch:
Quilt Block {you pick the size}
Fusible fleece -same size as quilt block
Lining fabric- same size as quilt block
Zipper & Ribbon for wrist handle
The one end of the wristlet is flat with the zipper in the center and the other is tall with the zipper at the top. This allows for a different, larger space to hold a little more bulkier items. I also show the placement of the ribbon in the zipper step. You don’t have to do that until after you sew the zipper so you aren’t fighting it.
The length of the ribbon was determined by me slipping it on my hand and making sure I could get it off. 🙂

This is a great little bag for the kids to tuck into bags, hand out in the car loaded with little toys, or stoller.
Love bags? How about this other zipper pouch tutorial– and a clear zipper pouch tutorial
What’s going to go into your zipper pouch?

Becky Jorgensen is the creative quilter behind Patchwork Posse, the Patchwork Planner and her online quilt group Patchworkers Plus. You can find her patterns in books, magazines, and her quilt membership. Gather your quilting supplies, organize your sewing space, explore the process of disappearing quilt blocks, or finish a free quilt pattern. I'll help you use what you have, finish what you start and make your quilting journey fun!
Follow me here: Facebook, Pinterest, YouTube


Thank you for all information and help