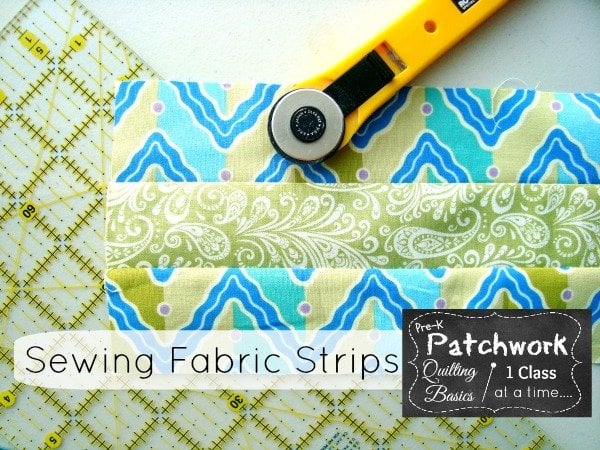
Are you ready to get some sewing down quickly? Strip piecing is a great way to get a few quilts done, with not a lot of math work or overall thinking.
Jelly rolls are great to use with this method of sewing. If you cut your scraps into strips, this is a great method for using those too.

There are a few tips though when strip piecing. If done wrong, you can end up with a wonky and wavey quilt top. I didn’t think it was possible, but it is….and you don’t notice it until it’s too late!
Strip Piecing:
The first step to this piecing method is of course to cut your strips. You can either use pre-cut strips or cut your own if your stash allows.
You are in total control of the size of your strips if you are cutting them yourself. This is no rule on what size they need to be. If you’d like to mix and match the size, then do it. You can stil strip piece them, but having the different widths will give more depth and interest to your quilt.
Sewing your Strips:
After you have decided the sizes of you strips, now is the time to get sewing them together.
Lay right sides together one strip on the other. I would suggest pinning the end, beginning and in the middle to keep them from shifting when you sew
Sew your seam down the side

Open and iron
This is the tricky part- pay attention. If you pin the next strip directly on top of the pieces you just sewed and sew the seam, you will be going the same direction as the previous seam. This will eventually cause your quilt to warp and wabble!!!
You will want to alternate direction of the seams you sew. To do this, place the new strip UNDERNEATH the previous step.
Sew, iron and then flip it again, placing the new strip on top of the larger piece.
Continue until you come to the size that you are going for.
 Don’t get all stuck on having this big strip pieced quilt top. To mix it up a little bit you can cut the strips up to make a whole new look. You can add some applique to give it a fun look. How about cutting them into fat strips and then adding a sashing. Be intentional with the placement of your strips and make a granny square quilt block.
Whatever you go with, strip piecing is a great way to sew faster and get onto the next project!

Q&A: Do you have a trick to share on strip piecing? How often do you use this method? Is there strip sizes that you like sewing the best? I’d love to hear your thoughts. leave a comment and lets discuss!
Don’t miss any of the pre-k patchwork- Quilting basics. Sign up to get email reminderswhen the new lesson is posted!

Becky Jorgensen is the creative quilter behind Patchwork Posse, the Patchwork Planner and her online quilt group Patchworkers Plus. You can find her patterns in books, magazines, and her quilt membership. Gather your quilting supplies, organize your sewing space, explore the process of disappearing quilt blocks, or finish a free quilt pattern. I'll help you use what you have, finish what you start and make your quilting journey fun!
Follow me here: Facebook, Pinterest, YouTube


My favorite strips are 2 1/2″ and 1 1/2″. I use them to make block for quick borders or quick sashing corner stones.
such a great idea. They are simple to use when they are cut into strips. They are ready to go when you are!