Learn how to make a quilt sleeve that you can secure with pins or hand stitching. Great for quilt shows or hanging in your own home.
For the past couple of years I’ve entered my quilt into a quilt show. Nothing fancy or crazy— in fact, they are non-judged.
No matter the category, they need to have a quilt sleeve to hang.
Quilt sleeves – the unsung heroes of quilt shows and wall hangings! If you’ve ever marveled at a beautiful quilt gracefully displayed on a wall or at a show, chances are it’s secured by a quilt sleeve. These simple yet essential additions allow you to hang your quilts with ease and elegance, ensuring they’re showcased in all their glory.
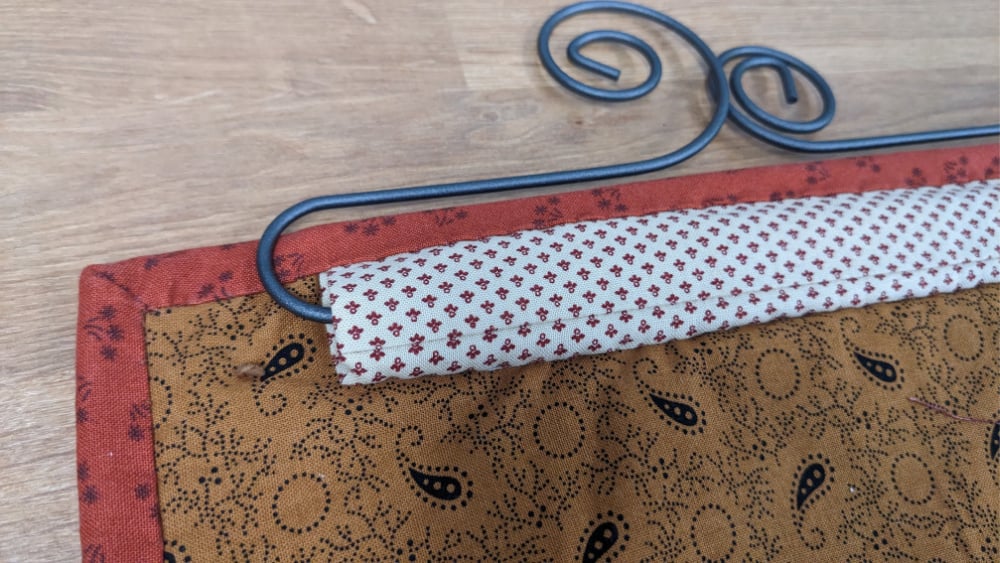
So, what exactly is a quilt sleeve? Essentially, it’s a strip of fabric attached to the back of your quilt, running along the top edge. This sleeve accommodates a hanging rod or pole, allowing you to display your quilt vertically. Whether you’re showcasing your latest quilt pattern at a quilt show or adding a touch of homemade charm to your living room wall, a well-made quilt sleeve is key to achieving that polished, professional look.
Creating a quilt sleeve may seem daunting at first, but fear not! We’ll guide you through the process step by step, from determining the width and length of your sleeve to attaching it securely to your quilt. With a few basic sewing techniques and some handy tips, you’ll have your quilt ready to hang in no time.

To start, you’ll need a strip of fabric cut to the width of your quilt and double the desired length of your sleeve. Press a folded edge along the long side of the strip to create a nice crease, then fold the strip in half lengthwise with wrong sides together. Stitch along the long edge and one short end, leaving the other short end open for turning. Once stitched, trim the corners and turn the sleeve right side out, pressing along the edges for a crisp finish.
Next, it’s time to attach the sleeve to the back of your quilt. Position the sleeve along the top edge of the quilt back, aligning the raw edges with the top edge of the quilt. Pin or baste the sleeve in place, ensuring it’s centered and straight. Then, using a whip stitch or ladder stitch, hand sew the sleeve to the quilt back, taking care to conceal your stitches for a neat finish.
Once the sleeve is securely attached, it’s time to insert your hanging rod or pole. Wooden dowels, skinny poles, or flat slats are all great options, depending on the weight and size of your quilt. Slide the rod through the sleeve, then hang your quilt with pride and admire your handiwork!
Whether you’re preparing for your first quilt show or simply sprucing up your home decor, adding a quilt sleeve is a great way to showcase your hard work and creativity.
So, Today I’m sharing how to make a quilt sleeve for your quilt!
Materials:
- 1/4 yard fabric – pick it up at Connecting threads or Fat Quarter Shop
- safety pins or needle and thread
How to Make a Quilt Sleeve
These instructions will work for any size of quilt. Mini Quilts (I’ve use this method of hanging a quilt before), a wall hanging or even a large quilt to hang on the wall.
This is not a permanent sleeve – you can remove this if you’d like at any time in the future.
1- Measure your quilt across the top. Subtract 2″ and this is the length of the sleeve. You don’t want longer sleeves than the actual quilt – you’ll notice that it doesn’t show on the front of my quilt.
2- Cut the sleeve 9″ wide X length of quilt
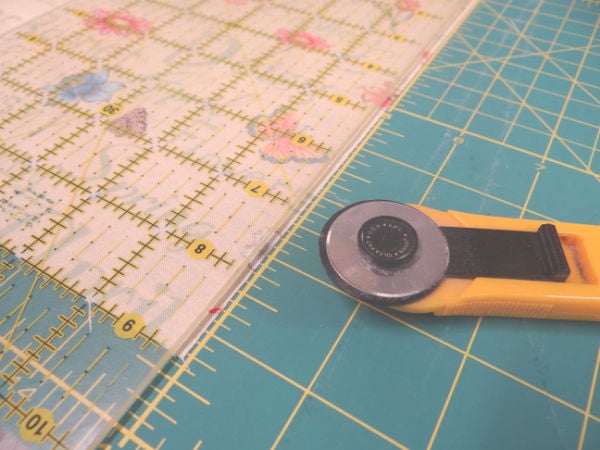
3- Hem the 9″ ends– fold 1/4″ and then another 1/4″ and stitch. I used the selvage ends which don’t ravel, so you can do that as well.
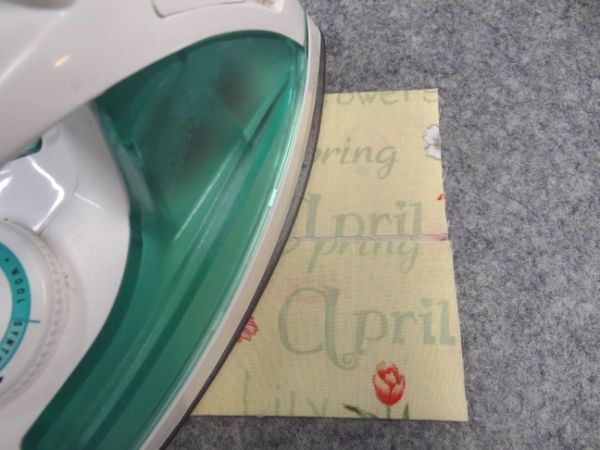
4- Fold in half (wrong sides together) and press with the iron to make a nice crease along the folded edge

5- Open this — the center crease will now become your guide for pressing.
Fold the top so the raw edge is just above the crease line.
Fold the bottom so the raw edge is just above the crease line.
Press this new fold on your ironing board to make two new creases along the top fold and bottom fold
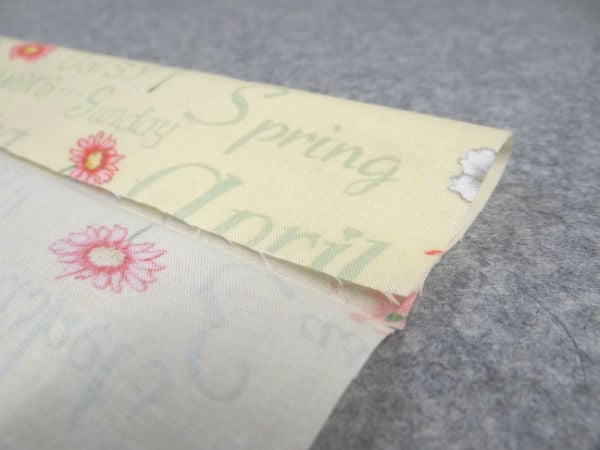
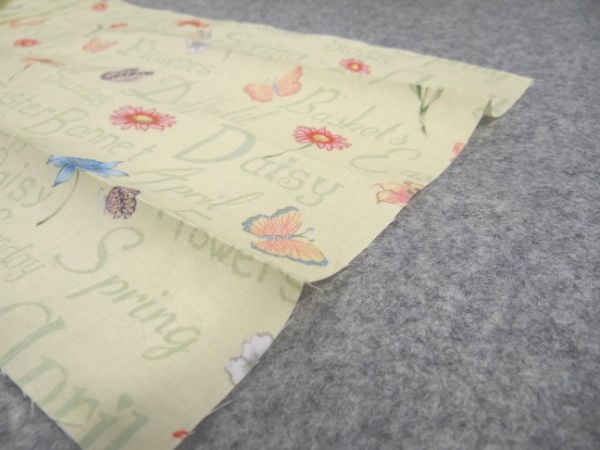
6- Adjust the strip so the raw edges are lined up, stitch 1/4″ seam along this long edge- be careful not to affect the crease lines.

7- Adjust the strip again so the 1/4″ seam is in the center in the back of the tube.
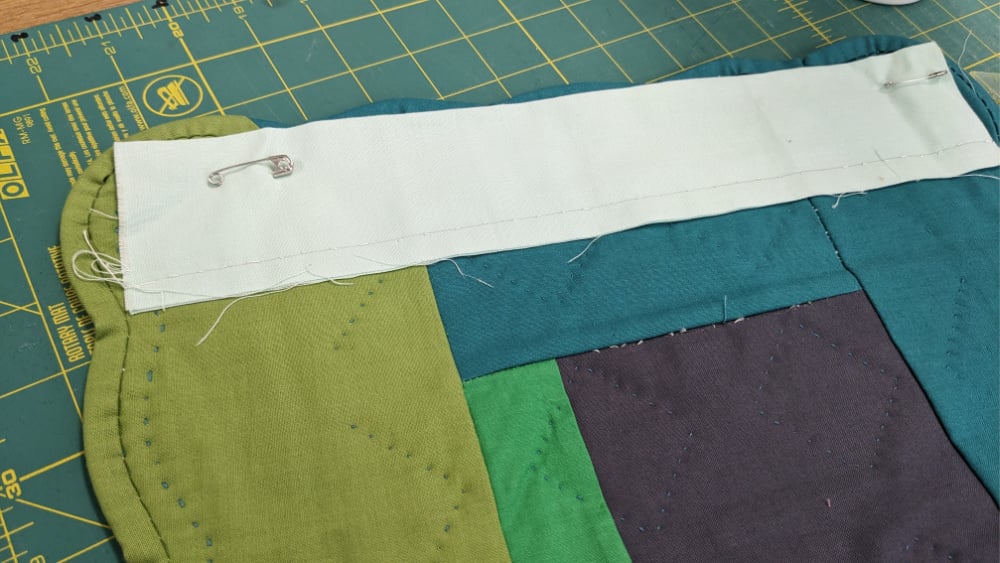
8- Place the tube on top of your BACK of the quilt — 1/2″ from the binding. Make any kind of adjustment so the crease line is on the edge. You can find the middle of the sleeve and line it up with the middle of the quilt to center it.
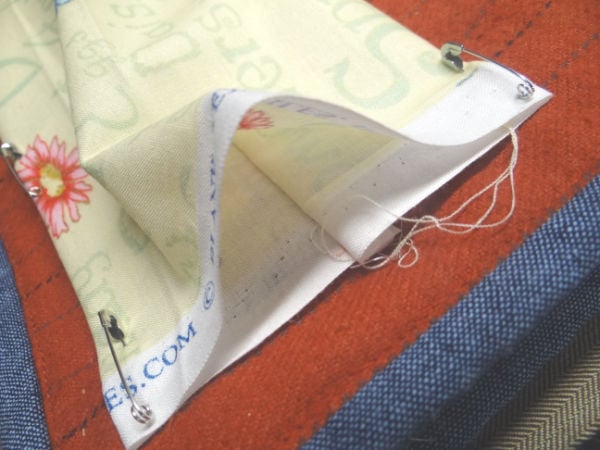
9- Pin along the edge using a safety pin to secure.
- You can also hand stitch, just making sure with either that you don’t take the pin or the stitching to the front of the quilt.
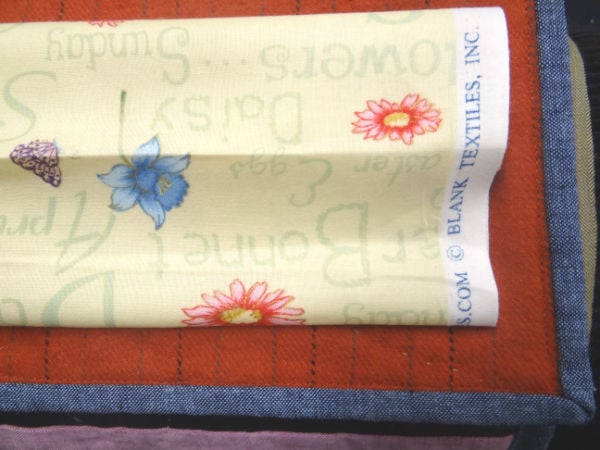
You’ll be making some adjustments along the way as you line up the tube and making sure the crease line is along the edge.
Continue pinning or stitching until you are at the end of the tube. You want to make sure that if you stitch this down, you are only catching the backing fabric and not the top.
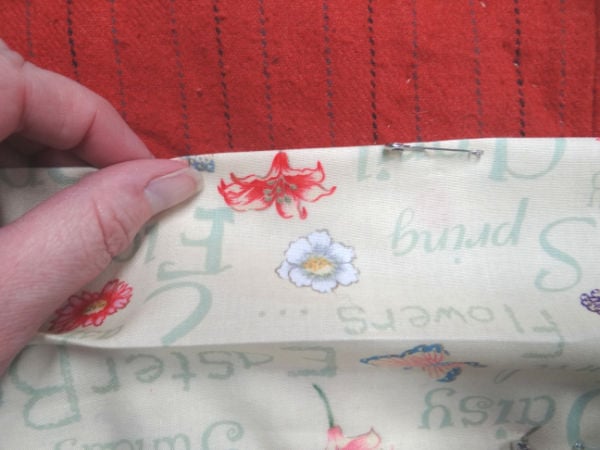
10- Repeat this same process with the other side of the tub. You’ll need to make sure that you pull just a little bit on the edge –the seam along the bottom sometimes puckers or takes in more fabric than it needs. Pulling just a little bit and adjusting the crease along the edge again will make your quilt hang straight.
Video for Making a Quilt Sleeve
The weight of the quilt definitely helps with hanging, but if you find it doesn’t really stay or ripples – you can use a hanging pole on the bottom as well.
FREQUENTLY ASKED QUESTIONS:
What is a sleeve on a quilt?
A Sleeve is a “tube” of fabric sewn to the back of a quilt to accommodate a rod or slat to hang a quilt on a wall. The Sleeve is generally 4″ long when finished and slightly less than the width of a quilt, with the short ends finished. It can be sewn permanently onto the quilt in the binding or stitched on separately.
What size should a quilt sleeve be?
A far better option is a fabric tube that extends from edge to edge along the top back edge of the quilt. The sleeve can be fairly narrow for small quilts, with a finished width of 1 ½” to 2″. However, a sleeve with a finished width of 4″ is more common and is often a requirement at quilt shows.
WANT TO REMEMBER THIS? SAVE THE HOW MAKE A QUILT SLEEVE TO YOUR FAVORITE DIY PINTEREST BOARD!

Here are some more quilt sleeve tutorials that use different methods:
- Quilt Sleeve Tutorial
- How to hang a mini quilt using corner pockets
- Ideas for keeping your quilts from being stolen
A quilt sleeve doesn’t need to be permanent, and can easily be pinned in place.
In fact, you can use the same sleeve over and over (adjusting the length) on any quilt that you need to hang.

Becky Jorgensen is the creative quilter behind Patchwork Posse, the Patchwork Planner and her online quilt group Patchworkers Plus. You can find her patterns in books, magazines, and her quilt membership. Gather your quilting supplies, organize your sewing space, explore the process of disappearing quilt blocks, or finish a free quilt pattern. I'll help you use what you have, finish what you start and make your quilting journey fun!
Follow me here: Facebook, Pinterest, YouTube


