You may notice that when you are changing the diaper of a baby boy… he may pee. It’s pretty common and really can be such a surprise when you are not ready!
To help you not get peed in the face or caught unawares, here’s a quick and simple to make tinkle tent. This has also been called a Teepee because it’s the same shape as a Teepee.

It’s a quirky little fabric cone designed to save you from surprise splashes during diaper changes. Whether you’re a seasoned pro at the sewing machine or just getting started, this project is a fun and practical way to use up some of those fabric scraps.
I’ll walk you through the simple steps to create your own peepee teepee—perfect for baby showers, gifts, or just keeping things a bit dryer during those diaper changes! Let’s dive in and get stitching!
Want the ad free pdf file?! Scroll to the bottom of the post for more details!
What You Need to Make a PeePee TeePee
Materials Needed:
- old towel or terry cloth or something similar
- cotton fabric – around 8-10″
- piece of paper for the template and around 7″ round plate
Don’t want to make them? You can buy them here as well. 🙂
How to Make a Tinkle Tent

Step 1 –
Cut a template out. You’ll need a plate – from your kitchen it totally fine. I used a plate that measured 7 1/2″ in diameter. Something around 6″ to 7 1/2″ is just fine.
I traced the circle on a piece of promotional material from my mail box. It’s a little thicker than paper and works really well for a quick template material.

Step 2 –
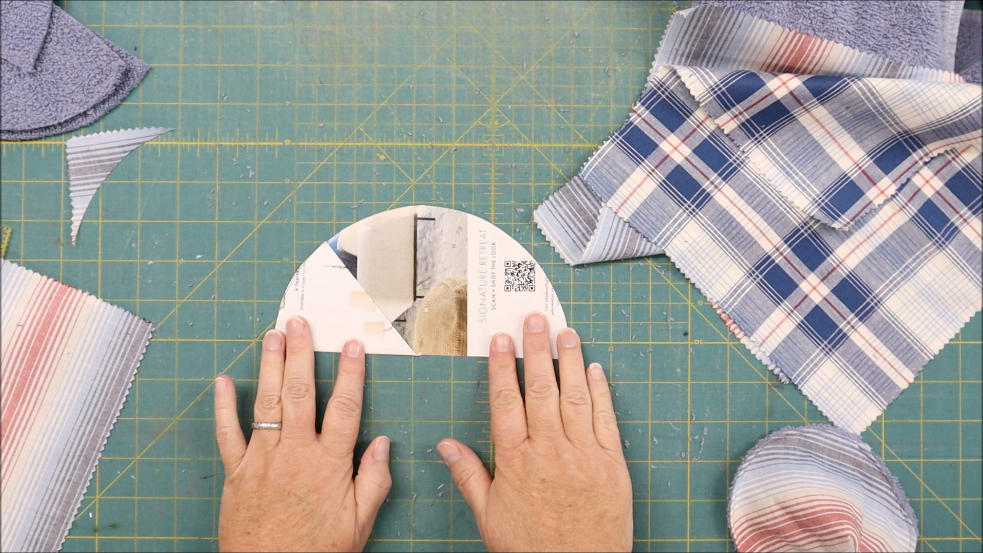
Fold your circle in half and make a crease

Step 3 –
Using a ruler, line up the bottom to the fold line and then make a mark along the circle edge at the 3″

Step 4-
Draw a line from this 3 inch mark to the center of the circle. Cut your circle along the folded line half way and on the drawn line to the mark on the outside. This is the shape it should be.


Step 5-
Place your template on your towel and cut out


Step 6-
Place the template on the fabric, pin in place and cut

Step 7-
Line up the angled sides and pin

Step 8 –
Repeat this with the towel piece as well

Step 9 –
Turn only the towel or inside piece right sides out

Step 10-
Open the seams so they lay flat. This will help when sewing to distribute all the bulk

The outside fabric will remain with right sides facing –

Step 11 –
Place the lining inside the outer fabric, putting those seams on opposite sides

Step 12 –
Line up the edges and pin all the way around the piece

Step 13 –
Make sure you leave an opening for turning after sewing. A 2″ space is perfect for this.

Step 14 –
Stitch all the way around the edge, again – leaving that opening for turning

Step 15 –
Turn right sides out

Push that lining up in the outside fabric to make the cone shape

Step 16 –
Fold the edges in the opening area inside and secure with pins.

Step 17 –
Play with the outside edge, rolling the lining fabric under to hide it. You just want to see the outside fabric at this point if you can

Step 18 –
Stitch all the way around the outside edge – this will help it keep it’s shape and will close that opening as well
Tinkle Tent Video:

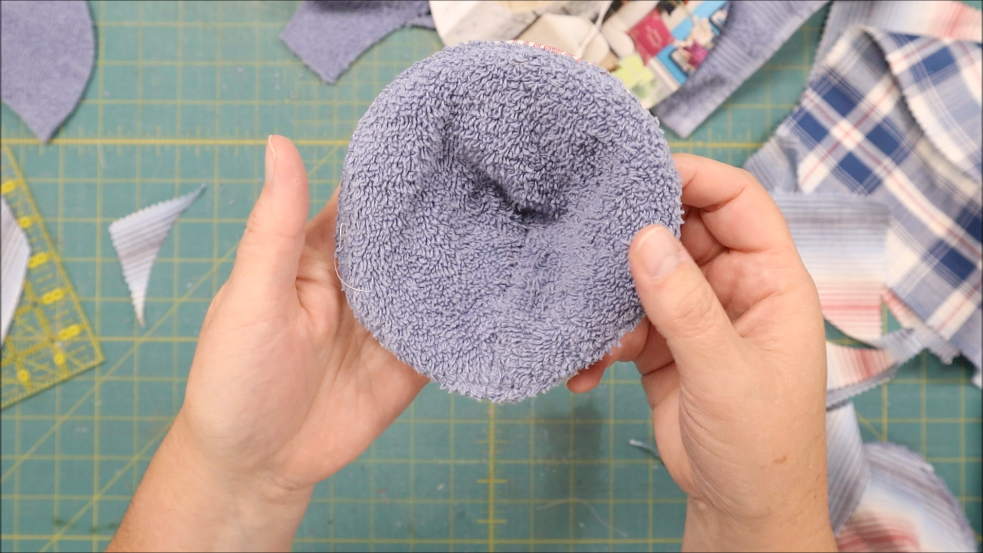
This is what it will look like on the inside

How it looks on the outside


FREQUENTLY ASKED QUESTIONS
What fabric is best for making a peepee cover?
Cotton fabric works well for the outer layer because it’s soft and easy to wash. For the lining, consider using an absorbent material like flannel to catch any moisture.
How big should a peepee tent be?
A typical peepee teepee is about 4-5 inches in diameter at the base and around 2-3 inches tall. You can adjust the size depending on your preference.
Can I wash the pee cover in the washing machine?
Yes! Since these are used during diaper changes, you’ll want to wash them frequently. Use a gentle cycle and tumble dry on low heat.
Do I need to use interfacing for it?
Interfacing isn’t necessary, but if you want a bit more structure, you can add a lightweight interfacing between the layers.
How many should I make?
It’s a good idea to have several on hand, especially if you plan to use them regularly. A set of 5-7 should be plenty, allowing you to always have a clean one ready.


Get the ad-free PDF
Click the button below and download the Printable Tutorial.
Gift Ideas
These can be a unique and practical baby shower gift. You could even package them in sets of three or more, tie them up with a ribbon, and maybe include a matching burp cloth or bib.
Caring for Your Peepee Tents
Wash these often. Normally after one use. They can be tossed into the washer with other items as well. If you need to, use sensitive clothes soap because they will be used on the baby. Store them neatly, like in a small basket near the changing table.
More Baby Sewing Projects
- Super cute baby quilts
- Sewing with double gauze
- Baby knit pants tutorial
- 30 Minute baby blankets you can sew
Becky Jorgensen is the creative quilter behind Patchwork Posse, the Patchwork Planner and her online quilt group Patchworkers Plus. You can find her patterns in books, magazines, and her quilt membership. Gather your quilting supplies, organize your sewing space, explore the process of disappearing quilt blocks, or finish a free quilt pattern. I'll help you use what you have, finish what you start and make your quilting journey fun!
Follow me here: Facebook, Pinterest, YouTube


