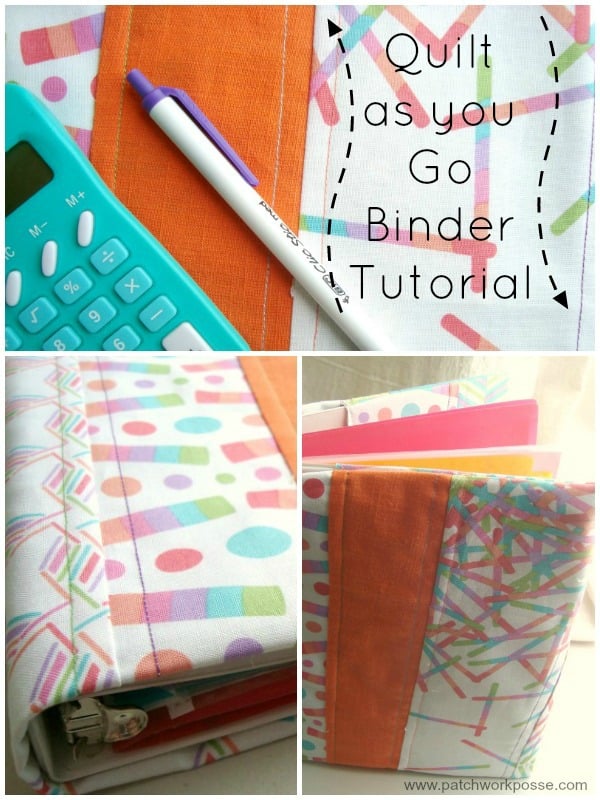
Use the quilt as you go method for sewing up a 3 ring binder cover. Great for back to school, or just keeping organized.
I had this ratty old binder cover from a few years back that had seen it’s last day. It was time for a new one.
Falling in love with the quilt as you go method, and using colored thread for echo quilting- they go together great for this easy sewing project.
Use your fabric on hand –different widths are perfect for this project….or if there is a fabric line that all matches- this would work too! Either way, you can’t go wrong.

This project takes under 2 hours to make from start to finish. The echo quilting actually took longer then sewing the pieces together! I love how it turned out though and the colors really pop + the accent thread color is great.
Materials Needed:
33″ X 12 1/2″ fabric- background. Won’t be seen, can use any kind of fabric you have hanging around
3 ring binder 1″ The size above reflects this size of binder. If you are using a larger binder, make sure you adjust your size- you will need to increase the 33″ length.
Scraps of fabric that are 13″ or so long X 2″ – 6″ wide | these are used for the quilt as you go method, so scrappy is just fine. The width can be different with each piece.
Instructions for 3 Ring Binder Cover:
1) Lay the first fabric in the center of the background fabric. WRONG sides will be touching. Pin in place.
2) Lay the next piece- right side facing- on top of the first piece. Match the edge and pin in place.

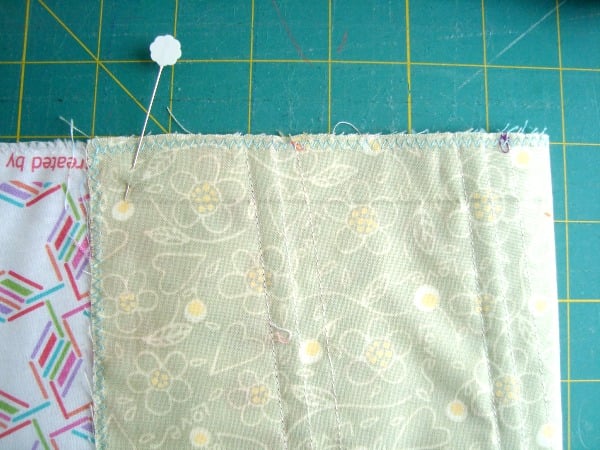
3) Sew along the edge. Continue this sew and flip or quilt as you go method until both sides are filled with your cute fabric. If you need more direction with sewing this method-
Quilt as you go helps:
Here’s the video to show the process:

Clickety click here for the quilt as you go tutorial.
If you’d like to add some interest – place one piece at an angle and then pin and sew. Make sure you keep the strip just a little bit above the top or bottom so when it is turned to the right side, it will still cover the whole background piece.

4) Trim all the way around the outside edge.

5) Sew with a zig zag stitch along the outside edge of the whole piece.
6) With fun colored thread, stitch 1/4″ from the seams.
7) Fold each end 5 1/2″ in and pin in place- right sides facing
8) Measure 3/4″ from the edge on the top and bottom. Use a pencil to mark this line.

9) Sew along the drawn line.
10) Turn right sides out and iron. The large seam allowance will pull the fabric down in the center of the binder cover. Iron this well. If you’d like to stitch to keep it down, you can. I find that the binder buts up against it and keeps it in place.

11) Place binder inside the edge pockets and enjoy!
 WANT TO REMEMBER THIS? SAVE THE QUILT AS YOU GO BINDER COVER TUTORIAL TO YOUR FAVORITE DIY PINTEREST BOARD!

Love this fabric? I do too!! It is the Pop Rox Collection by Carol for Andover Fabrics.
What projects have you used this technique on?

Becky Jorgensen is the creative quilter behind Patchwork Posse, the Patchwork Planner and her online quilt group Patchworkers Plus. You can find her patterns in books, magazines, and her quilt membership. Gather your quilting supplies, organize your sewing space, explore the process of disappearing quilt blocks, or finish a free quilt pattern. I'll help you use what you have, finish what you start and make your quilting journey fun!
Follow me here: Facebook, Pinterest, YouTube


This is so cute!! I like to do a quilt-as-you-go project for teaching kids to sew. It gives them free reign through my scrap bin and it’s nearly impossible to mess it up, plus it gives lots of practice with a simple straight seam. This is a fun variation on it! I’ve linked to your tutorial on Craft Gossip: http://sewing.craftgossip.com/tutorial-scrappy-3-ring-binder-cover/2014/02/10/
—Anne