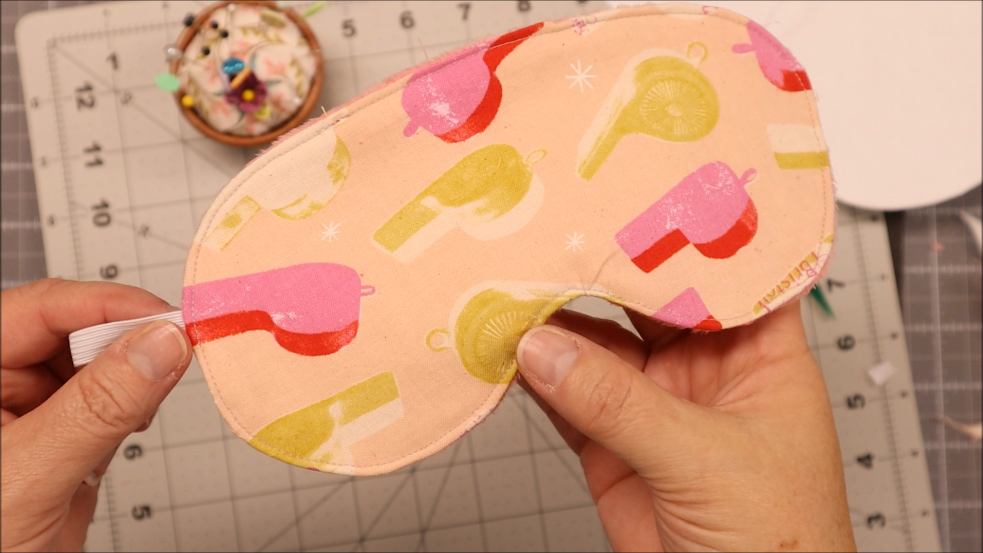
I love my eye mask and thought it would be fun to make one that is a little more custom.
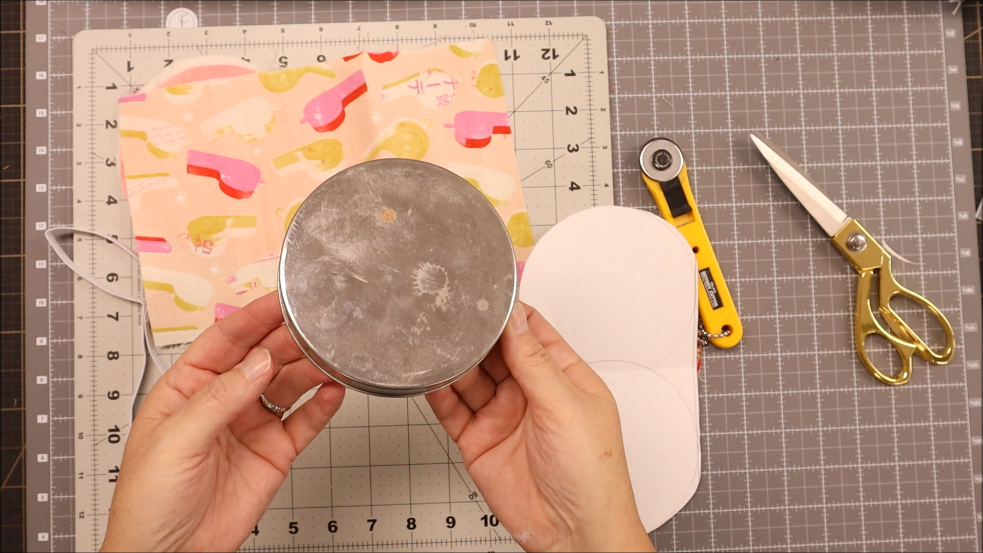
I’ll show you how to make your own template using a lid. It’s super easy and simple to make – both the template and the eye mask!
This size fits me, so I’d say it’s for an adult. If you are looking to make them for a child or a slumber party, I would suggest using a smaller circle when making your template.

Let’s talk about the fabirc – Silk. Silk is often considered the best fabric for sleep masks. Silk is soft, luxurious, and has excellent light-blocking capabilities. It’s also light and gentle on the delicate skin around your eyes.
Really though, anything soft will work. It is against your skin – so make sure you aren’t sensitive to it.
How long should the elastic be? You can measure this before you begin. The mask should fit snugly around the head without being too tight to avoid putting pressure on the eyes and temples, which can disrupt sleep or cause discomfort
Want the ad free pdf file?! Scroll to the bottom of the post for more details!
Materials Needed:
- 8″ x 13″ cotton for the outside of the eye mask
- 8″ x 13″ batting
- 8″ x 13″ velour for lining (or something super soft)
- 13 1/2″ elastic 1/4″ wide

Gather your supplies. You’ll be using a soft fabric for the lining because it’s next to your face. The batting gives it a little more comfort and the outside you can use anything kind of cute and fun!

Step 1- Using a circle around 4″. I used a lid from a glass jar.

Step 2- Trace the circle on a piece of paper

Step 3- Overlap the lid 1/2″ and trace the circle on the paper again

Step 4- Connect the circles across the top using a ruler

Step 5- Cut the template out, following the drawn line on top of the circles

Step 6- Cut a slight curve along the nose. It will make it easier to sew and wear.

Step 7- Fold the template over to make sure that each side are the same.

Step 8- Using the template, cut out your pieces – the lining, batting and outside fabric

Step 9- Lay your pieces on top of each other, the lining and outside fabric facing with the batting on the bottom

Step 10- Pin the elastic in between the lining and outside fabric

Step 11- Sew all the way around the eye mask, leaving an opening of 2 1/2″

Step 12- Snip the nose area (don’t snip your stitching!). Trim any extra bulk as well if you need.

Step 13- Turn right sides out

Step 14- Using something pointed, push the edges out nicely

Step 15- Make sure the elastic fits nicely and isn’t twisted, it’s easier now to make the change if you need

Step 16- Tuck the fabric in the opening inside 1/4″

Step 17- Sew all the way around the eye mask 1/8″. This will close the opening and help the edges stay straight.

This is a quick look at the backside.
Easy to Sew Eye Mask Video: Step-by-Step

Get the ad-free PDF
Click the button below and download the Printable Tutorial.


Get instant access to more than $150 worth of patterns!
Get all the sewing and quilting tutorials I have published so far (currently 40+) for one low price. Download and print any or all 40+ ad-free patterns! All ‘Optimized for Printing’ Patchwork Posse blog tutorials at your fingertips and sewing machine!
Additional Easy to Sew Projects:
- Easy sewing projects for kids
- Easy project for using leftover quilt blocks
- Project Bag
- Charm Blossom Baby quilt
Becky Jorgensen is the creative quilter behind Patchwork Posse, the Patchwork Planner and her online quilt group Patchworkers Plus. You can find her patterns in books, magazines, and her quilt membership. Gather your quilting supplies, organize your sewing space, explore the process of disappearing quilt blocks, or finish a free quilt pattern. I'll help you use what you have, finish what you start and make your quilting journey fun!
Follow me here: Facebook, Pinterest, YouTube


