
Learn how to sew a scrappy plastic bag holder that’s a great way to organize those grocery bags that seem to multiply overnight. This easy sewing project uses fabric scraps, comes together quickly, and helps keep your kitchen, pantry, or laundry room a little more organized.
If you’ve been saving small pieces of fabric and aren’t quite sure what to do with them, this is the perfect project. The patchwork design gives every bag holder its own personality, and because it’s made from scraps, no two will ever look exactly alike.
Whether you’re making one for yourself or sewing a few as gifts, this is one of those practical projects you’ll use every day.

Why You’ll Love This Project
There are plenty of reasons to keep this pattern on your “make again” list.
- A great way to use fabric scraps.
- Quick enough to finish in an afternoon.
- Keeps plastic grocery bags organized and easy to grab.
- Makes a thoughtful handmade gift.
- Easy to customize with your favorite fabrics.
Just a quick note about the bag holder– there are two holes. One at the top. One at the bottom. Stuff them in the top, pull them out of the bottom. Pretty simple idea and super easy to use.
The foundation or muslin piece mentioned in the materials list can be any kind of fabric! It can be leftover, non matching, muslin or whatever you have on hand.
Materials Needed:
18″ X 18″ outside piece (can be one fabric or you can go scrappy)
20″ X 20″ muslin or lining fabric
2– 6″ elastic for the closures
2– 12″ Ribbon for the hanging tie
Scrappy Patchwork Plastic Bag Holder Tutorial~
1) Sew your bit of pieces together until it measures at least 18″ X 18″. You can use the mile a minute method– or use the muslin while you are sewing them together (foundation piecing)

2) Trim up the piece to 18″ X 18″
3) Pin your outside piece to the muslin lining- yes, the foundation piece is larger than your scrappy patchwork piece. This is so if there is any shifting while you quilt, you won’t mess things up.
4) Machine stitch lines in any direction and design you’d like. I simply quilted straight lines following the seams- stitching 1/2″ away.
5) Trim the piece to 18″ X 18″
6) Hem the top and bottom edge

7) Fold in half the long way and pin together- right sides facing- hems are at the top and bottom
8) Sew along the seam
9) Lace the elastic in one end- pull tight leaving it open enough you can stuff and remove bags. Stitch to secure
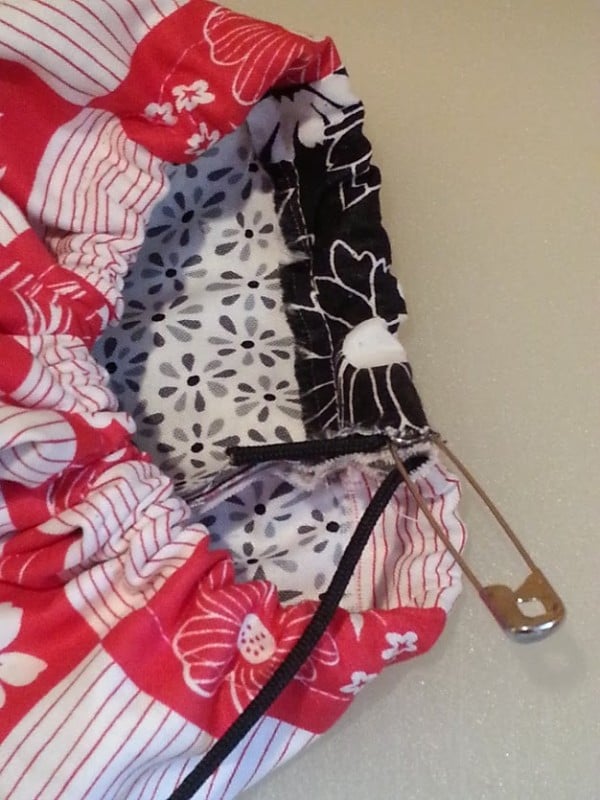
10) Turn right sides out place hanging ribbon inside the top hem- stitch to secure each to the side opposite each other

11) Hang where you’d like
Here is my before and after– before I had a nasty little basket holding all the loose bags which would of course fall on you if you bumped it.


So much nicer! Now it has a tie at the top, so it can go anywhere! Plus, it’s so much nicer to look at, and no bags fall on your head!

Check here if you are looking for more easy sewing projects.
Where to Hang It
Once it’s finished, you’ll probably wonder why you didn’t make one sooner.
A plastic bag holder works well:
- In the pantry
- Inside a cupboard
- In the laundry room
- In the garage
- Near the back door
- In a camper or RV
Anywhere you tend to collect grocery bags is a great place to hang one.

Great for Gifts
These sew up quickly, making them perfect for handmade gifts.
Pair one with reusable shopping bags, kitchen towels, or an apron for a thoughtful housewarming, hostess, or holiday gift that’s both practical and handmade.
Sometimes the simplest sewing projects end up being the ones you use the most. This scrappy plastic bag holder is a great way to organize your space while using fabric that’s already in your stash.
It’s quick to sew, easy to customize, and useful every single day. That’s a win in my sewing room.
More Quick Sewing Projects
25 Projects to sew for your kitchen

These projects are perfect for sewing up in a weekend – for your kitchen.
14 Quick Hot Pad Patterns
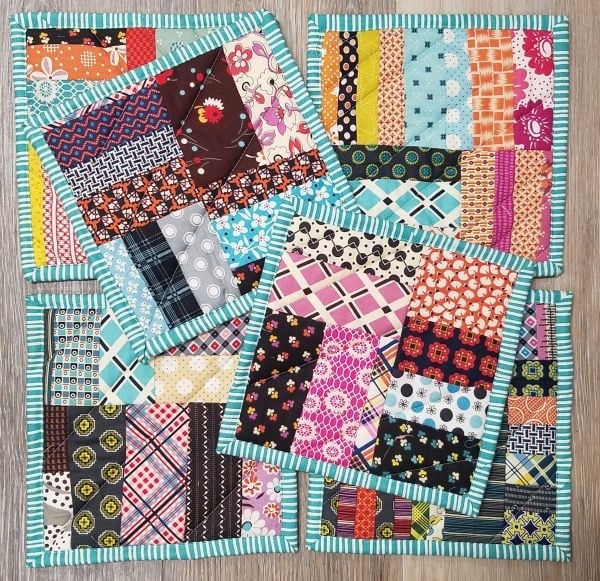
Hot pads are perfect for using your scraps- in something new and useful.
30 Minute Sewing Projects

Tight on time? These quick projects are perfect for making something cute.

