Being president this last year of my local quilt group has been a blast. It has been so much fun coming up with the projects and learning a few things along the way with them.
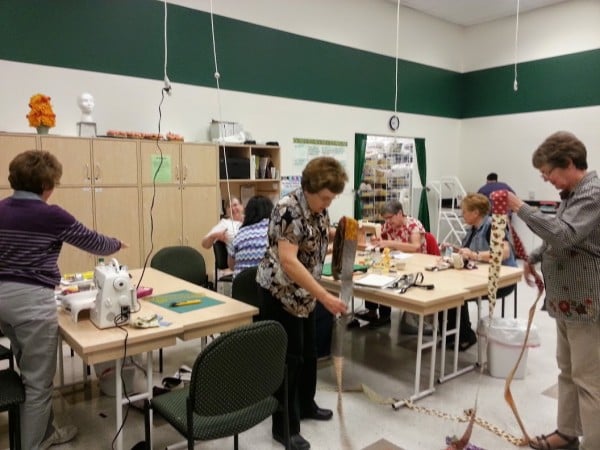
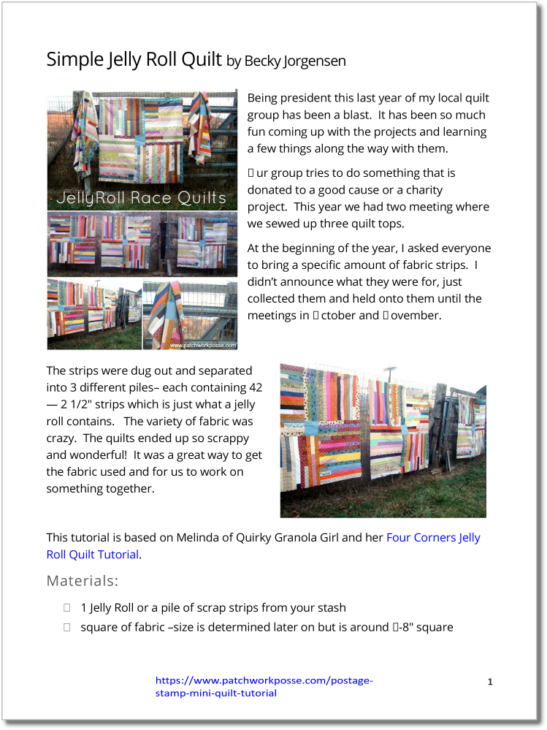
Our group tries to do something that is donated to a good cause or a charity project. This year we had two meeting where we sewed up three quilt tops.
At the beginning of the year I asked everyone to bring a specific amount of fabric strips. I didn’t announce what they were for, just collected them and held onto them until the meeting in October and November.

The strips were dug out and separated into 3 different piles– each containing 42 — 2 1/2″ strips which is just what a jelly roll contains. The variety of fabric was crazy. The quilts ended up so scrappy and wonderful! It was a great way to get the fabric used and for us to work on something together.

This tutorial is based on Melinda of Quirky Granola Girl and her Four Corners Jelly Roll Quilt Tutorial.
Want the ad free pdf file?! Scroll to the bottom of the post for more details!
Materials Needed:
1 Jelly Roll or a pile of scrap strips from your stash
square of fabric –size is determined later on but is around 7-8″ square
Quick how to for the Jelly Roll Race Quilt —
1) Sew your jelly roll strips side by side until you are out of strips
2) Fold the end of the strip to the beginning and line up the never ending side and sew again….when you get to the end and it is a loop, just cut it with scissors.
3) Fold the end of the strip to the beginning and line up the never ending side and sew again…when you get to the end and it is a loop, just cut it with scissors
You can see the trend here….repeat the process until you have 16 strips going across.
It does take a bit of time at the beginning, but then it catches up speed and you are cruising to the finish!
Some of the fabrics will find each other, don’t worry about it. It’s a scrappy fun quilt and it will be just fine.
4) After you have your big wide strip of strips, you will need to trim the ends so they are straight
5) Fold the long piece in half and cut along the fold so there is two large pieces
6) Fold the two semi large pieces in half and cut along the fold

7) If you need to, you can measure these pieces and then trim if needed. With the three quilts we were making there wasn’t that much difference in the sizes of the four big blocks, so we didn’t bother. Pinning will help ease everything to fit anyways.

8) You will now need to cut one square for the center of the quilt. Head on over to the her jelly roll quilt -four corners tutorial to find out what size of square you need– this is based on the sizes of your 4 large pieces. You will need to make sure you are using the right sized square or things will get off and you will not be happy. She has done all the math for you, so really don’t skip this step.
9) Sew your square to one end of the large piece. You will be making a Y seam, so be aware that is will look funky now
10) Lay your next piece along the long side of large piece with the square sewn to it. Sew along this long side
11) Repeat sewing the next large piece to the long edge until you get to the last seam, where you will play with the first seam and pin in place the large piece.


Get the ad-free PDF
Click the button below and download the Printable.


Now, all we have to do is put the quilts together with batting and binding. Hoping to finish those up before Christmas so they can be given out during the Holiday season.
Have you tried this type of Racing before?
Becky Jorgensen is the creative quilter behind Patchwork Posse, the Patchwork Planner and her online quilt group Patchworkers Plus. You can find her patterns in books, magazines, and her quilt membership. Gather your quilting supplies, organize your sewing space, explore the process of disappearing quilt blocks, or finish a free quilt pattern. I'll help you use what you have, finish what you start and make your quilting journey fun!
Follow me here: Facebook, Pinterest, YouTube


Great tutorial very informative
Thank you Melinda for this version of the JRR. I’m a re-beginner and also from WI.
Feels good to have a connection. What is the name/line of your JR? It’s really pretty.
Thanks for the idea! I love using jelly rolls.
Love this page