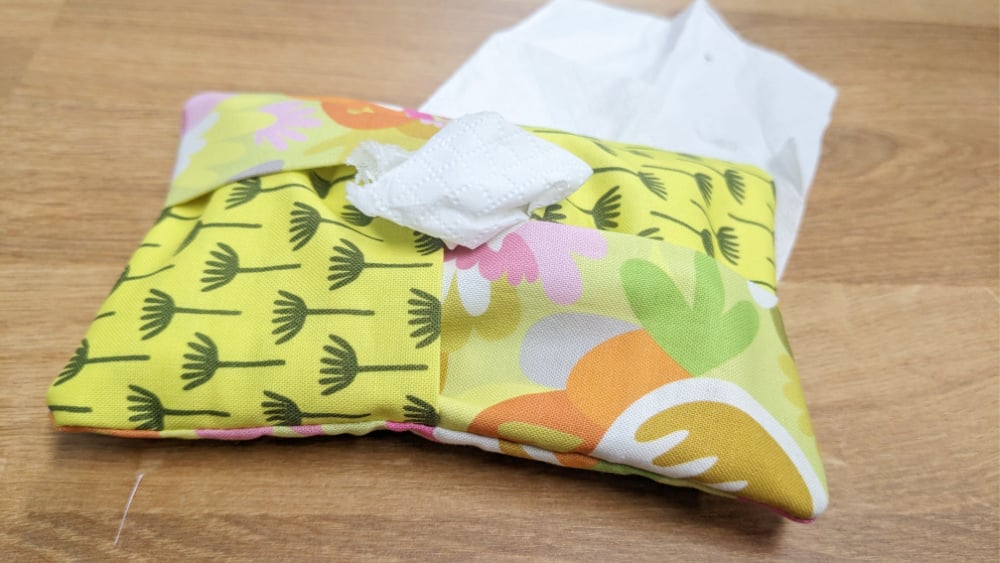
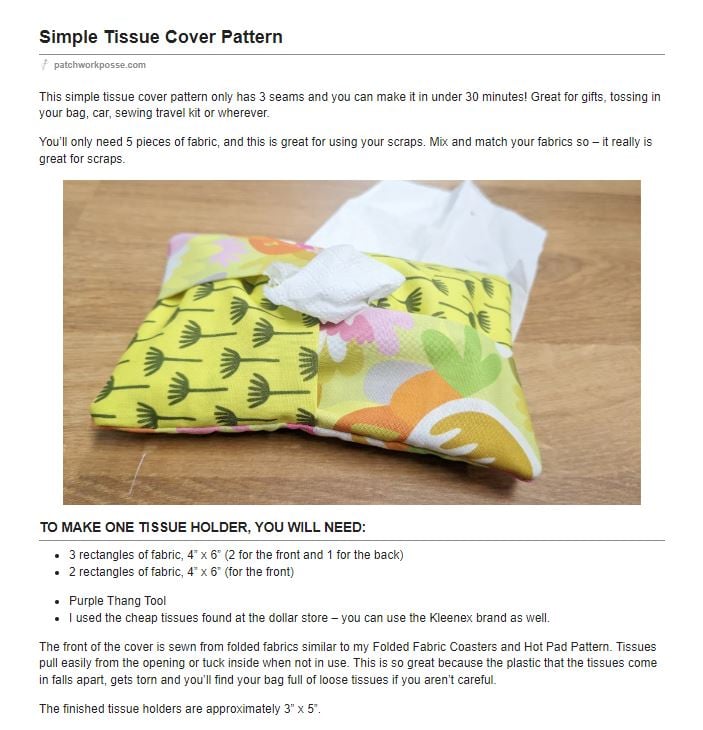
This simple tissue cover pattern only has 3 seams and you can make it in under 30 minutes! Great for gifts, tossing in your bag, car, sewing travel kit or wherever.
You’ll only need 5 pieces of fabric, and this is great for using your scraps. Mix and match your fabrics so – it really is great for scraps.
If you find that your tissue package is larger, then you can adjust the size of the rectangle by 1/2″. If you are finding your cover to be too large – turn it inside out again and stitch around the sides with a larger seam. I used 1/4″ seams for mine, so you could sew again at 1/2″ if you’d like a smaller cover.
Choosing Fabric for this project:
I used scraps from my quilting cotton stash. You can choose other fabric, but because there are folded pieces – the layers do get a bit thick so I would stay away from using heavier fabric.
I’ve seen these covers made with fun calicos and solids as well. And, I’ve seen some where all the fabric was the same print. The twist isn’t as noticeable because you don’t have the contrast of different prints, but it’s still super cute.
TO MAKE ONE TISSUE HOLDER, YOU WILL NEED:
- 3 rectangles of fabric, 4” x 6” (2 for the front and 1 for the back)
- 2 rectangles of fabric, 4” x 6” (for the front)
- Purple Thang Tool
- I used the cheap tissues found at the dollar store – you can use the Kleenex brand as well.
Want the ad free pdf file?! Scroll to the bottom of the post for more details!
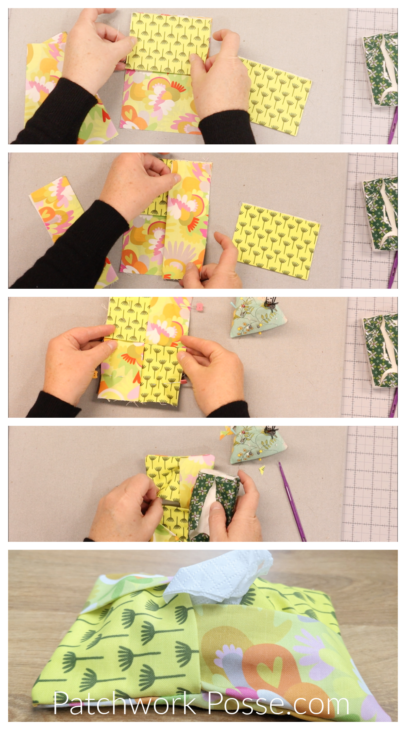
The front of the cover is sewn from folded fabrics similar to my Folded Fabric Coasters and Hot Pad Pattern. Tissues pull easily from the opening or tuck inside when not in use. This is so great because the plastic that the tissues come in falls apart, gets torn and you’ll find your bag full of loose tissues if you aren’t careful.
The finished tissue holders are approximately 3” x 5”.
How to Sew a Folded Fabric Tissue Pack Holder
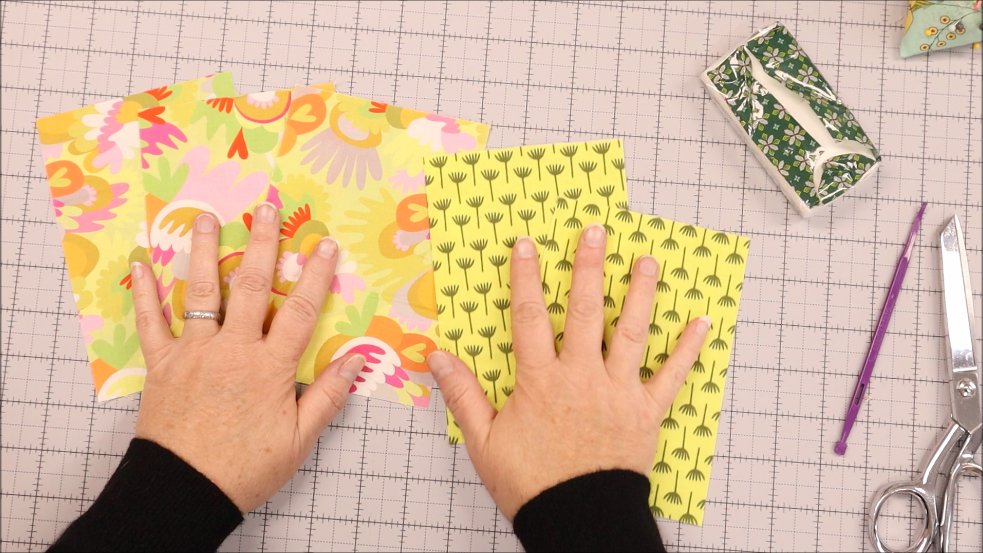
Step 1 – Gather your supplies
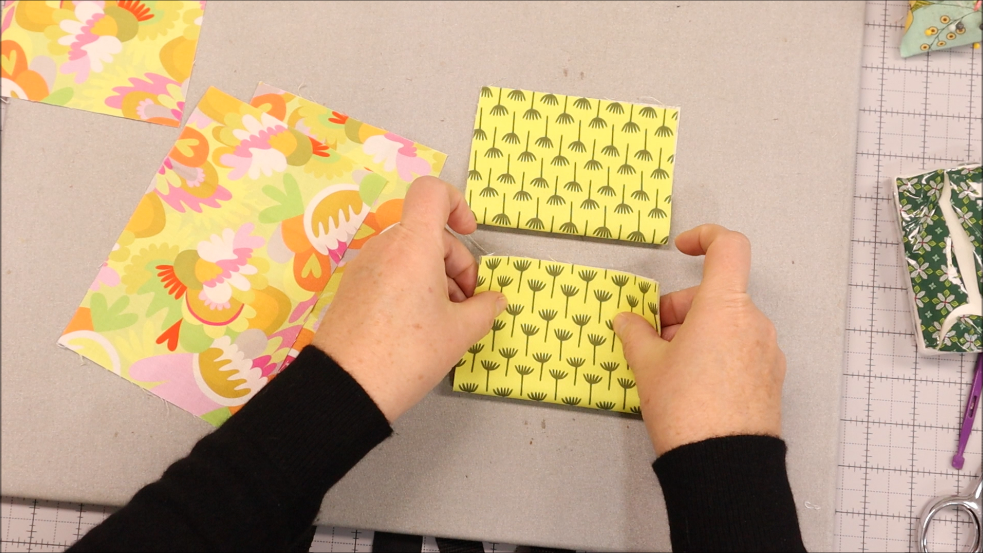
Step 2- Fold two pieces in half horizontally. They will be short
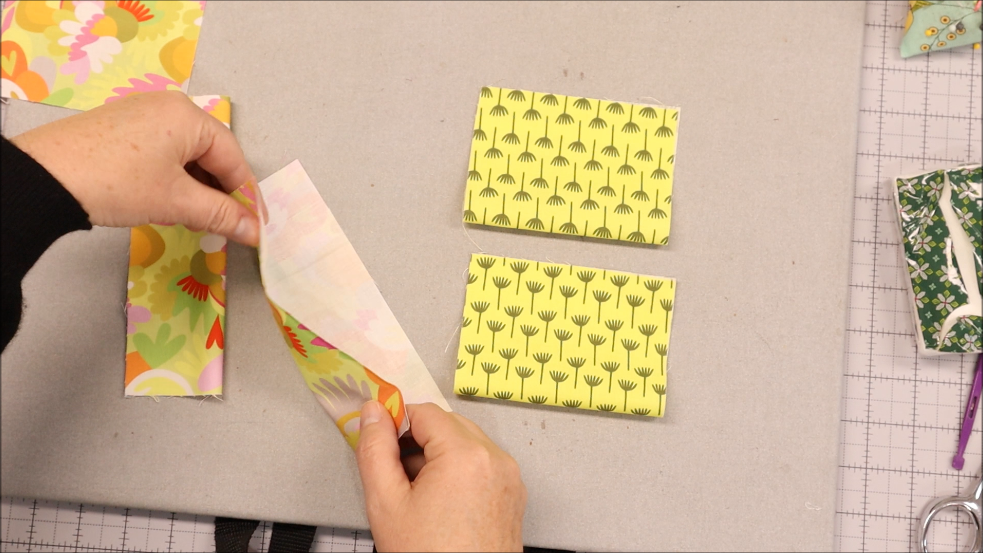
Step 3- Fold two pieces in half vertically. They will be long
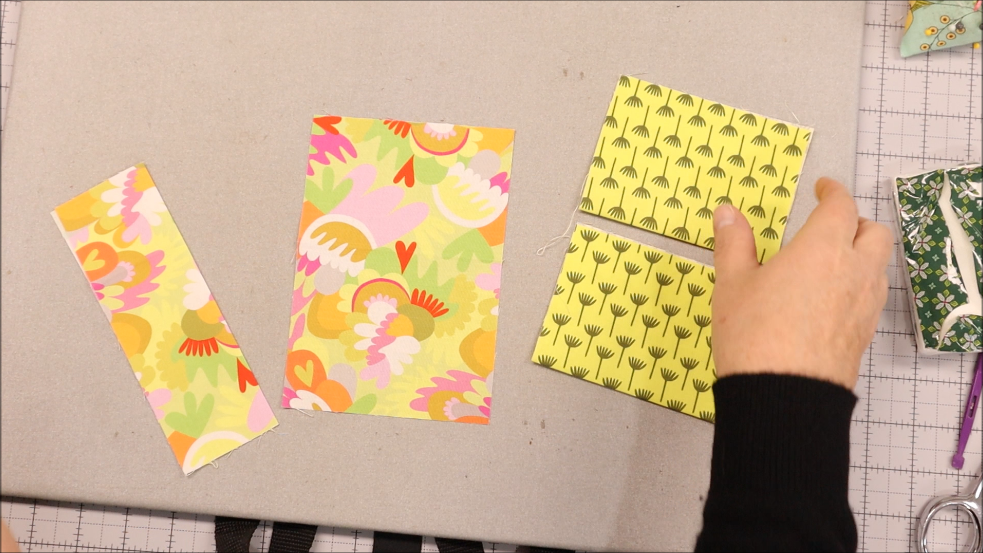
Step 4- Lay the back fabric on table, right sides facing up
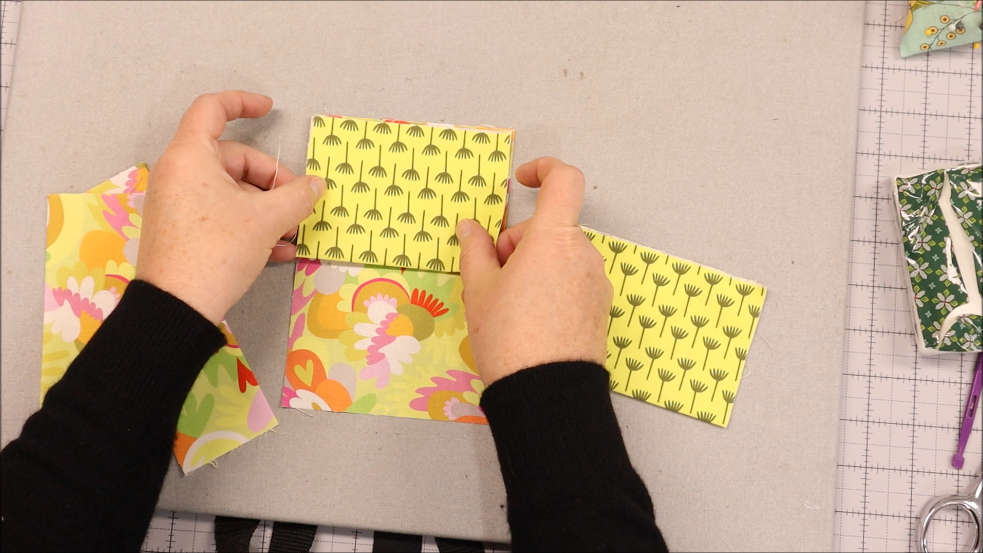
Step 5- Place one short folded piece on top, lining up the sides and top edges. The fold is in the center of the back piece
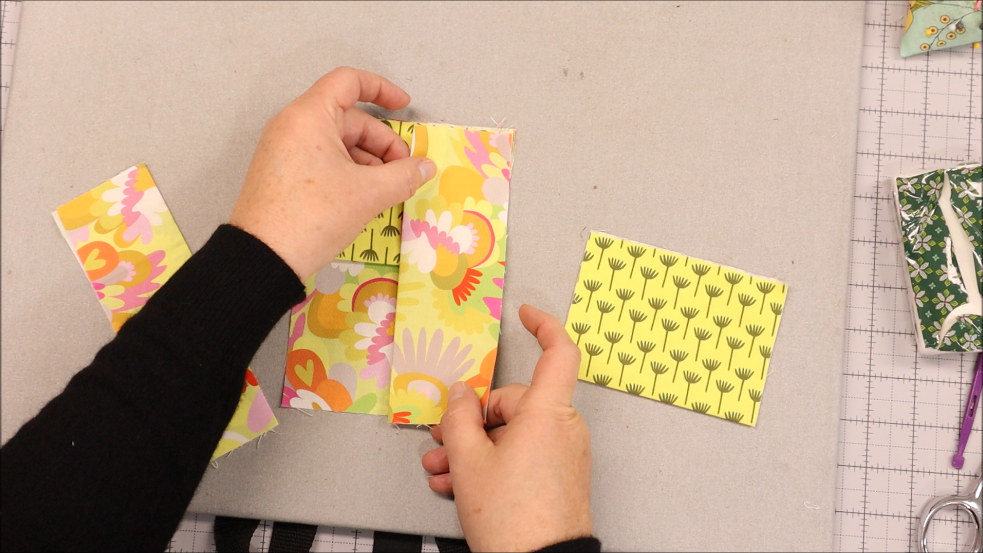
Step 6- Place the long folded piece on top of this, lining up the sides and bottom edges. The fold is again in the center
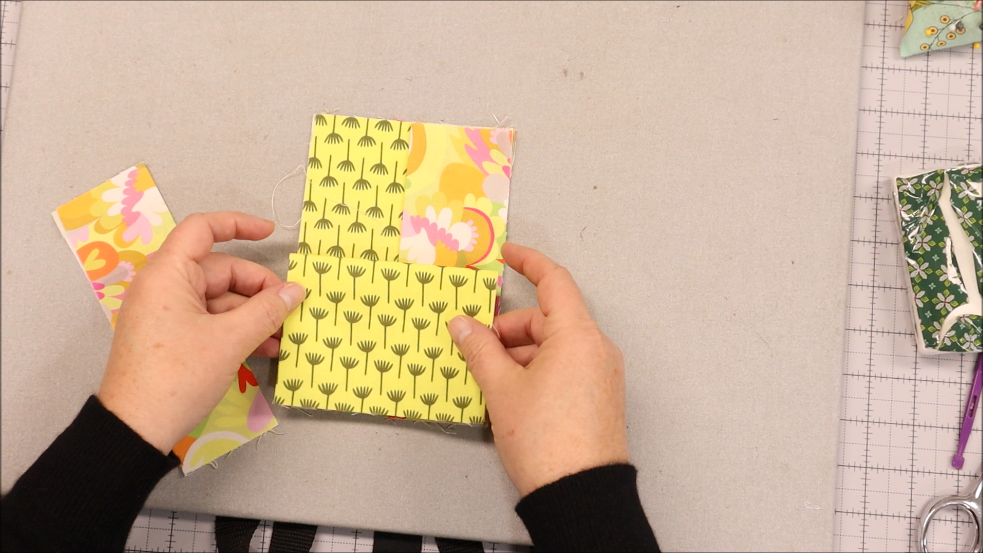
Step 7- Place the last short folded piece on top, lining up the sides and bottom edge. The fold is in the center

Step 8- Place the last long folded piece on top
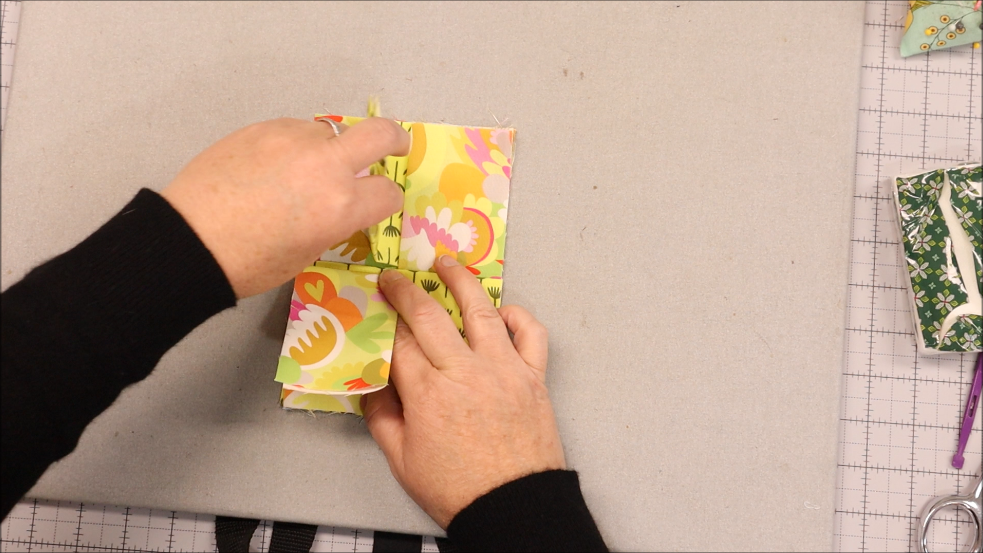
Step 9- Fold to the side the first piece and tuck under the last piece
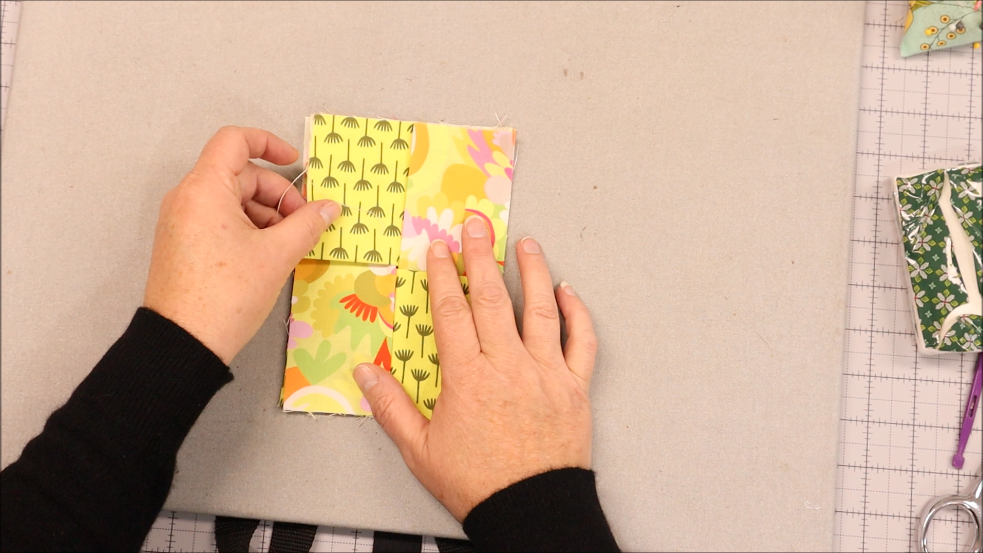
Step 10- This is what you should see – the alternating fabric pattern (if you are using different fabrics)
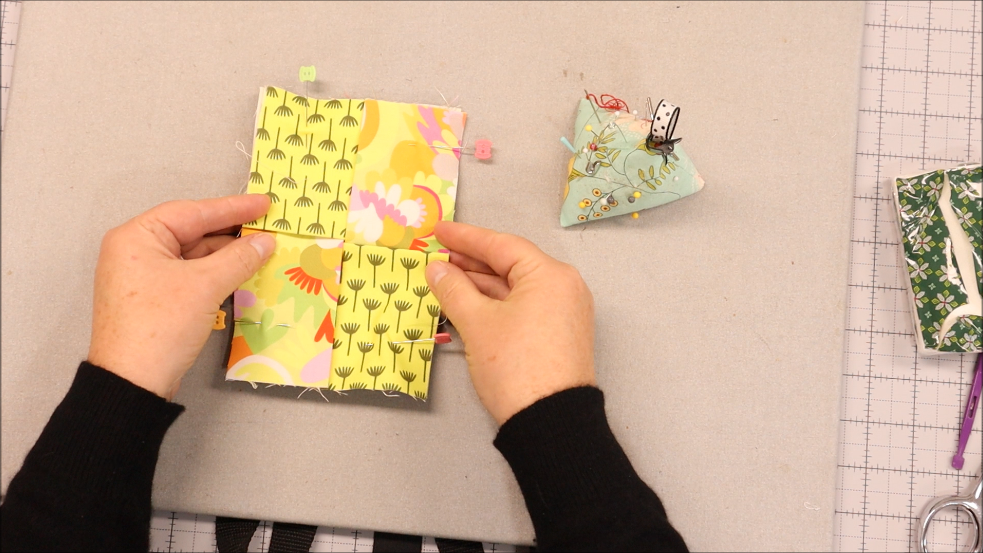
Step 11- Pin to secure and sew all the way around the whole piece – you will be using the middle opening of the twisted fabrics to turn right sides out. No need to leave a turning hole.
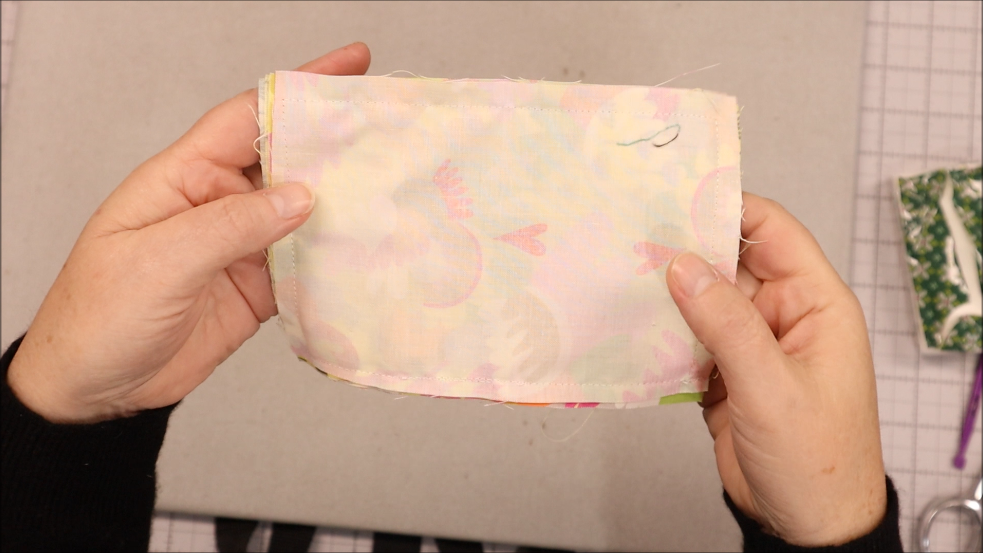
Step 12- Turn the piece over to the bottom and double check that all the layers have been caught in the seam. Resew if you have anything not caught.
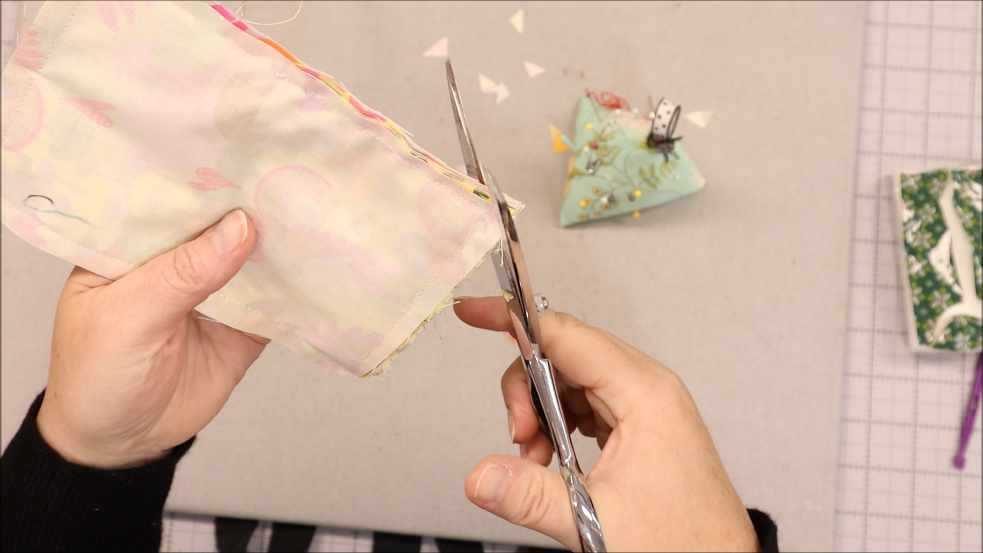
Step 13- Snip your corners
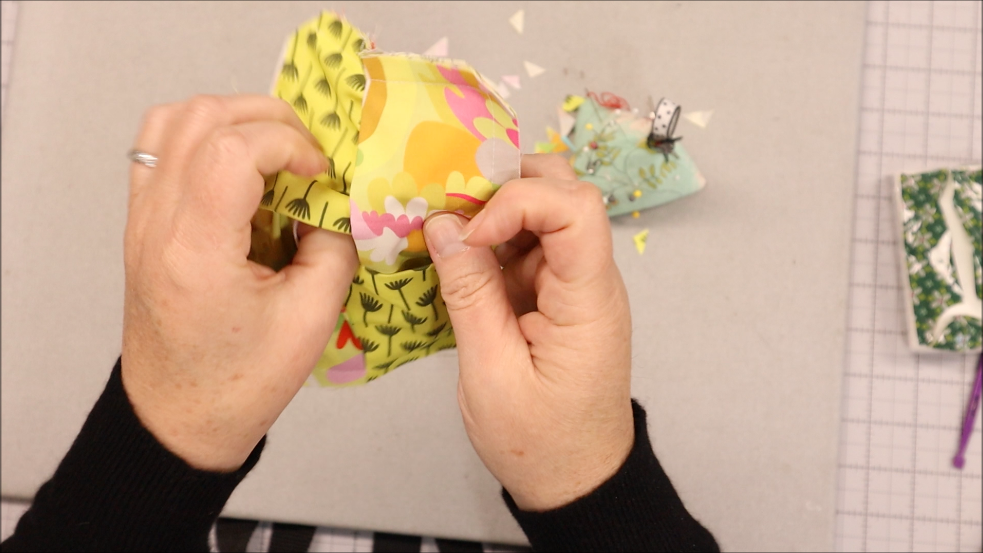
Step 14- Turn right sides out
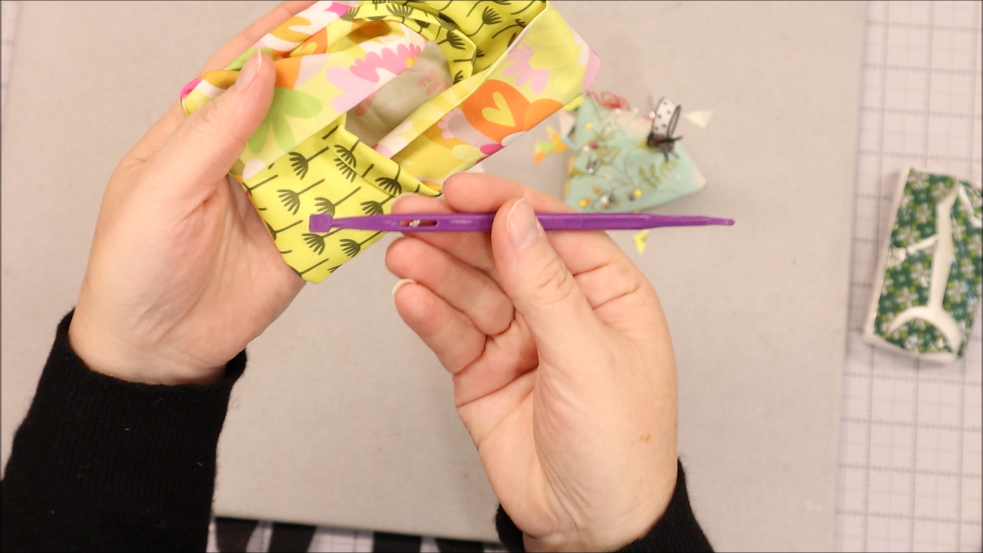
Step 15- Use the purple thang to push the corners and side seams out nicely
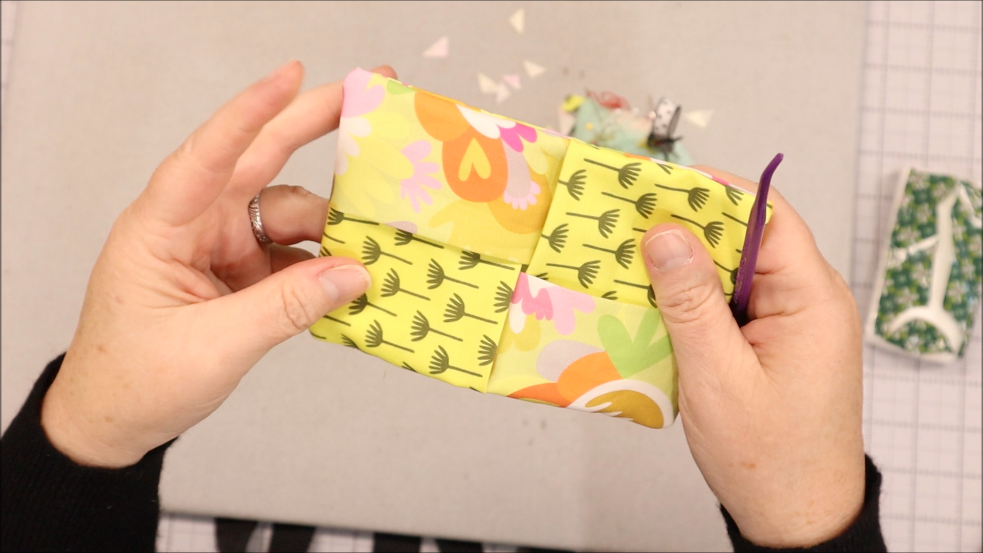
Step 16- Press if you’d like
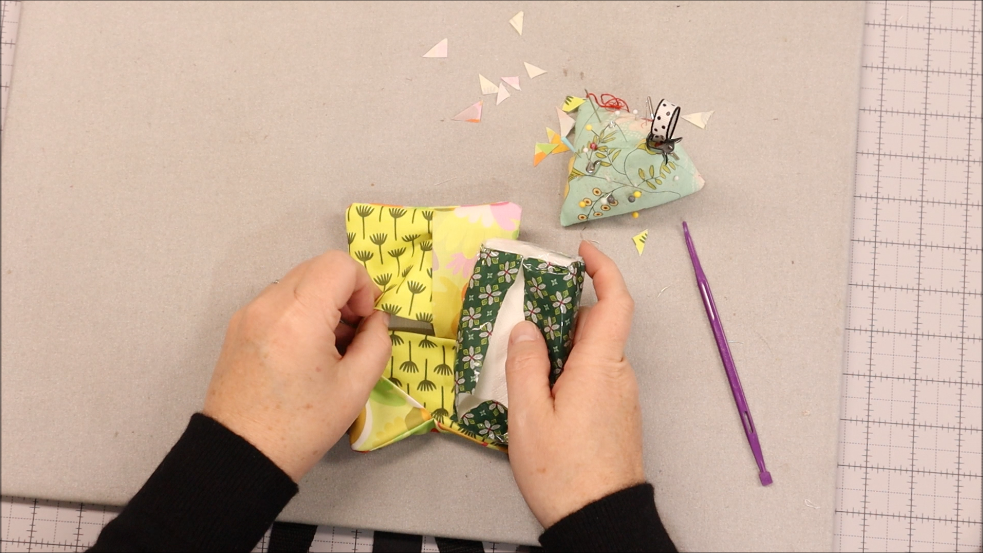
Step 17- Stuff your tissue package inside
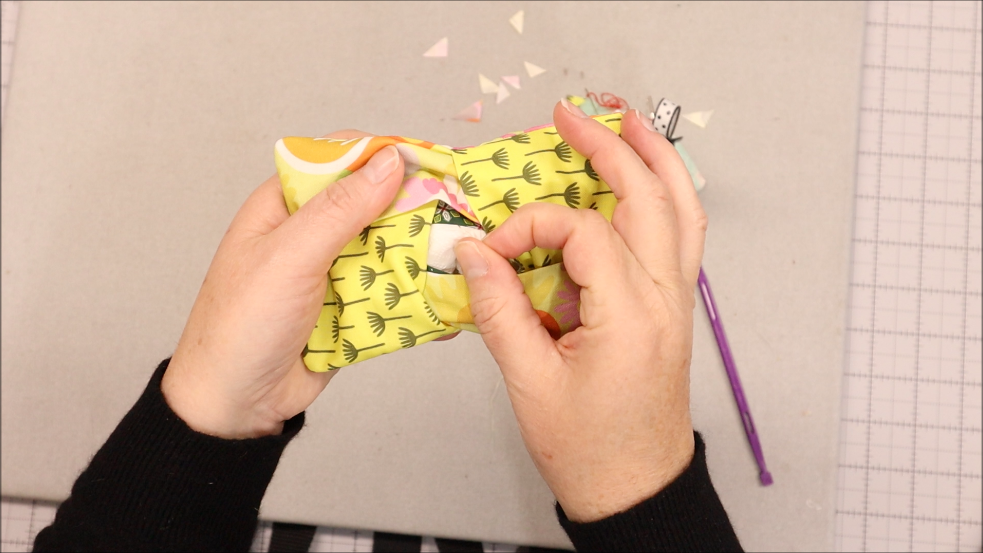
Step 18- Use by pulling the tissue out of the center opening

Get the ad-free PDF
Click the button below and download the Printable Tutorial.

Full Video Tutorial on The Travel Tissue Holder with Folded Fabric
More Cute Sewing Projects Under 30 Minutes

Simple Twisted Fabric Hot Pad Pattern


Rice Heating Pad Pattern
20 Easy Sewing Projects Under 30 Minutes
Becky Jorgensen is the creative quilter behind Patchwork Posse, the Patchwork Planner and her online quilt group Patchworkers Plus. You can find her patterns in books, magazines, and her quilt membership. Gather your quilting supplies, organize your sewing space, explore the process of disappearing quilt blocks, or finish a free quilt pattern. I'll help you use what you have, finish what you start and make your quilting journey fun!
Follow me here: Facebook, Pinterest, YouTube

