Download The Full Pattern Here
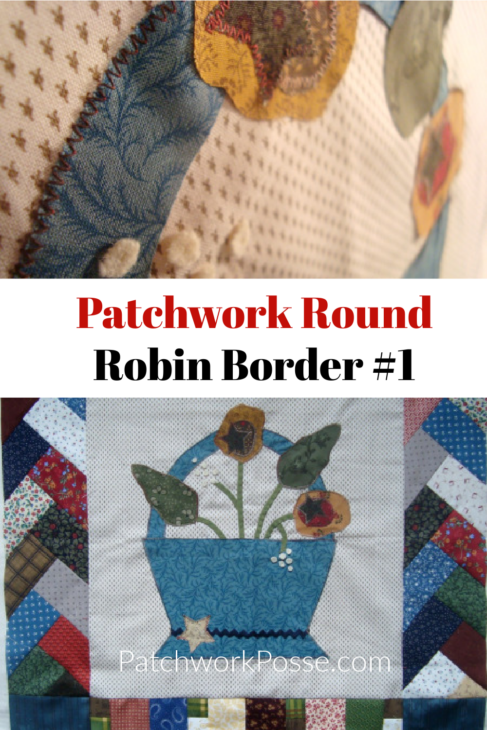
Today is border #1 for the Patchwork Round Robin!!!

I decided to try the braided border for the 2 sides.
They are 4 1/2 inch X 16 1/2 inch long.
You will be making 2 of these.
+ Materials Needed for Patchwork Round Robin Border #1 +
- Fabric for Border #1: Choose coordinating fabrics that complement your quilt center.
- Rotary Cutter and Mat: For precise cutting of fabric strips or blocks.
- Ruler: Essential for accurate measurements and cutting.
- Sewing Machine: For stitching the border pieces together.
- Thread: Match or contrast with your fabric, depending on your design preference.
- Iron and Ironing Board: To press seams for a crisp finish.
- Pins or Clips: To keep fabric pieces aligned while sewing.
- Measuring Tape: To ensure the border fits perfectly around your quilt center.
Cutting Instructions For Border #1:
- (24) 2 1/2 inch X 4 1/2 inch strips {12 for each side}
- (2) 2 1/2 inch X 2 1/2 inch squares to start the braid with
Piecing Instructions:
* Take the square and add a rectangle to one side. {I used 2 squares, but found out when i was squaring the bottom that you don’t need the second square}
* Add a second rectangle to the other edge.
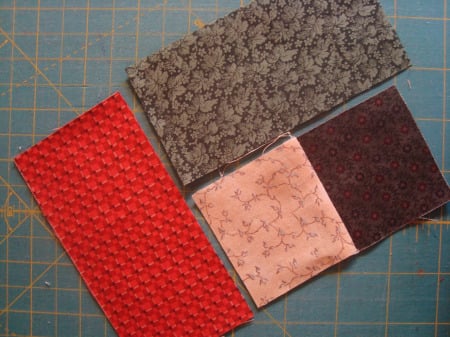
* Continue adding 2 strips to the sides. You will find that your pieces will be longer than the side you adding it onto…that is correct! Those little points will be cut off when you are squaring it up when finished.
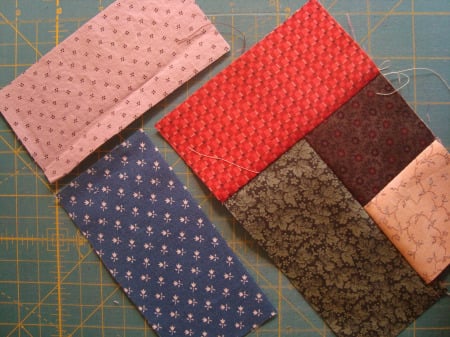
* When you have sewn all of the rectangles to the 2 strips you will need to trim it to size. Lay your ruler along the long edge –just before all the points start. Make sure you are cutting enough off. Trim and repeat with other strip.
* Lay the ruler along the straight edge and measure 4 1/2″ wide. Trim this edge.
* Lay the ruler along the short edges and make the rectangle 16 1/2 inches long.
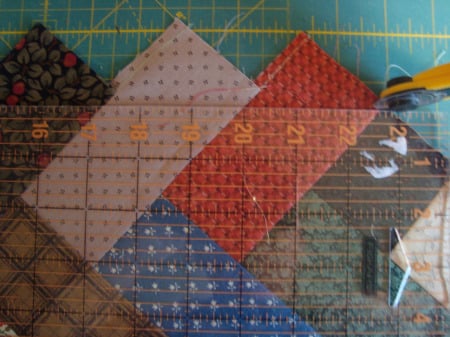
* Pin to the block and sew to 2 sides of the block. Cute huh?

pst— are you following along? Share your photos with the rest of us!!!
pst-pst– Want your name on the sidebar or would you like to design a side? Let me know!
pst-pst-pst— Did you know this is a free pattern? and it is a great pattern for beginners? That means you should join us!!!
pst-pst-pst-pst– Do you need the center block? Go here.
~ Make The Whole Quilt Here ~
- Center Block Pattern
- The Basket got their stems!!
- Patchwork Round Robin Border 2
- Patchwork Round Robin Border #3
- Patchwork Round Robin Border #4
- Patchwork Round Robin Border #5
- Patchwork Round Robin Border #6
- Patchwork Round Robin Border 7
- Patchwork Round Robin Border #8
FAQ’S Of Border #1
What is a Round Robin Quilt?
A Round Robin Quilt is a collaborative quilting project where each participant adds a new section (like a border) to a shared quilt.
What should I consider when designing Border #1?
Focus on fabrics and patterns that complement the center block. Keep measurements accurate to ensure a perfect fit.
Can I use scraps for Border #1?
Yes! Scraps are a great way to add variety and texture to your quilt while making the most of your fabric stash.
Becky Jorgensen is the creative quilter behind Patchwork Posse, the Patchwork Planner and her online quilt group Patchworkers Plus. You can find her patterns in books, magazines, and her quilt membership. Gather your quilting supplies, organize your sewing space, explore the process of disappearing quilt blocks, or finish a free quilt pattern. I'll help you use what you have, finish what you start and make your quilting journey fun!
Follow me here: Facebook, Pinterest, YouTube

