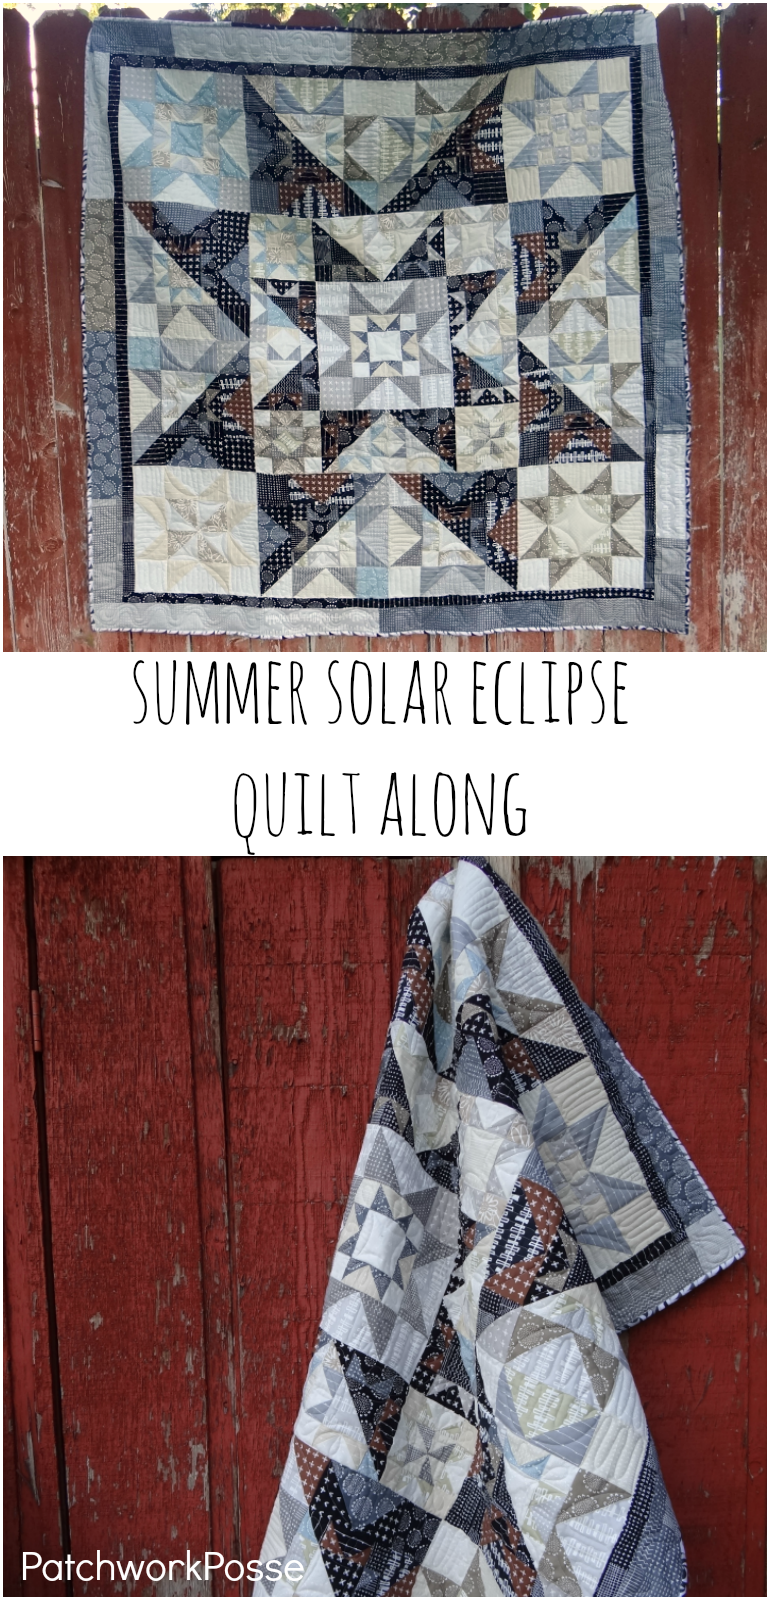
There has been a few chats about the flying geese units for the Summer Solar Eclipse Quilt Along, so I thought I’d take a quick moment to share a few different ways they can be made.
You can pick the method or technique that you like the best.
There are 3 methods that are going to be shared—PLUS they will have the materials needed for each method. No need to do the math. AND, there is a video to help with the two!
I would recommend trying it with fabric that you don’t care about for a tester. That way you don’t use up your quilt along fabric on a method you don’t like or it doesn’t work out just right.
Sometimes it takes me a few times before I ‘get it’ and things work out how they are supposed to.
Let’s get started!
3 Methods for Sewing Flying Geese Units~

Flying Geese method #1 – 2 pieces of fabric= 4 flying geese
Materials Needed for 3 1/2″ X 2″ flying geese:
1 4 1/2 X 4 1/2 background of flying geese
1 6 X 6 points of flying geese
Materials Needed for 6 1/2″ X 3 1/2″ flying geese:
1 7 1/2 X 7 1/2 – background of flying geese
1 9 X 9 – points of flying geese
Instructions for flying geese units method #1
1- Lay right sides together, 9 and 7 1/2 square the smaller square will be on top and centered to the larger square

2- Draw a line from corner to corner on the wrong side of the smaller square
3- Sew on both sides of the line 1/4 seam

4- Cut on the drawn line and iron
5- Place the squares -right sides facing- the lights will be opposite. It looks a little weird.

*you are lining up the outside edges. DO NOT line up the center seam
6- Draw a line from corner to corner on the wrong side your line will cross the center seam
7- Sew on both sides of the line 1/4 seam

8- Cut on the drawn line and iron
10- Trim up your flying geese units to 3 1/2 X 6 1/2


Video of the method:
Flying Geese method #2 – 1 large + 4 small= 4 flying geese
Materials Needed for 3 1/2″ X 2″ flying geese:
1 4 3/4 X 4 3/4 background of flying geese
4 2 7/8 X 2 7/8 points of flying geese
Materials Needed for 6 1/2″ X 3 1/2″ flying geese:
1 7 3/4 X 7 3/4 – background of flying geese
4 4 1/4″ X 4 1/4″ – points of flying geese
Instructions for flying geese units method #2
1- Place right sides facing the small square in opposite corners of the larger square
2- Draw a line from corner to corner
3- Stitch with 1/4″ seam allowance on BOTH sides of the drawn line
4- Cut on the drawn line and iron*It will look a little like a heart. You’ll have 2 of these

5- Place another fabric 2 square in the corner- right sides facing
6- Draw a line from corner to corner
7- Stitch with 1/4″ seam allowance on BOTH sides of the drawn line

8- Cut on the drawn line and iron
9- Trim the flying geese to 3 1/2″ X 2″ or 6 1/2″ x 3 1/2″ depending on the size of fabric you started with
Video of the method:
Flying Geese method #3 – 1 large + 2 small= 1 flying geese
Materials Needed for 3 1/2″ X 2″ flying geese:
1 3 1/2″ X 2″ background of flying geese
4 2″ X 2″ points of flying geese
Materials Needed for 6 1/2″ X 3 1/2″ flying geese:
1 6 1/2″ X 3 1/2″ – background of flying geese
4 3 1/2″ X 3 1/2″ – points of flying geese
Instructions for flying geese units method #3
1. Draw a diagonal line on the back of each smaller square.
2. With right sides together, align one marked square with one edge of the rectangle as shown.
3. Stitch on the drawn line
4- Cut 1/4″ beyond the stitched line.
5- Press the triangle open

6. Repeat with the other side

This is one flying geese at a time method- and you’ll have a lot of triangles cut off extra. Kind of wasteful, but it still works.
Hope this helps with the flying geese!

Here is the finished quilt~

Visit here for all the steps in the Summer Solar Eclipse Quilt Along.

If you are interested in sewing along
- Join the free facebook group for sharing your progress, chatting about options and asking questions is you have any while sewing. It’s open 24 hours and there is always an answer waiting for you. Share your fabric choices with us!
- Sign up for reminders, don’t miss one of the steps! You’ll get a quick email with the info on the next step and links to find the video helps and posts so you can keep up.
Share your progress in the free fb group, there will be posts to share plus you can check out how others are sewing along as well!

Becky Jorgensen is the creative quilter behind Patchwork Posse, the Patchwork Planner and her online quilt group Patchworkers Plus. You can find her patterns in books, magazines, and her quilt membership. Gather your quilting supplies, organize your sewing space, explore the process of disappearing quilt blocks, or finish a free quilt pattern. I'll help you use what you have, finish what you start and make your quilting journey fun!
Follow me here: Facebook, Pinterest, YouTube


