
What’s the Tutorial? Learn how to sew a buttonhole stitch around appliqué pieces for a clean, decorative finish. This simple technique secures the raw edges while adding a classic hand-stitched look to quilts, pillows, table runners, and other sewing projects.
Have you ever looked at an appliqué project and thought, “Those stitches look way too fancy for me.” I promise they’re not. The buttonhole stitch is one of those techniques that looks impressive but is actually pretty simple once you get going.
It’s also one of those stitches you’ll see over and over in quilting. It keeps raw edge appliqué from fraying, gives your project a nice finished look, and adds just enough detail to make people think you spent way more time on it than you did. We’ll let them keep thinking that.
In this tutorial, I’ll show you exactly how to sew a buttonhole stitch around your appliqué pieces, one stitch at a time. Grab a needle, some thread, and a little scrap of fabric to practice on. After a few minutes, you’ll wonder why you waited so long to try it.
The button hole stitch is a great stitch for finishing off your applique. Whether the applique has a raw edge or a finished edge– it doesn’t really matter.
This hand stitch is a great way to keep all the look edges together, and is easy to take with you and stitch on the go.
Materials Needed for the Button Hole Stitch – hand sewing:
- DMC floss (or your favorite applique thread) In this video I used 2 strands of floss
- Needle
When it comes to achieving the perfect buttonhole stitch for your applique projects, using the right tools and materials is crucial. Here are my recommendations based on experience and what I’ve found works best:
Threads That Work the Best
For a clean and durable buttonhole stitch, I recommend using high-quality embroidery floss or cotton thread. Here’s what to consider:
- Embroidery Floss: Brands like DMC offer a wide range of colors and are known for their strength and smooth finish. Using all six strands of floss will give a bold, defined look, while fewer strands can create a more delicate finish.
- Cotton Thread: If you prefer a more subtle stitch, high-quality cotton thread works well. Look for brands like Aurifil or Gutermann, which provide strong, lint-free threads that glide smoothly through fabric.
The Best Needles for This Embroidery Stitch
Choosing the right needle can make a significant difference in your stitching experience. I suggest the following:
- Embroidery Needles: Sizes 7-10 are ideal for buttonhole stitches. They have a larger eye to accommodate multiple strands of floss and a sharp point for piercing fabric cleanly.
- Milliners Needles: These are great for more detailed work or when using finer threads. They are longer and make it easier to create consistent stitches.

Other Tools for Hand Sewing the Button Hole
In addition to threads and needles, a few other tools can enhance your stitching process:
- Embroidery Hoop: A 6-8 inch embroidery hoop helps keep your fabric taut, making it easier to achieve even stitches. Wooden hoops are sturdy and provide a good grip, while plastic ones can offer adjustable tension.
- Sharp Scissors: A small pair of embroidery scissors is essential for cleanly cutting threads and trimming fabric edges. Look for ones with sharp, pointed tips.
- Thread Conditioner: Using a thread conditioner like Thread Magic or beeswax can prevent tangling and make your thread glide more smoothly through the fabric.
- Fabric Marking Pen: A water-soluble or disappearing ink pen is useful for marking your design on the fabric without leaving permanent marks.
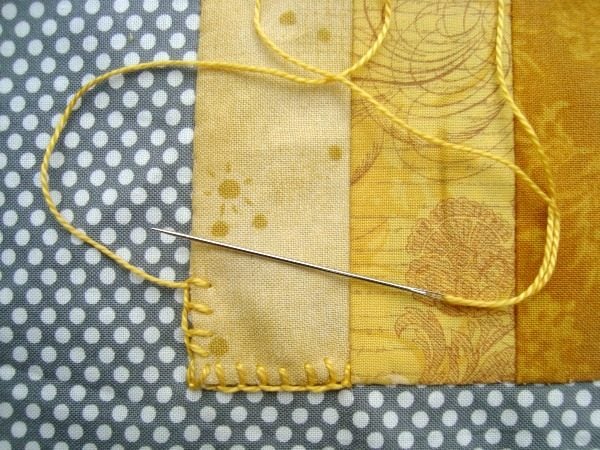
Button Hole Stitch Tutorial:
1- Start with your needle and thread coming out along the outside edge of the applique shape
2- Take your needle down inside the applique –this will determine your stitch depth, so make this consistent with each stitch
3- Wrap your thread around to the back of your needle — if you don’t do this your stitch will not stay and disappear to the backside!
4- Pull your thread to tighten the stitch
5- Repeat stitches 2-4 keeping them consistent in length and depth
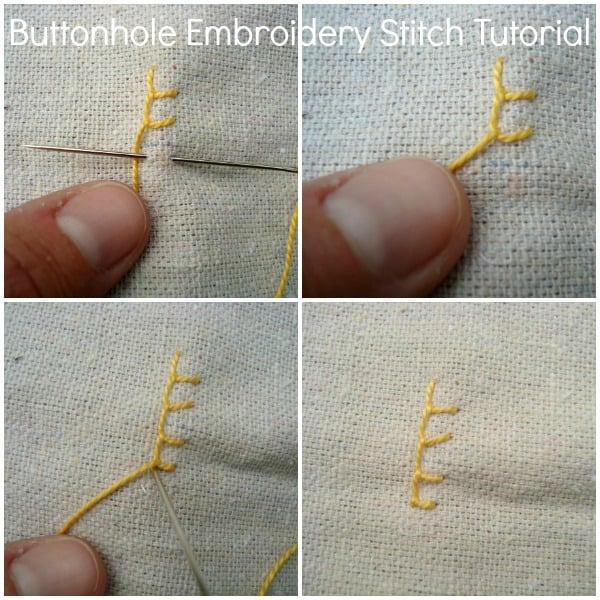
Here’s a Video to help you see it in action:
Tips Before You Start
Before stitching your project, practice on a small scrap of fabric. Focus on keeping your stitches the same length and spacing rather than sewing quickly. A contrasting thread makes it easier to see where your stitches are landing while you’re learning, and once you feel comfortable, you can switch to a thread that blends with your fabric.
The more you practice, the more natural the stitch will feel—and before long, you’ll be adding it to all kinds of appliqué projects.
Troubleshooting Common Mistakes
Hand sewing comes with its own set of challenges, but here are some common issues and how I handle them:
- Puckering: Puckering can occur if the thread tension is too tight. To avoid this, I make sure to pull the thread gently and evenly through the fabric. If puckering does happen, gently tugging the fabric can help relax the stitches.
- Fraying Thread: Thread can fray with frequent use. Using a thread conditioner like beeswax can help prevent this, making the thread easier to work with and more durable.
- Inconsistent Stitches: If my stitches are inconsistent, I take a step back and practice on a scrap piece of fabric. Paying close attention to my hand movements and adjusting my technique usually helps me get back on track.

Learn more about applique here!
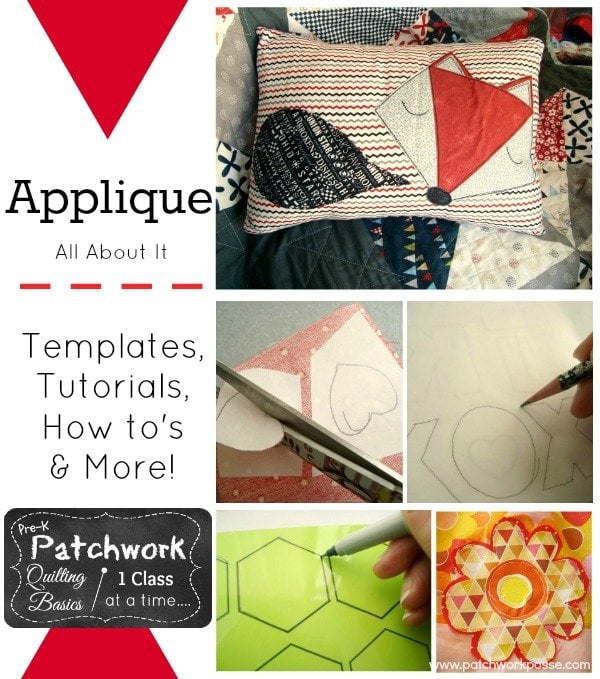
More Applique Resources
Explore more applique techniques and how to’s. There are quite a few different styles, techniques and ways you can finish your applique.
Raw Edge Applique
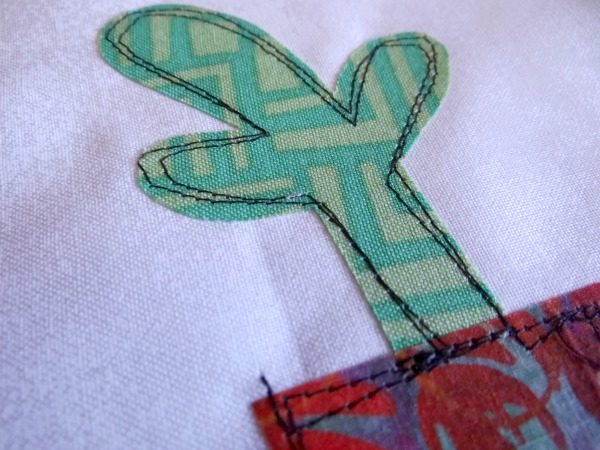
No need for finished edges in the applique – sew with the Raw edge applique for a quick finish.
Sewing Machine Button Hole stitch

Use your sewing machine for finishing the edge of your applique – Button hole stitch- by sewing machine

More applique resources – Other ways to finish your applique


Leave a Reply