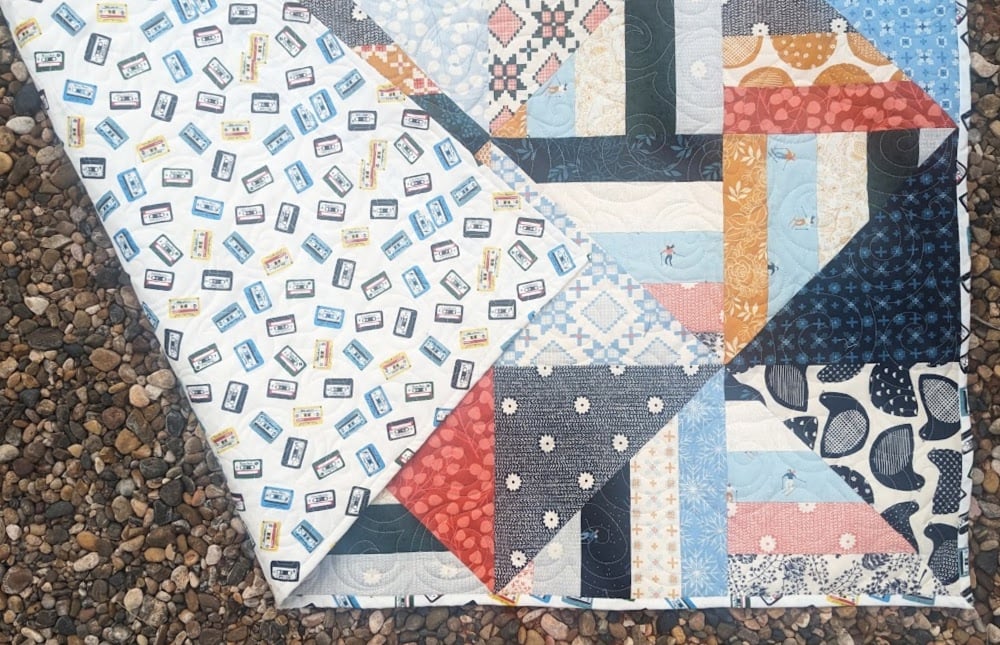
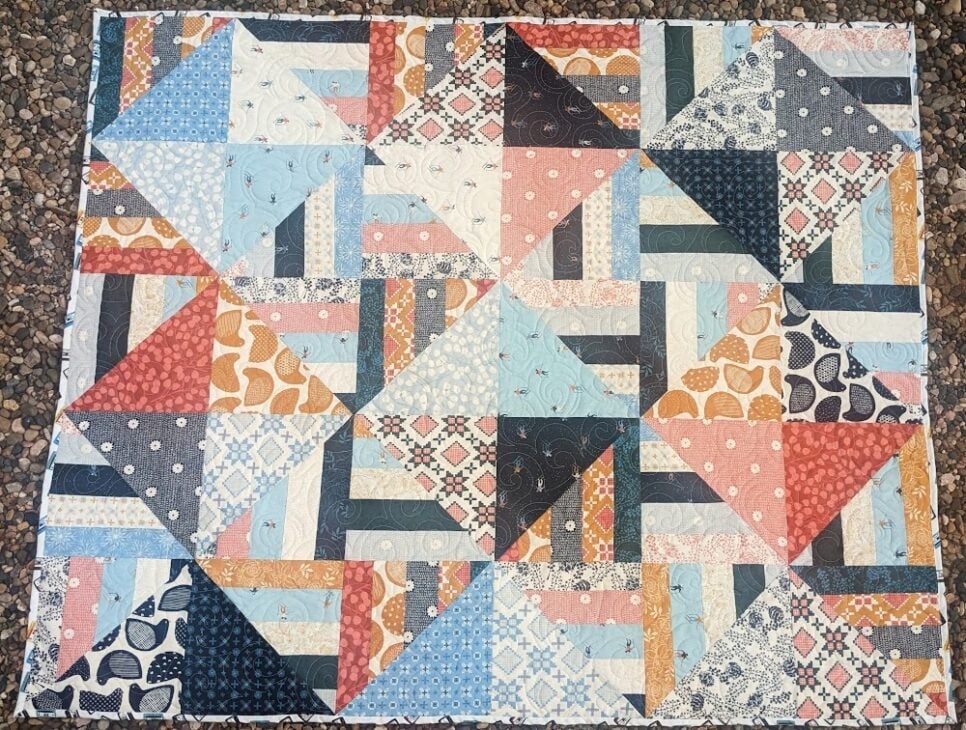
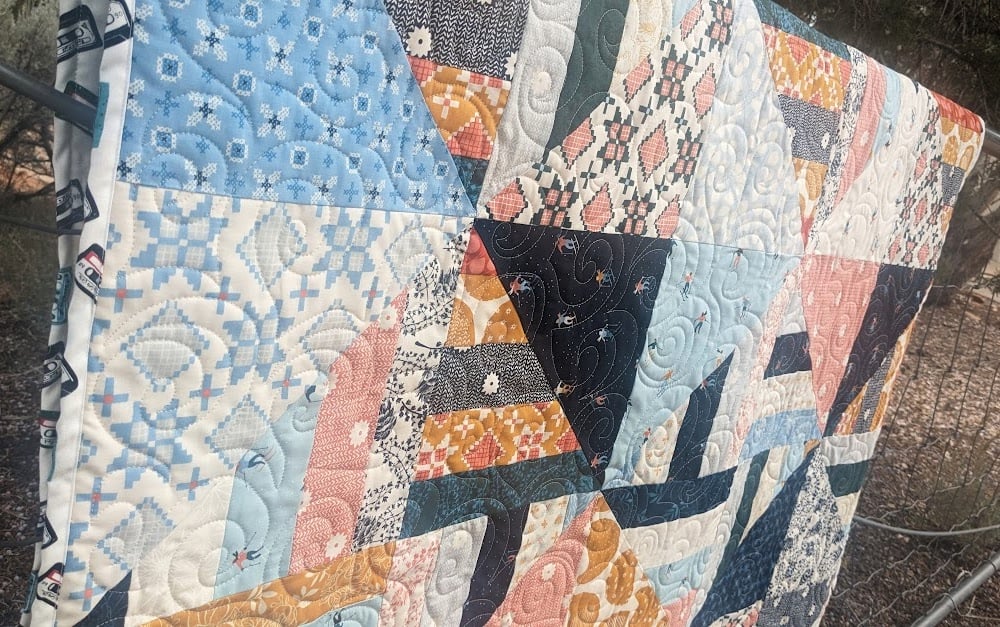
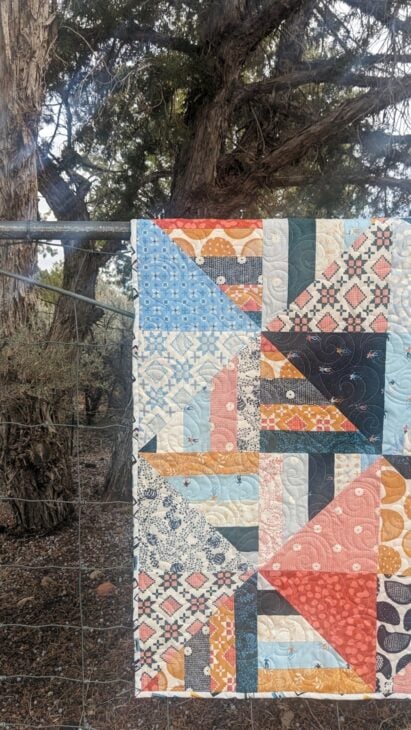
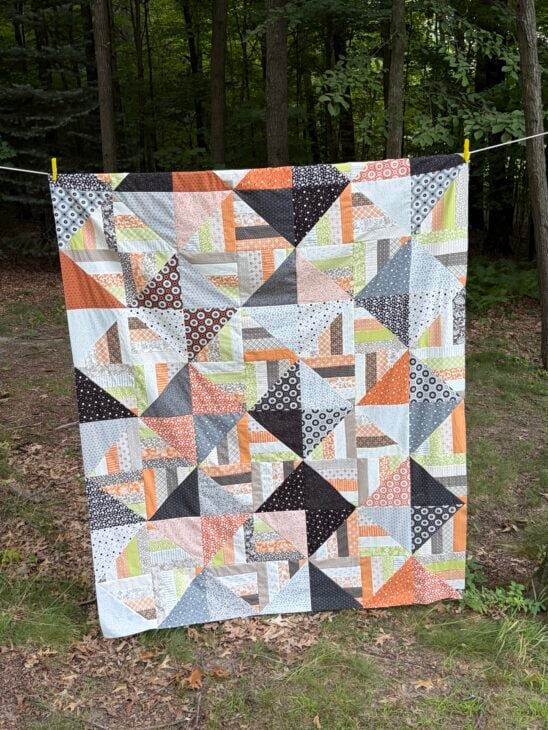
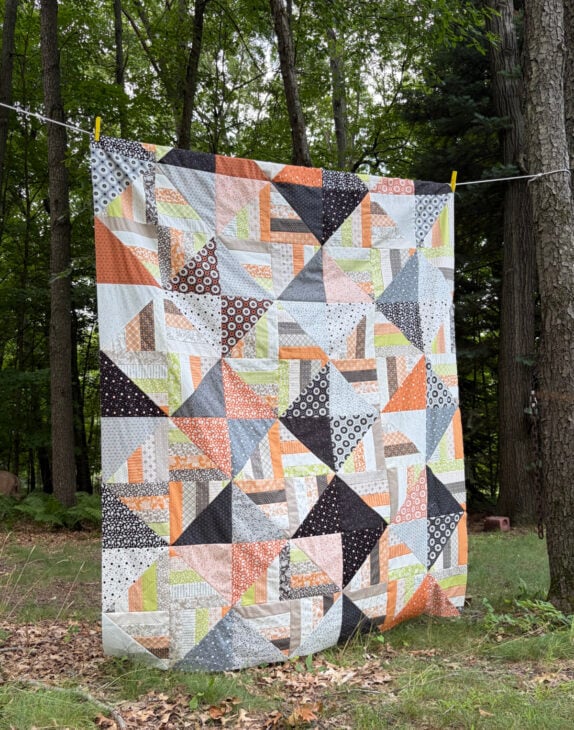
This month we’re pulling out two precuts that may already be sitting on your shelf—a jelly roll and a layer cake—and putting them together into one really fun quilt.
I made mine in Halloween fabrics, and I love how all those oranges, blacks, grays, and greens play together. But this pattern definitely isn’t limited to Halloween. Change the fabric collection and you’ve got a completely different quilt.
And even though we’re making a full quilt this month, don’t let that fool you. The construction is simple, repetitive, and moves along pretty quickly. This is absolutely one you could settle in with and sew over a weekend.
What Makes This Quilt So Fun
The fun part of this quilt is how we’re making the half-square triangles.
You’ll start by sewing jelly roll strips together, then cutting those strip sets into the pieces you need. From there, you’ll pair them with triangles cut from your layer cake squares.
Then comes the neat part—you’ll sew them together to make two half-square triangles at a time.
It may look a little different from the HST method you’re used to, but it’s easier than you think. Once you make the first few, you’ll get into the rhythm pretty quickly.
Plus, every HST is a little different because of those jelly roll strips. Mix them up, turn them around, and let the fabrics do the work.
Pattern & Video Tutorial
Your printable PDF pattern and step-by-step video tutorial are both included right here inside Patchworkers Plus.
Download the pattern, grab your jelly roll and layer cake, and then follow along with the video whenever you’re ready to sew. Pause it, rewind it, or come back later—you can work through the quilt at your own pace.
Skill Level & Construction Notes
This is a beginner-friendly quilt with a fun little twist in the construction.
If you’ve made half-square triangles before, you’ll recognize the basic idea, but we’ll be making them using our pieced jelly roll strips and layer cake pieces.
If you haven’t made many HSTs? That’s fine too. I’ll walk you through the process.
Once those units are made, it’s really about arranging, sewing, and watching that scrappy design come together.
Perfect For…
- Using a jelly roll and layer cake you’ve been saving
- Halloween or other seasonal fabric collections
- A weekend of sewing
- Practicing half-square triangles in a different way
- Quilters who love scrappy-looking quilts without digging through the entire scrap bin
- Making a quilt that looks much more complicated than it really is
This is one of those quilts where the fabric does a lot of the work for you. There are lots of colors, prints, angles, and movement happening, but the actual sewing stays nice and manageable.
Grab those precuts you’ve been wondering what to do with and let’s put them to work.
And when your blocks start coming together, share your progress inside the community. I really want to see this one in different fabric collections—I have a feeling every version is going to look completely different.
This Project is Now Part of – Make & Take Monthly!
This project has been moved into the Make & Take Monthly membership — a fun, stash-friendly club where you get one brand-new Make & Take project each month, complete with a printable PDF and a step-by-step video.
As a member, you’ll get instant access to:
- This project (PDF + video)
- The full Make & Take Library
- Monthly Make & Take projects delivered right to you
- Bonus projects throughout the year
If you’d like to keep sewing this project and get all the monthly makes, you can join here: Join Make & Take Monthly
Patchworkers Plus members — you already have access to everything inside the community
Finishing the Quilt
1. Cut or piece together your batting and a piece of quilt backing fabric.
2. Make a quilt sandwich with the backing, batting, and top.
3. Baste together with fusible batting, pins or basting spray.
3. Quilt as desired. A few of my favorite ways to quilt are Straight line quilting or cross hatch quilting. Use a walking foot on your sewing machine. Trim away the extra batting and backing.
4. Cut strips of fabric for the binding. Cut 2 1/2” tall (sometimes I use 2 1/4″) binding strips. Sew the binding strips together and bind using your favorite technique.