
I love this block. It looks harder than it is….which makes you look like a professional quilter 🙂
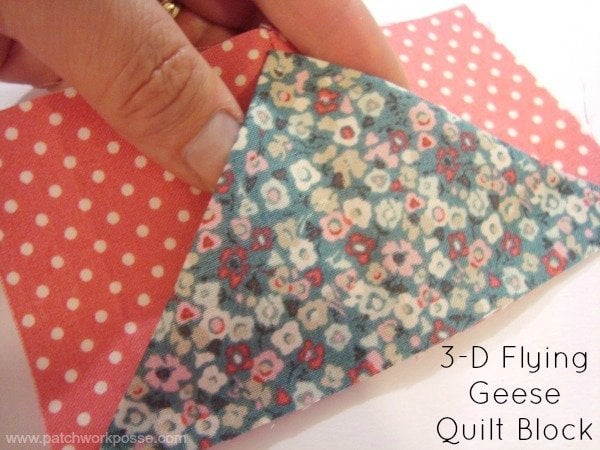
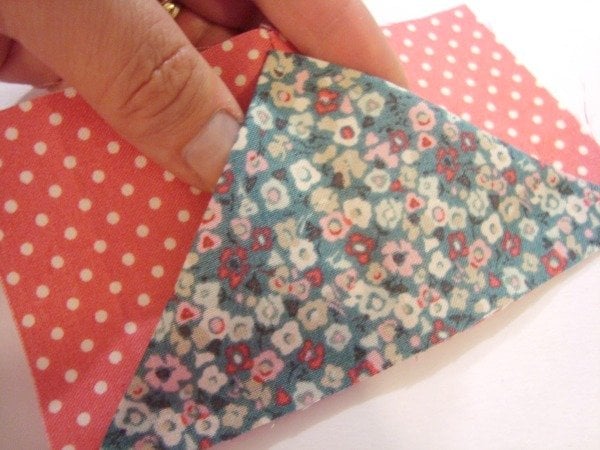
The seam in the center is hidden behind the flying geese part, making it an illusion.
Materials Needed:
2- background 3″ X 3″
1- flying geese 3″ X 5 1/2

3-D Flying Geese Quilt Block Tutorial~
1) Fold the rectangle in half and finger press
2) Place this folded rectangle in between the two background squares- lining up the raw edge. The fold will be just beyond 1/4″ from one edge of the background squares

3) Sew along the side

4) Open the block –notice that the fold is at the top and one side is caught in the seam
5) Pull the sides to the corners of the squares

6) Trim the excess flying geese

7) Using glue- {I use Fabric Fuse by Thermoweb— LOVE this stuff!}– put a couple of dots down to make the flying geese from shifting out of it’s spot. This will replace using pins. So handy!

8) Repeat this process for as many 3-d Flying Geese quilt blocks you need.

The 3-d part of the block is on the angle on either side of the center seam.
Have you made this 3-d quilt block before? Have any hints? Tips to share?

 |
 |
 |


I want to try all of your 3d squares. So neat!
I love 3D blocks!!
Having trouble putting tis square together, HELP!! I can make the flying geese just don’t know how to make into a block
I’m making a Flying Geese quilt for my toddler and would love to know how these 3D blocks stand up to kids!