
New to quilting and wondering where you’re actually supposed to start? These 13 quilting basics walk you through the process—from choosing fabric and cutting accurately to piecing, quilting and binding your first quilt. No fancy skills required. Just start with one step and keep sewing.
Quilting Basics for Beginners
Starting your first quilt can feel a little like everyone else received the instruction manual… and yours got lost in the mail.
Quarter-inch seams. Pressing seams. Batting. Basting. Binding. And why does everyone have such strong opinions about whether you should prewash your fabric?!
Here’s the good news: you don’t need to know everything before you make your first quilt.
You really only need to understand a few quilting basics and then learn the rest as you go. Because you will cut something wrong. You’ll probably sew something on backwards. And at some point you’ll discover you’ve been happily sewing without bobbin thread.
Congratulations. You’re officially a quilter.
These beginner quilting tips walk you through the basic process of making a quilt, from choosing your fabric all the way to adding the binding and label.
What Do You Need to Know Before Making Your First Quilt?
At its simplest, making a quilt looks something like this:
Choose fabric → Cut → Piece → Press → Make the quilt top → Baste → Quilt → Bind → Label
There are approximately 4,782 opinions about how you should do each of those steps.
You don’t need all of them.
Learn the basics, try a few different methods, and figure out what works for you.
That’s one of the best things about quilting.
1. Start With Fabric You Love
You can choose a quilt pattern first and buy the fabric it calls for—or start with fabric you already have and find a project that works with it.
Quilting cotton is an easy place to begin because it’s stable, easy to cut, and easy to sew. But don’t get too hung up on finding the “perfect” fabric.
If you’re staring at a shelf full of fabric you’ve been saving for someday… someday may have just arrived.
Pick something you like enough that you’ll actually want to keep working on the quilt.
If you are storing a bunch of fabric – here’s a great tip, use foam core boards for folding.
2. Make Your First Quilt Simple
You do not need to begin your quilting career with 700 tiny triangles.
Simple squares, strips, fabric panels, charm squares, jelly rolls, and basic quilt blocks are all great places to start.
Choose a quilt pattern with straightforward piecing and larger pieces. You’ll learn the same basic quilting skills without making yourself crazy trying to match 47 points in one block.
There will be plenty of time for that later.
Your first goal is simple: make a quilt.
Looking for a quilt to start sewing (and making your first quilt) visit all the quilt tutorials here to get started.
3. Accurate Cutting Makes Everything Easier
Here’s one of those quilting lessons that’s not terribly exciting but makes everything that comes after it much easier.
Take your time when cutting.
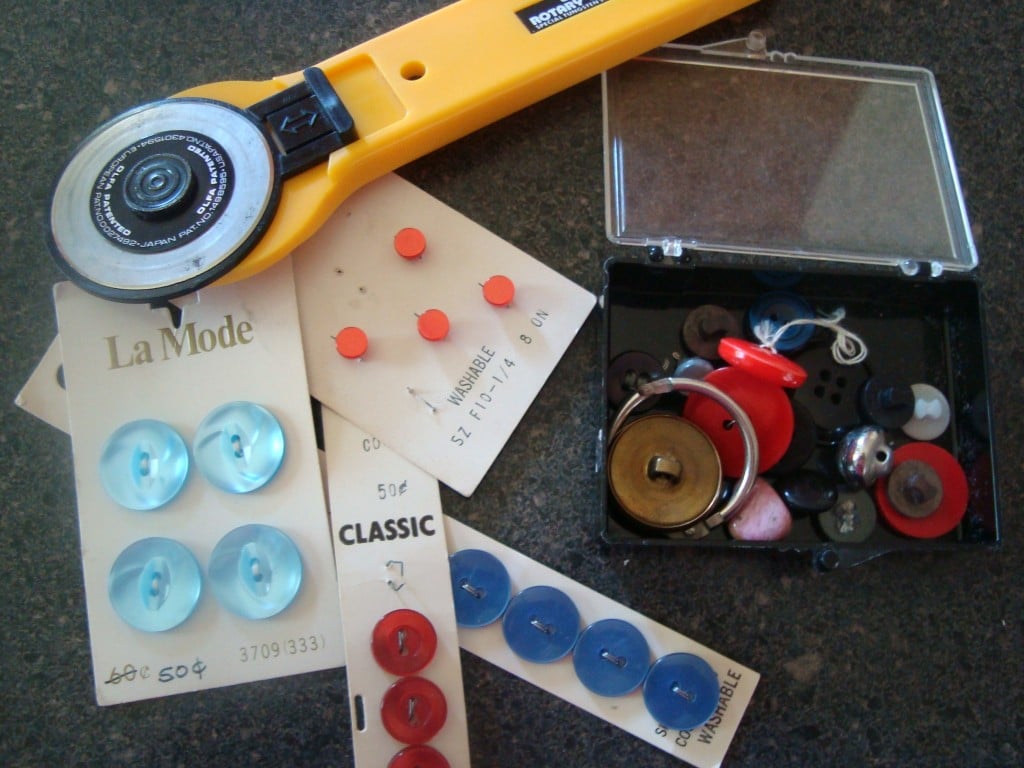
Press wrinkled fabric before you begin. Use a rotary cutter, quilting ruler, and cutting mat when possible, and make sure your measurements are accurate before you make the cut.
One slightly wonky square isn’t a huge deal.
Twenty slightly wonky squares? Now we’ve got a party.
Accurate cutting gives your quilt blocks a much better chance of fitting together the way they’re supposed to.
4. Learn Your 1/4″ Seam Allowance
Most quilt patterns use a 1/4-inch seam allowance.
Keeping that seam allowance consistent is more important than sewing quickly. If your seams wander between 1/4″, 3/8″, and “somewhere around there,” your finished blocks may not end up the size the pattern expects.
Before beginning your quilt, grab a few scraps and practice sewing a 1/4″ seam.
A 1/4″ presser foot can also be really helpful.
Once you find where that 1/4″ seam sits on your machine, quilting gets a whole lot easier.
5. Press as You Go
Yes, there is ironing involved.
Sorry.
Pressing your seams as you sew helps your quilt blocks lie flat and makes it easier to match seams when you’re putting blocks and rows together.
Follow the pressing directions in your quilt pattern when they’re given. Sometimes you’ll press seams to one side, and other times you’ll press them open.
Don’t wait until you’ve finished the entire quilt top to drag out the iron.
Sew a little. Press a little. Sew some more.
6. Check Your Quilt Blocks as You Go
Don’t sew 42 quilt blocks before discovering they’re all the wrong size.
Ask me how I know.
Make your first block and measure it. If the pattern says your unfinished block should measure 12 1/2″, check it before you start chain piecing the rest.
If it’s off, look at your cutting and seam allowance before continuing.
You don’t need to obsess over every single block, but checking occasionally can catch a small problem before it becomes a very large pile of problems.
7. Choose the Right Batting
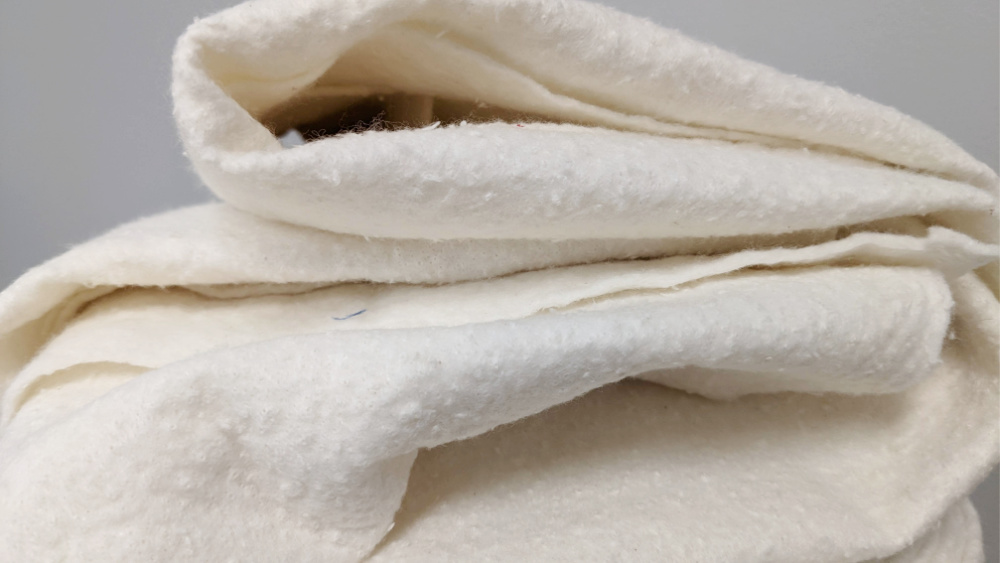
Once your quilt top is finished, you’ll need batting to go between the quilt top and backing.
Batting comes in different fibers, weights, and lofts, and each one gives your finished quilt a slightly different feel.
Cotton batting is a popular choice for everyday quilts. Polyester batting can give you more loft, while blends give you a little of both.
Check the package before you start quilting. It will usually tell you how closely the quilting needs to be stitched.
And yes, batting is one more thing you’ll eventually have opinions about.
Welcome to quilting.
8. Make Your Quilt Sandwich
Before quilting, you’ll layer your three pieces together:
Quilt backing → Batting → Quilt top
This is called your quilt sandwich.
Your backing and batting should be larger than your quilt top so you have a little extra room around all four sides.
Smooth each layer well so you don’t end up with wrinkles hiding underneath.
Because discovering a giant fold in the backing after you’ve quilted across it is not the kind of surprise we’re looking for.
9. Baste the Quilt Layers Together
Once your quilt sandwich is together, you’ll need to keep those layers from shifting while you quilt.
That’s where basting comes in.
You can baste a quilt with safety pins, basting spray, thread, or another method you prefer.
The goal is simply to hold all three layers securely together while you’re quilting.
Take a little time here. Good basting can save you a lot of frustration later.

10. Keep the Quilting Simple
You do not have to learn fancy free-motion quilting to finish your first quilt.
Straight-line quilting works beautifully.
You can quilt along the seams, stitch simple lines across the quilt, follow the shapes in your quilt blocks, or use a walking foot to add gentle curves.
Start with something manageable.
Your quilting doesn’t have to win an award. It needs to hold the three layers together and get your quilt finished.
Finished is pretty wonderful.
11. Add the Binding
Once the quilting is finished, trim the extra batting and backing and square up the edges of your quilt.
Now it’s time for binding.
Binding covers the raw edges around the outside of your quilt and gives it that nice finished look.
You can make your own binding from fabric strips or use another binding method you like. Binding can be attached by machine, finished by hand, or sewn completely by machine.
And if your first corner isn’t perfect?
Keep going.
The quilt police are busy somewhere else.
12. Wash and Enjoy Your Quilt
Once the binding is finished, your quilt is officially ready to use.
Some quilters wash their quilts immediately because they love the soft, slightly crinkled texture that happens after washing. Others wait until the quilt actually needs it.
Either is fine.
Follow the care instructions for the fabrics and batting you’ve used, especially if you’ve mixed different types of materials.
Then put the quilt on the couch, throw it on the bed, give it to someone you love, or wrap yourself up in it.
You made a quilt.
That’s a pretty big deal.
13. Don’t Forget the Quilt Label
Before you completely call it finished, add a label.
It doesn’t have to be fancy.
Include your name, the date, who the quilt was made for, the quilt pattern, or even a short note about why you made it.
Years from now, those little details may matter just as much as the quilt itself.
You can make a printed fabric label, embroider one, write directly on fabric with a permanent fabric pen, or sew on a simple handwritten label.
Just don’t skip it because you think you’ll remember all the details later.
You won’t.
Your First Quilt Doesn’t Have to Be Perfect
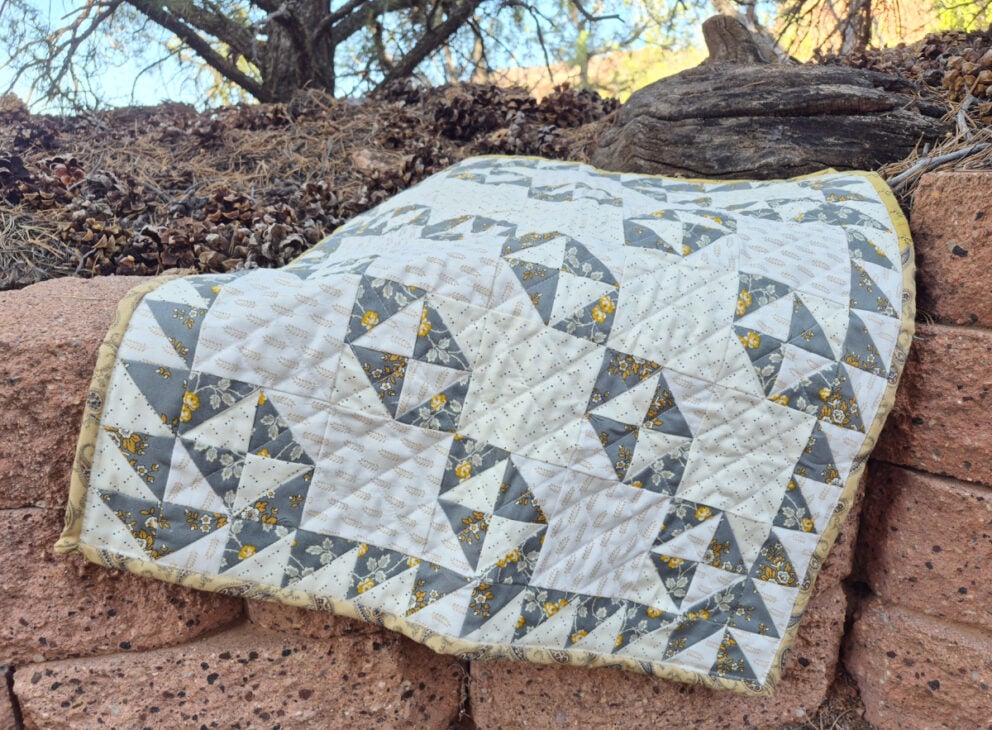
There’s a lot to learn when you first start quilting, but you don’t have to learn it all at once.
Pick a simple pattern. Use fabric you like. Learn your 1/4″ seam. Press as you go. Fix the mistakes that matter and leave a few of the others alone.
Every quilt teaches you something.
And the best way to get better at quilting isn’t reading another 27 articles about how to quilt.
It’s making the next quilt.

More Quilting 101 Resources
There are so many resources and articles out there – I have them all in one place. The quilting 101 is going to help you with different techniques, and basics. Including binding, sashing, squaring up, cutting your fabric, machine quilting and more.


Leave a Reply