
What’s the Tutorial? Learn how to use a flying geese ruler to trim your quilt blocks quickly and accurately. If you’ve ever ended up with flying geese that are just a little too small, a little too wonky, or don’t quite match the pattern, this tutorial will help you get better results with less frustration.
Flying geese blocks and I have had our moments. You sew them up, press them open, and somehow one side is perfect while the other one… well… let’s just say it’s “close enough.”
That’s where a flying geese ruler can really help. Instead of guessing where to trim or hoping everything ends up the right size, the ruler gives you clear lines to follow so your blocks finish nice and square. It’s one of those quilting tools that can make you wonder why you waited so long to try it.
In this tutorial, I’ll show you how to use a flying geese ruler step by step. Whether you’re making a handful of blocks or an entire quilt full of geese, this simple tool can help you cut more accurately and make piecing the rest of your quilt much easier.

Why Use a Flying Geese Ruler?
Flying geese are one of the most common quilt blocks, and they show up in everything from traditional quilts to modern designs. Using a specialty ruler helps take some of the guesswork out of trimming so your blocks are the correct size before you start sewing them together.
A few extra minutes spent trimming accurately can make a big difference when it’s time to match points and sew rows together.
Flying Geese Ruler Details:
- Take the guess work out of cutting the triangles for Flying Geese Units in finished sizes from 1 by 2 to 4 by 8 with this handy ruler that does the math for you
- Both the large goose triangle and the smaller sky 6 triangles are cut from the same width strips
- Perfect for any sewer or quilter
How to use the Flying Geese Ruler:
1- cut your strips for the points
2- cut your triangles using the ruler, making sure the tip that is yellow is going beyond the strip of fabric

3- turn the ruler and make the second cut

4- cut your strips for the large triangle- the center of the flying geese. Make sure the tip is beyond the strip before cutting

5- sew your small triangles to the large center one. Line up the points and the cut off points
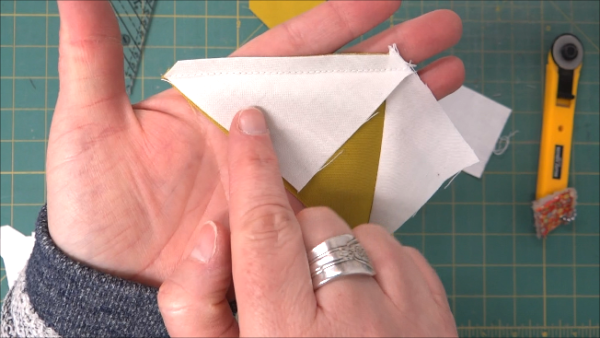
Trim if needed…I found this to be pretty accurate and didn’t need any additional trimming
Before You Start
Before trimming your flying geese, make sure your seams are pressed well and your block is laying flat. Take your time lining up the ruler markings with the points of the block—it’s much easier to trim once than to try fixing a block that’s been cut too small.
After you’ve trimmed a few, the process becomes quick, and you’ll likely find yourself reaching for the ruler every time flying geese are part of a pattern.
Where you can find the flying geese ruler- Amazon
More flying geese how to’s:
These resources can help you in getting better and more accurate with your flying geese. They can be a little tricky – but really, they aren’t that hard!
Skinny Flying Geese

These blocks are a bit different, they are are tall instead of horizontal. They can be a bit more tricky than the traditional block – but it’s a great way to make square flying geese.
2 Fabric Squares – four flying geese
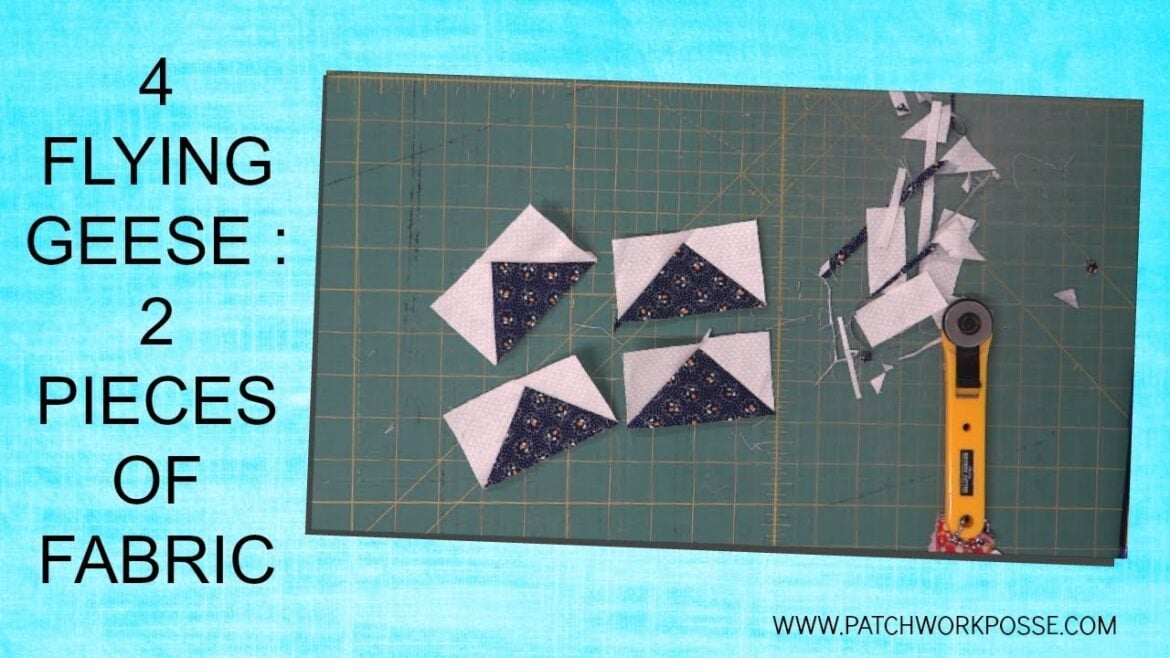
This video will show you how to make four geese at a time- with two pieces of fabric.
4 at a time

Here’s another option for making 4 flying geese at a time.
3-D Flying Geese

This is a fun way to make the block – it even gives another feature for the block and quilt.
Make sure you click the subscribe button to follow on YouTube!


Leave a Reply